Guide to Profitable Sales

Do more with VSCode
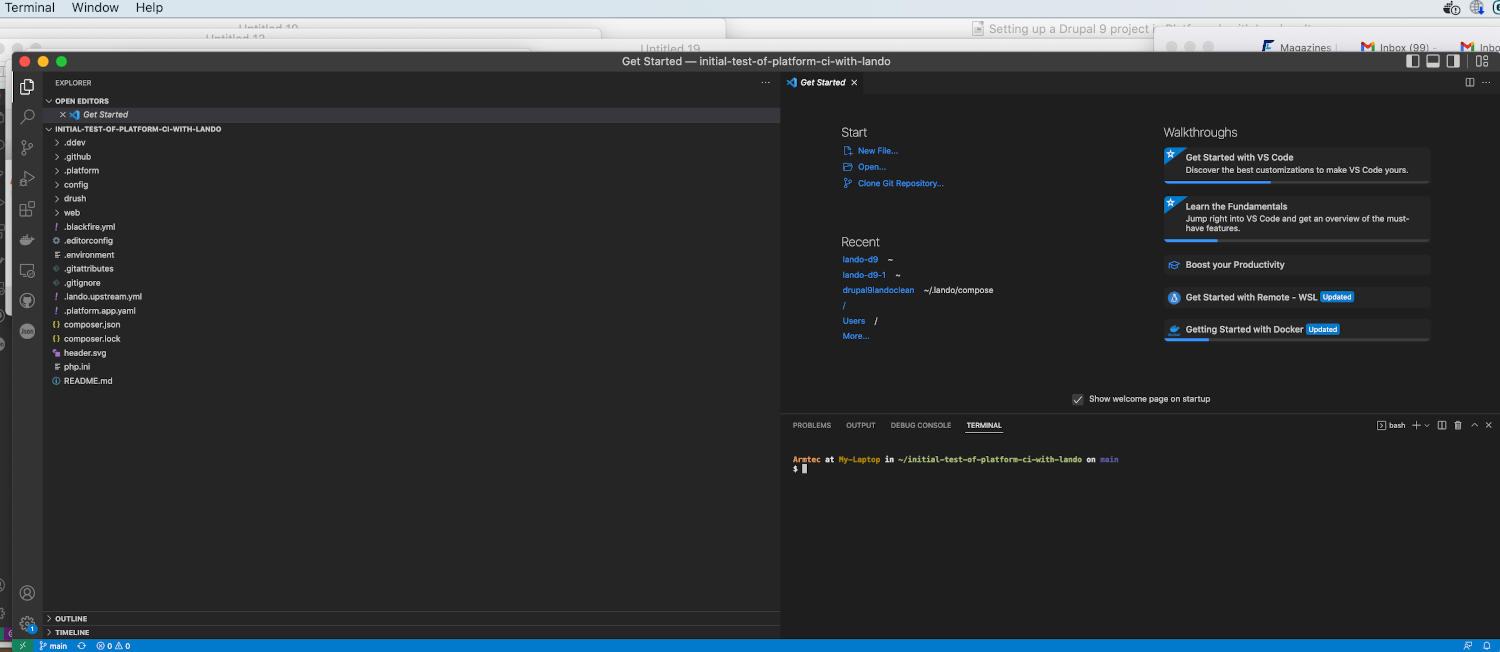
VSCode is easy to navigate with its organized layout. The left window displays your directories, the upper right shows the files you click on with an editor, and the lower right contains a terminal window. The terminal window allows you to use the command line interface for lando or platform.sh CLI. You can also access a command pallet at the top of VSCode by pressing shift-command-P (on a Mac). There are various VSCode extensions available to improve code appearance and enable Git-GitHub workflows. Git-GitHub interactions are crucial for Platform.sh’s GitOps workflow. Watch this video to learn more about using GitHub with VSCode.
Put ‘your project’ into GitHub
First, don’t be confused if you are looking at this section in isolation and have just brought a copy of the CI/CD workflow starting point project file down from GitHub; think of that as the borrowed project and what you are doing here is making it ‘your project’. What we are going to do next is also put your project under the control of a remote GitHub repository. This is possibly optional just to work back and forth between Lando and Platform.sh on the project since they are already talking via a GitOps connection. But we want to do some things with Configurations and Database backups that take advantage of using GitHub as a sort of intermediary copy of your project. Worst case scenario, just do it because you are a worrier and want to have a copy of your project that is easier to move to another host if you get mad at Platform.sh for some reason.
Back in VSCode you have the project in one window with all the sub-directories and files; and you are at the very top level. You have a ‘Terminal’ window open too and you can click on the menu bar in the upper left to open one if you don’t.
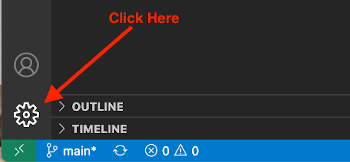
Look down here in the lower left corner and click on that little wheel.
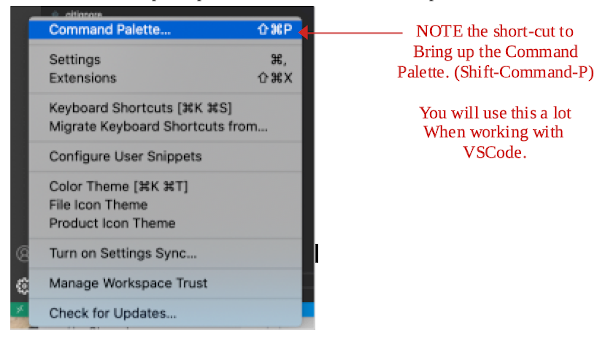
When the menu list opens up, select the ‘Command Palette’ option.
At the very top of VSCode, a little box will open up and start typing ‘Publish in GitHub’ at least until that option is easily selected in the list box options.

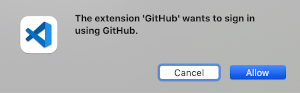
More than likely, VSCode will pop up a window to test if you really want to shake hands with GitHub on this project. You should select ‘Allow’.
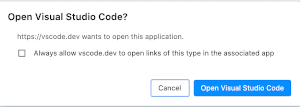
Oddly, since you started this from VSCode, it will ask you if you want to Open Visual Studio Code and you select the option to do so.
Back up in that box for the ‘Command Palette’ you will see the name you have given your project locally and below it the option to Publish it to GitHub as either a ‘private’ or ‘public’ repository.

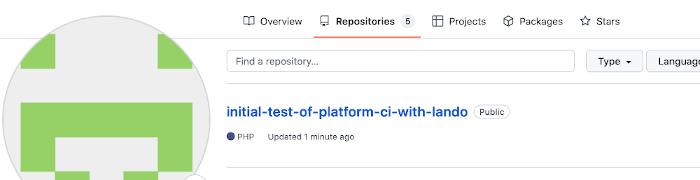
Pick which one you want for your project. Then it will do its thing. To prove to yourself that it worked, go over to your GitHub account directly and take a look at your list of projects. You should see the project you just put there.
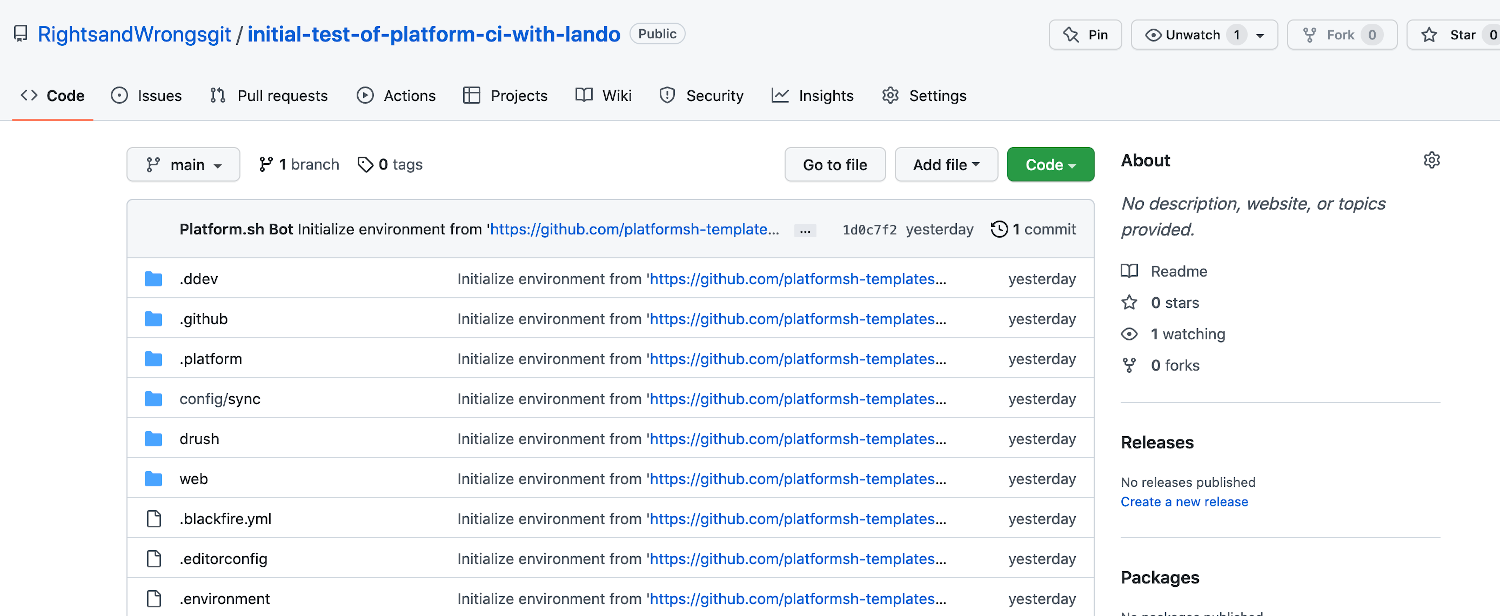
And, you should be able to actually look in that project and see all the sub-directories and files (excepting the ones you ‘.gitignore’ marked). You might also notice an interesting note at the top of the list that tells you that Platform.sh Bot is who initialized the environment and where it got it.
See Platform.sh own documentation for more detail on how to Integrate with GitHub.
NOTE ABOUT THE TOOL CALLED “DRUSH”
Using your VSCode, look in the left panel at the subdirectory list for your project. You will likely see .ddev, github, platform, and config/sync subdirectories. You will also see Drush and then Web; Web being where your actual site stuff operates. Drush is a tool used for a lot of Command Line actions when working with Drupal. Even something as simple as drush cr to clear the cache is much faster than searching it down in the GUI interface of the Drupal Administration tabs. The good news is that the Platform.sh Drupal recipe or template includes a Drush installation automatically. You can anticipate you will use Drush a lot as your comfort grows with Drupal development.
If, for some reason, you found Drush wasn’t installed, all you need to do is run the following at the CLI (Command Line Interface).
composer require drush/drush
Remember, that when you are doing composer things in your local Lando environment you need to precede the commands with lando; thus
lando composer require drush/drush
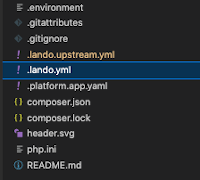
Don’t get too excited that the Drush was part of the standard lando Drupal Platform.sh template install. You see, what the standard template does is generically notes Drush tooling as a service in the ‘app’. Go click on the lando.upstream.yml file that is also in the root of your project and look at the lines toward the bottom of it. See how it says “service: app”? Like in the image below. If you happen to know how to use Docker Dashboard you can go take a look at your running containers and aren’t going to find one ending in ‘app’.
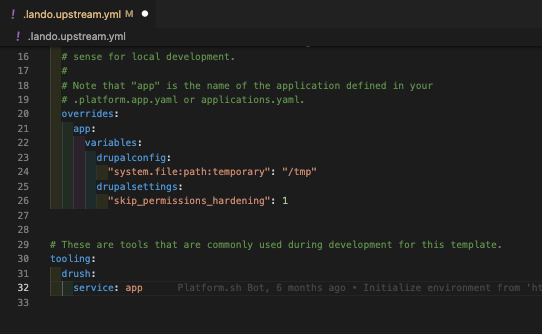
In the Lando documentation you will find information on the ‘order’ Lando executes instructions. You will find that .lando.upstream.yml precedes a .lando.yml file; in other words, you can tell Lando to do something different in your .lando.yml file and that will over-rule what is said in that .lando.upstream.yml file.
We are going to make a .lando.yml file to do that over-ruling and establish the tooling for Drush service in Drupal. This is what the file you create should look like and it goes at the same level as the .lando.upstream.yml file.

See how under tooling under drush: we change service: app to service: drupal in your lando.yml file
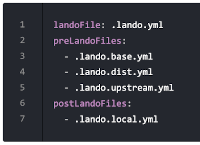
Put this new .lando.yml file in the top level or root of our project directory where the .lando.upstream.yml file it over-rides is located; like this -