Guide to Profitable Sales

Map in a Node
Resturant Node Example
Also shows taxonomy for the resturant node
This should be easily extended to other content types!
This outline offers a detailed, step-by-step installation and configuration of the modules you need to put a map on a node you build to present the locations of resturants that your site might feature. The example also introduces use of taxonomies you might use to provide the opportunity for users to filter your resturant options by meal occasions, dining style, dietary accomodations, features, and cuisine. When you set up the resturant node, you will put information about each resturant in as you populate content. A mandatory piece of content will be the ‘address’ because our mapping capability is set up so it grabs the address as the input it needs to draw the map.
The basics should be in place
- Drupal 8 or higher installed
- Views_UI and Field_UI enabled
There is a set of modules that work together to produce the desired end result. This documentation shows installation of them sequentially rather than all at once so you can understand how they each work.
Modules involved
composer require drupal/address
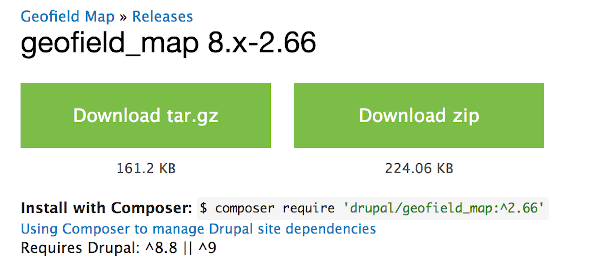
composer require drupal/geofield
composer require drupal/geocoder
composer require drupal/geocoder_autocomplete
composer require drupal/geofield_map
composer require drupal/leaflet
composer require drupal/leaflet_more_maps
composer require geocoder-php/google-maps-provider
composer require geocoder-php/bing-maps-provider
composer require geocoder-php/arcgis-online-provider
composer require geocoder-php/mapbox-provider
composer require geocoder-php/open-cage-provider
composer require geocoder-php/yandex-provider
composer require drupal/extlink
composer require drupal/taxonomy_manager
composer require 'drupal/term_csv_export_import
composer require 'drupal/entity_reference_tree
composer require 'drupal/token
The Modules Enabled
The assumption is that you have installed Drush already. If not<—
Then you can ‘enable’ the modules composer downloaded with the following Drush commands (or go to the Administration/Extend tool bar and click each one to install them manually) -
drush en -y address geofield leaflet leaflet_views leaflet_markercluster leaflet_more_maps geocoder geocoder_address geocoder_field geocoder_geofield extlink taxonomy_manager term_csv_export_import entity_reference_tree token
There is a video by a guy from Iowa named Brian Webster that shows how the mapping part is put in place. Watching it is an alternative to following these instructions (although this documentation picks up some of the other key things about the actual “Restaurant” content type like leveraging the sets of taxonomy important to it.
Setting up the Mapping
Start with the Geofield Module
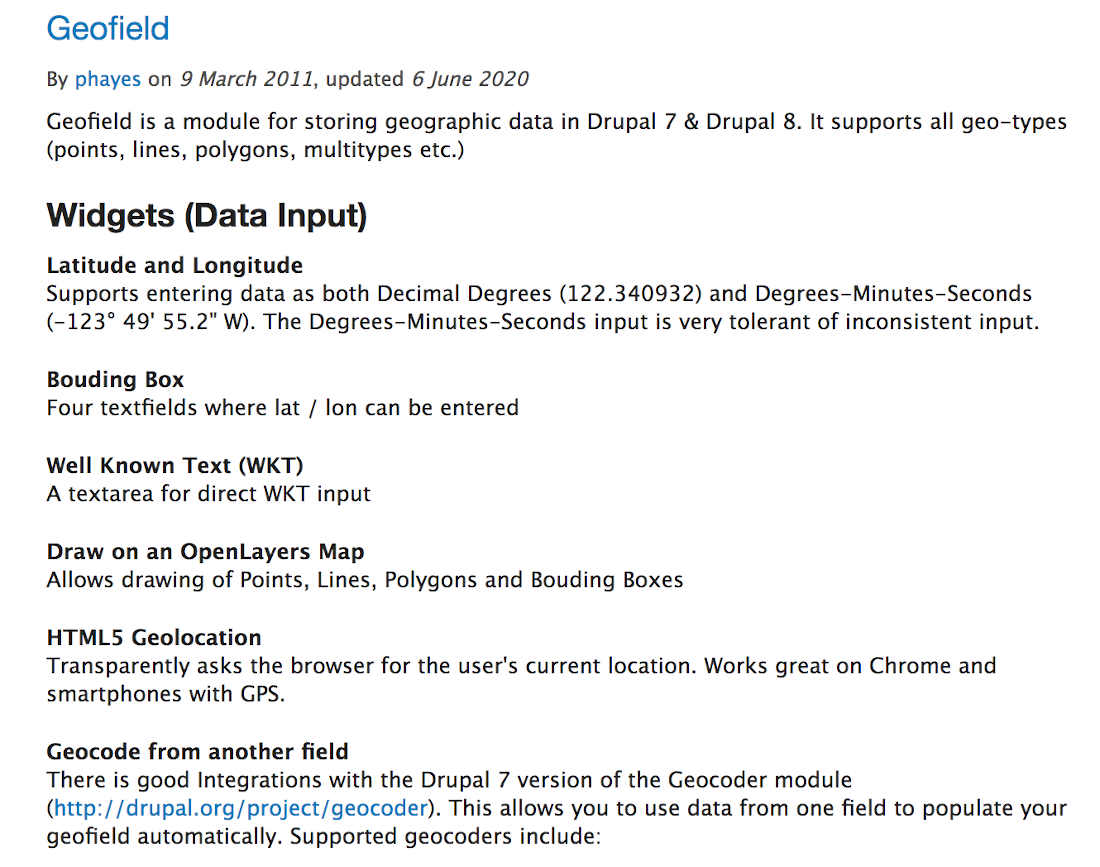
Using composer to get the module on your system site -

Also get the Geocoder module
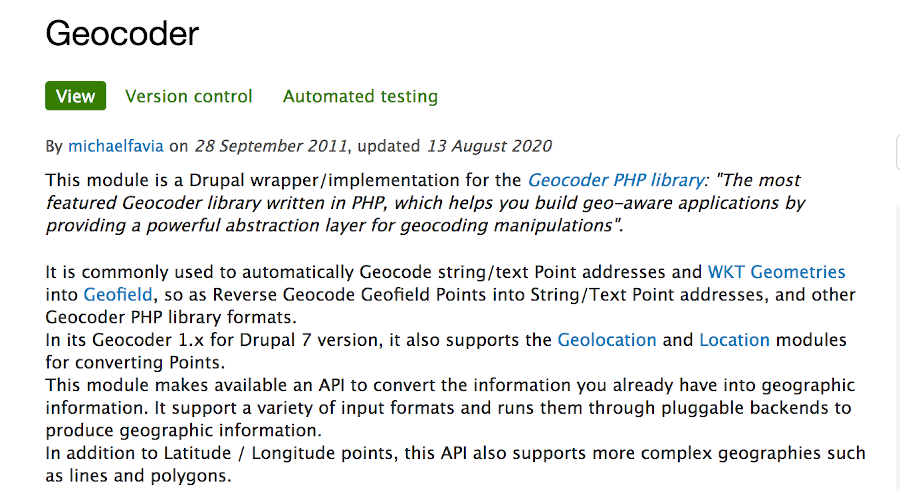
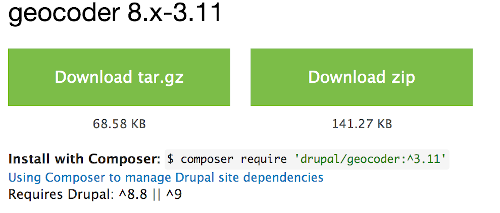
Again use the composer installation which coordinates dependencies

Install the Geocoder Autocomplete module
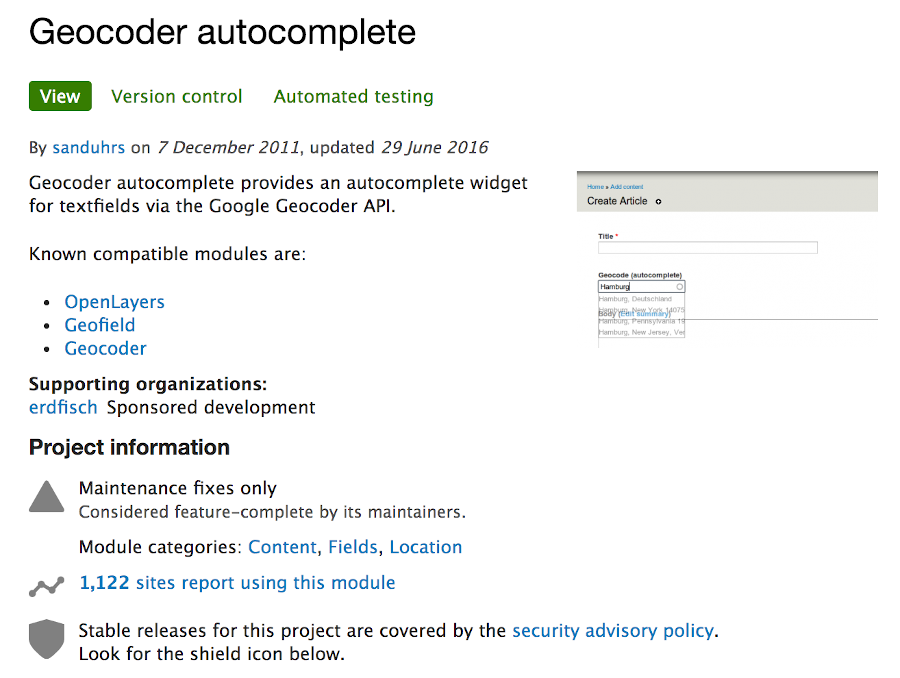

Again, installing with ‘Composer’ to coordinate dependencies

Install the Geofield Map Module
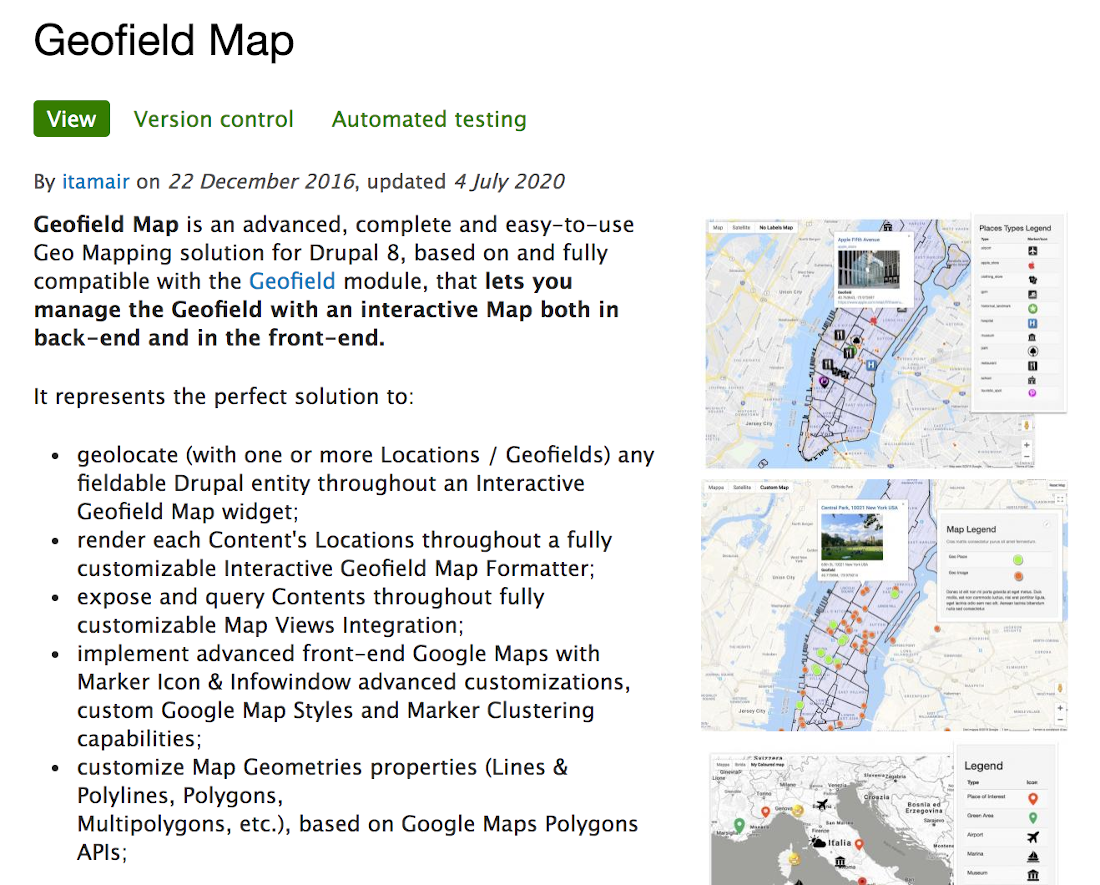
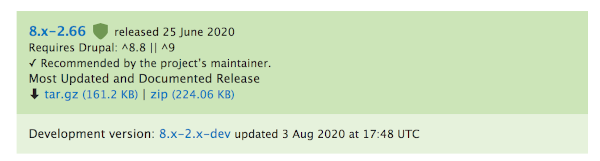
Use Composer to install with dependency coordination

Install the Leaflet module
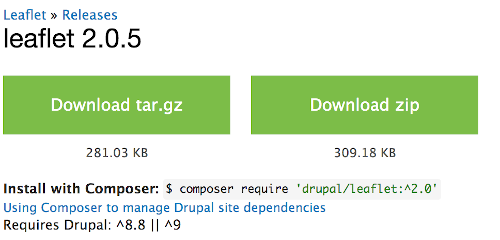
Same deal, we install it using ‘Composer’

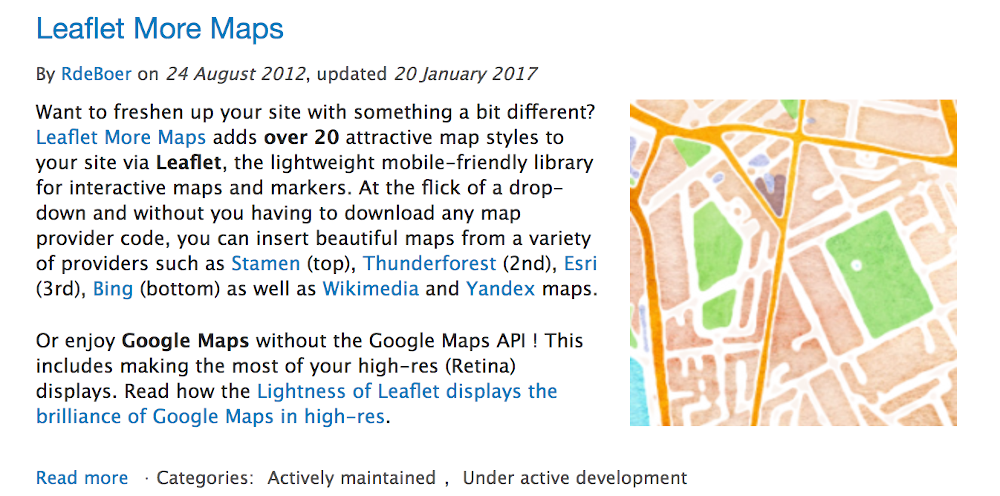
Install the Leaflet More Maps module
Where it gets interesting and you might need to experiment with the options is after you add the Leaflet More Maps Module. This module then brings in the configuration options for a whole variety of Map sources. Google maps is a common source and the video noted at the beginning shows it is a pretty accurate source. But you do need to get a Google Map API key to use it and it might cost you to run if you are mapping a bunch of page calls to your site. Some of the other maps are free, offer different map styles, etc.
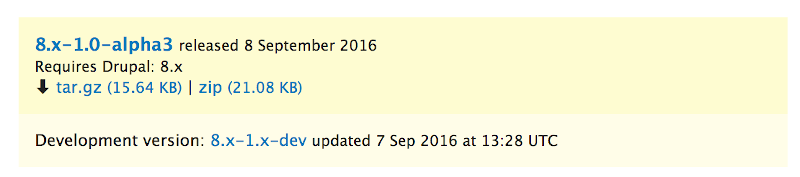
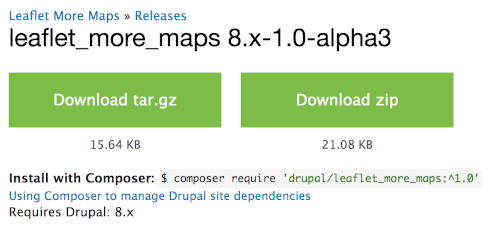
As usual, install the module with the Composer approach to coordinate dependencies

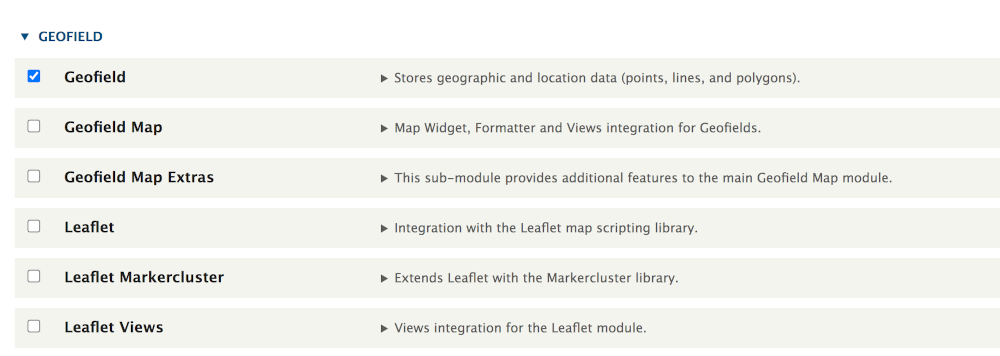
Remember, that ‘installing modules’ to your site is a two-step process. The first step is bringing them physically to your site and within your composer.json file as part of your site install on a physical server (or on a development/staging/production server in a coordinated way). The second step is to go to your ‘Administration’ menu in Drupal and select the ‘Extend’ tab that shows all the modules physically present that you can activate. All you need to do in the second step is checkmark the one(s) you want to activate and click the ‘Install’ button at the very bottom of the page -
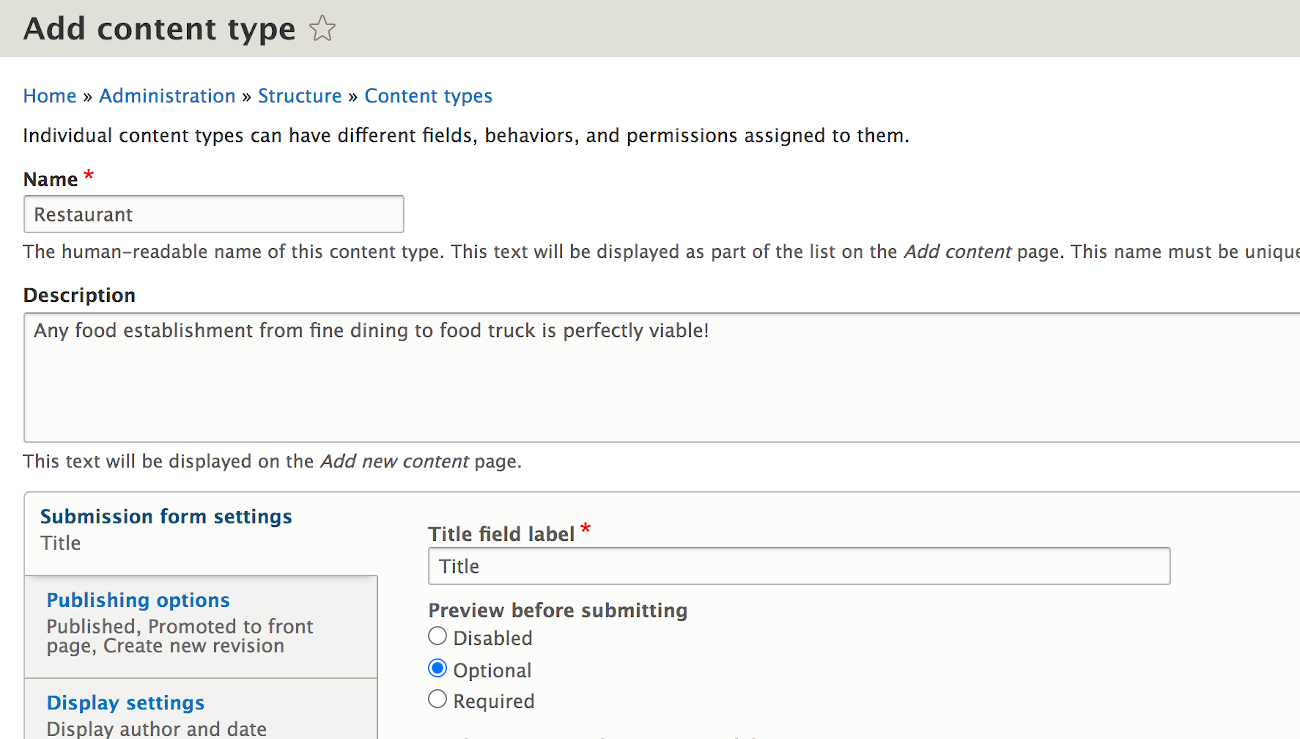
Now lets use the mapping by creating a content type that benefits from it. For example, having a map that shows where your restaurant is located. Create a content type called Restaurant -
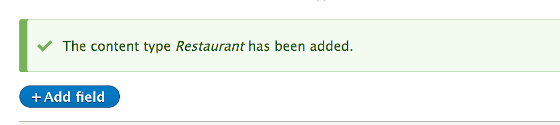
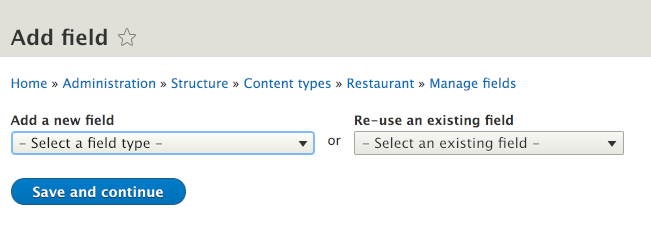
Then open that content type and add fields -
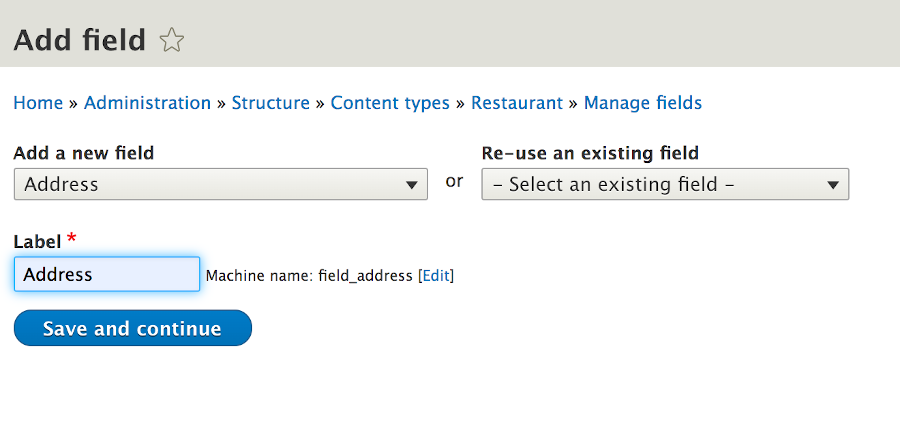
We had installed the address field as part of our starting point, so now add that field to the restaurant content type from the pull down list of fields -
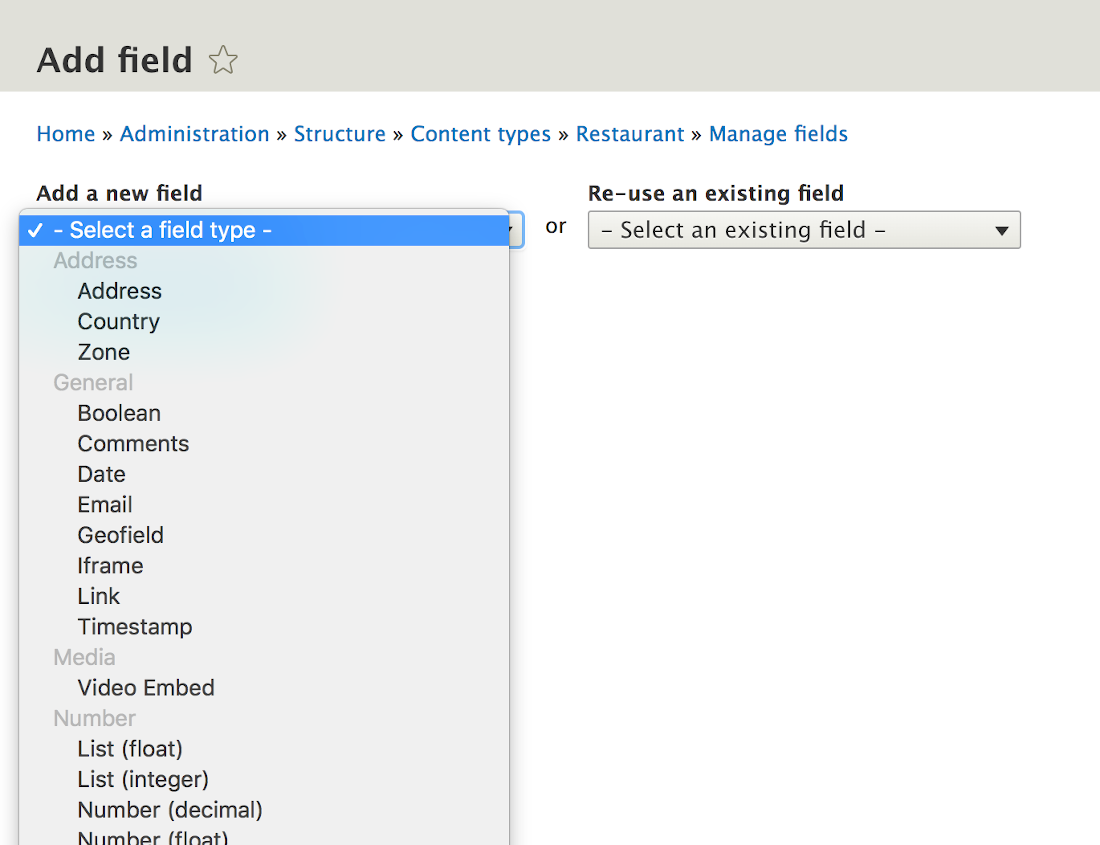
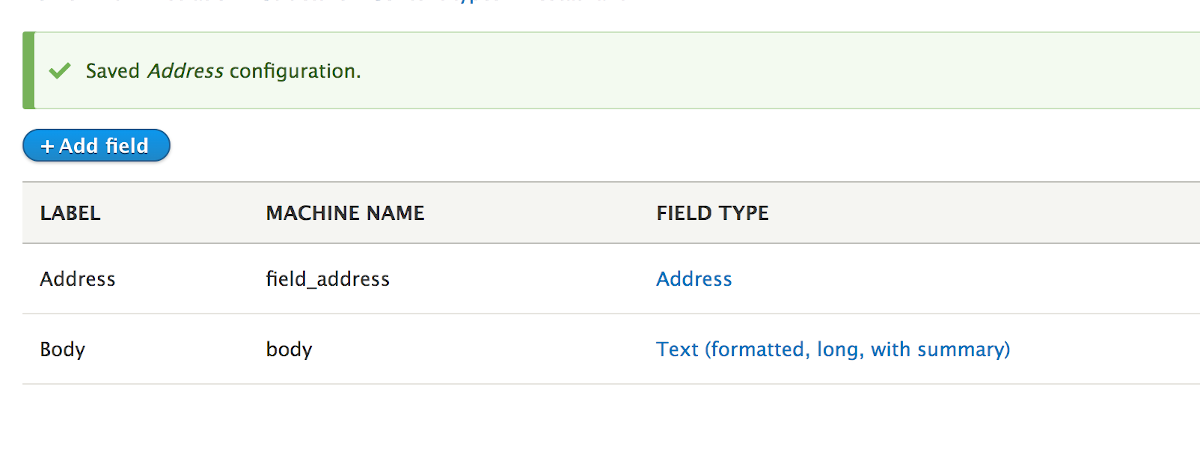
There it is after you clicked on it and then say ‘Save and continue’ -
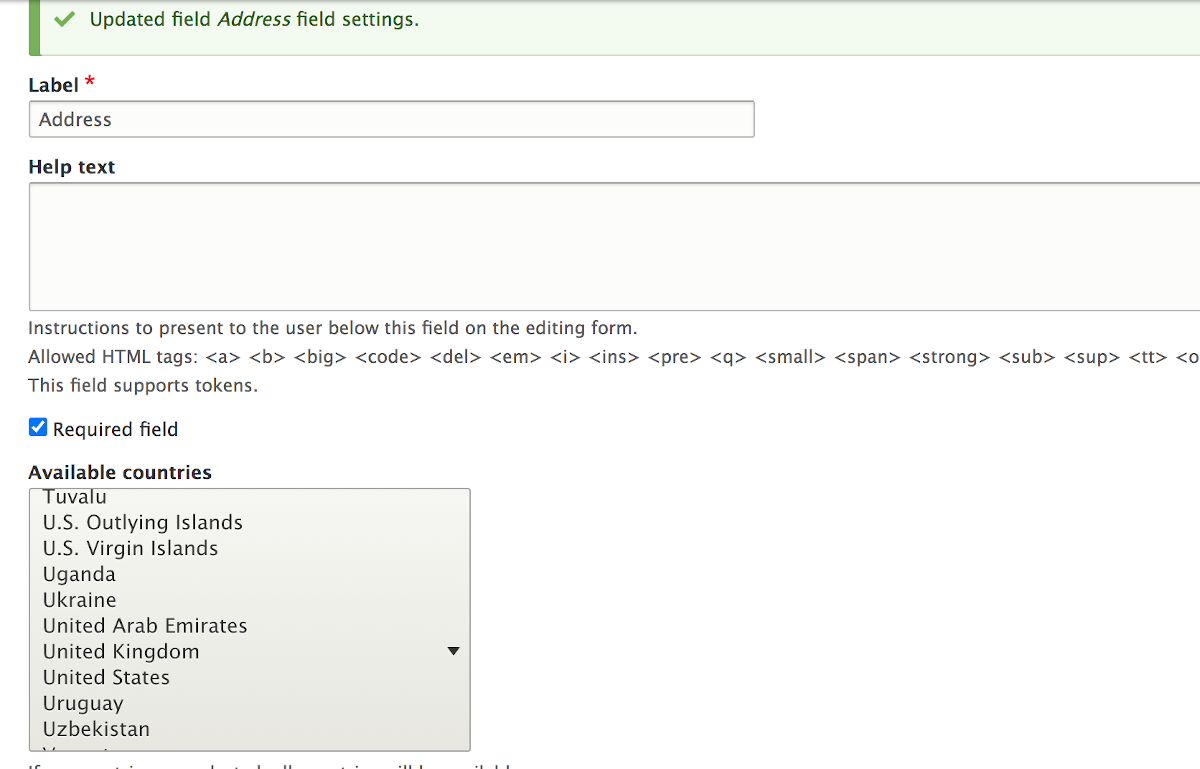
The address field has a bunch of options, that is why we installed rather than built it up from street, city, state, zip, etc. as individual fields we could have made/added. One option is for what countries are available, and part of an aviation ‘app’ that could put your restaurant anywhere, we will leave it unchecked with keeps all. We will also make the address field required, so people can find the restaurant, by check-marking the ‘Required field’ box –
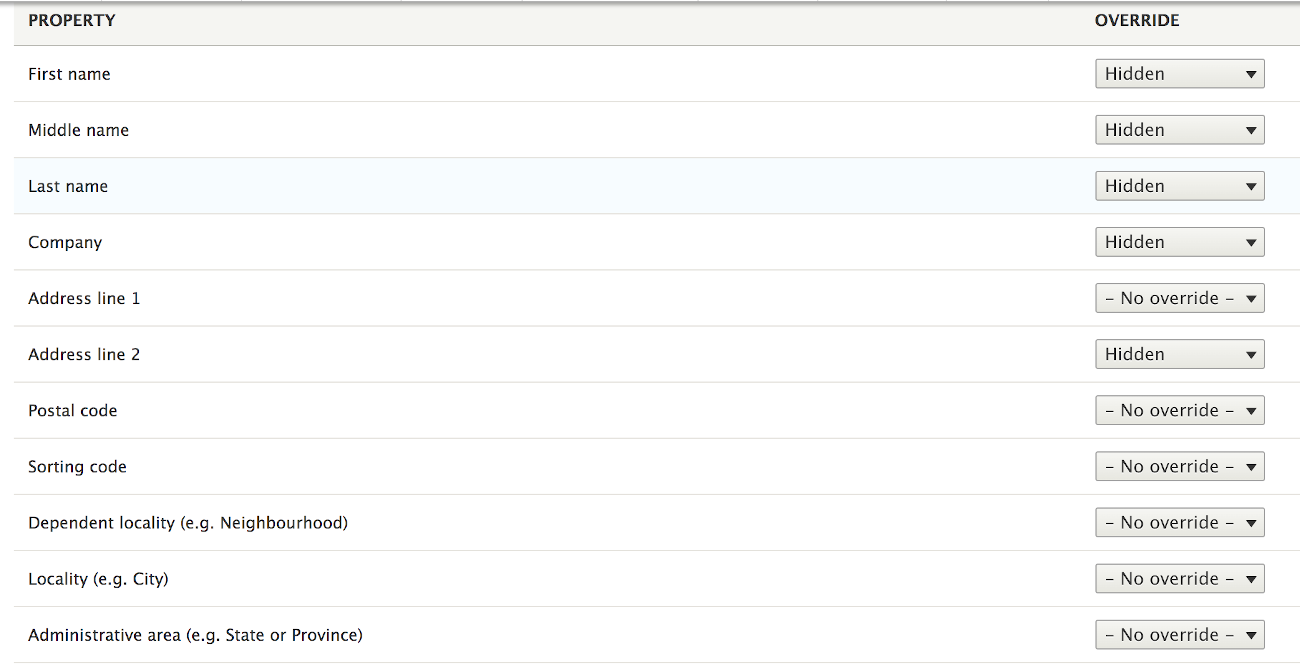
We also have options for the address structure we would like. In our case the name of the Restaurant is going to be the title of our content, so we will ‘hide’ the first name, middle name, and last name fields. Also hide the “Company” option because, again, the title of the node has the name of the restaurant. I also remove or hide “Address line 2” .
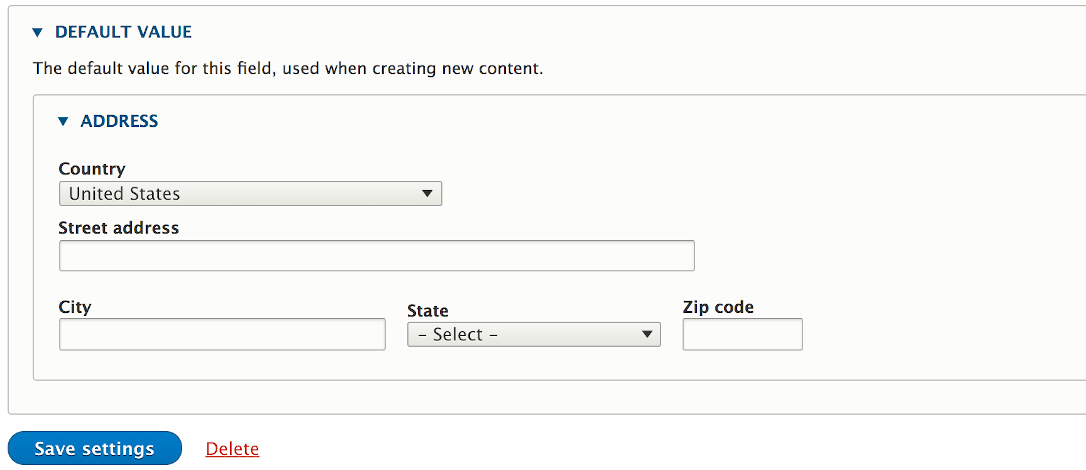
There is an option to set a default country and I did United States. This is NOT the same as the list of available countries that I left as all. The default country is just how the field starts out unless you use the pull down to select a different one.
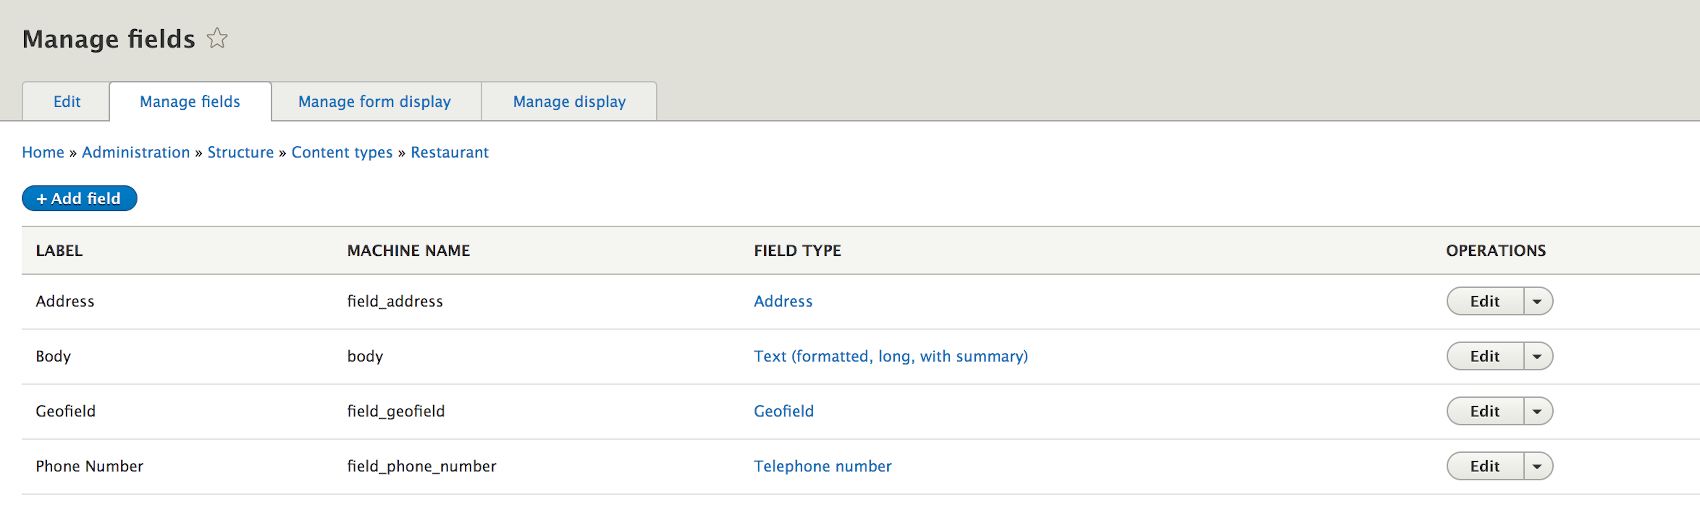
Now you have the standard body field and the Address field you saved -
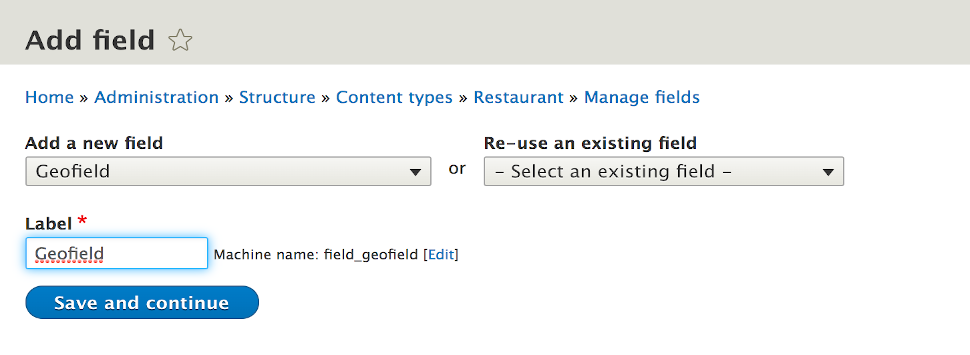
Since you want that map, now we will leverage the Geofield by adding it to our restaurant content type -
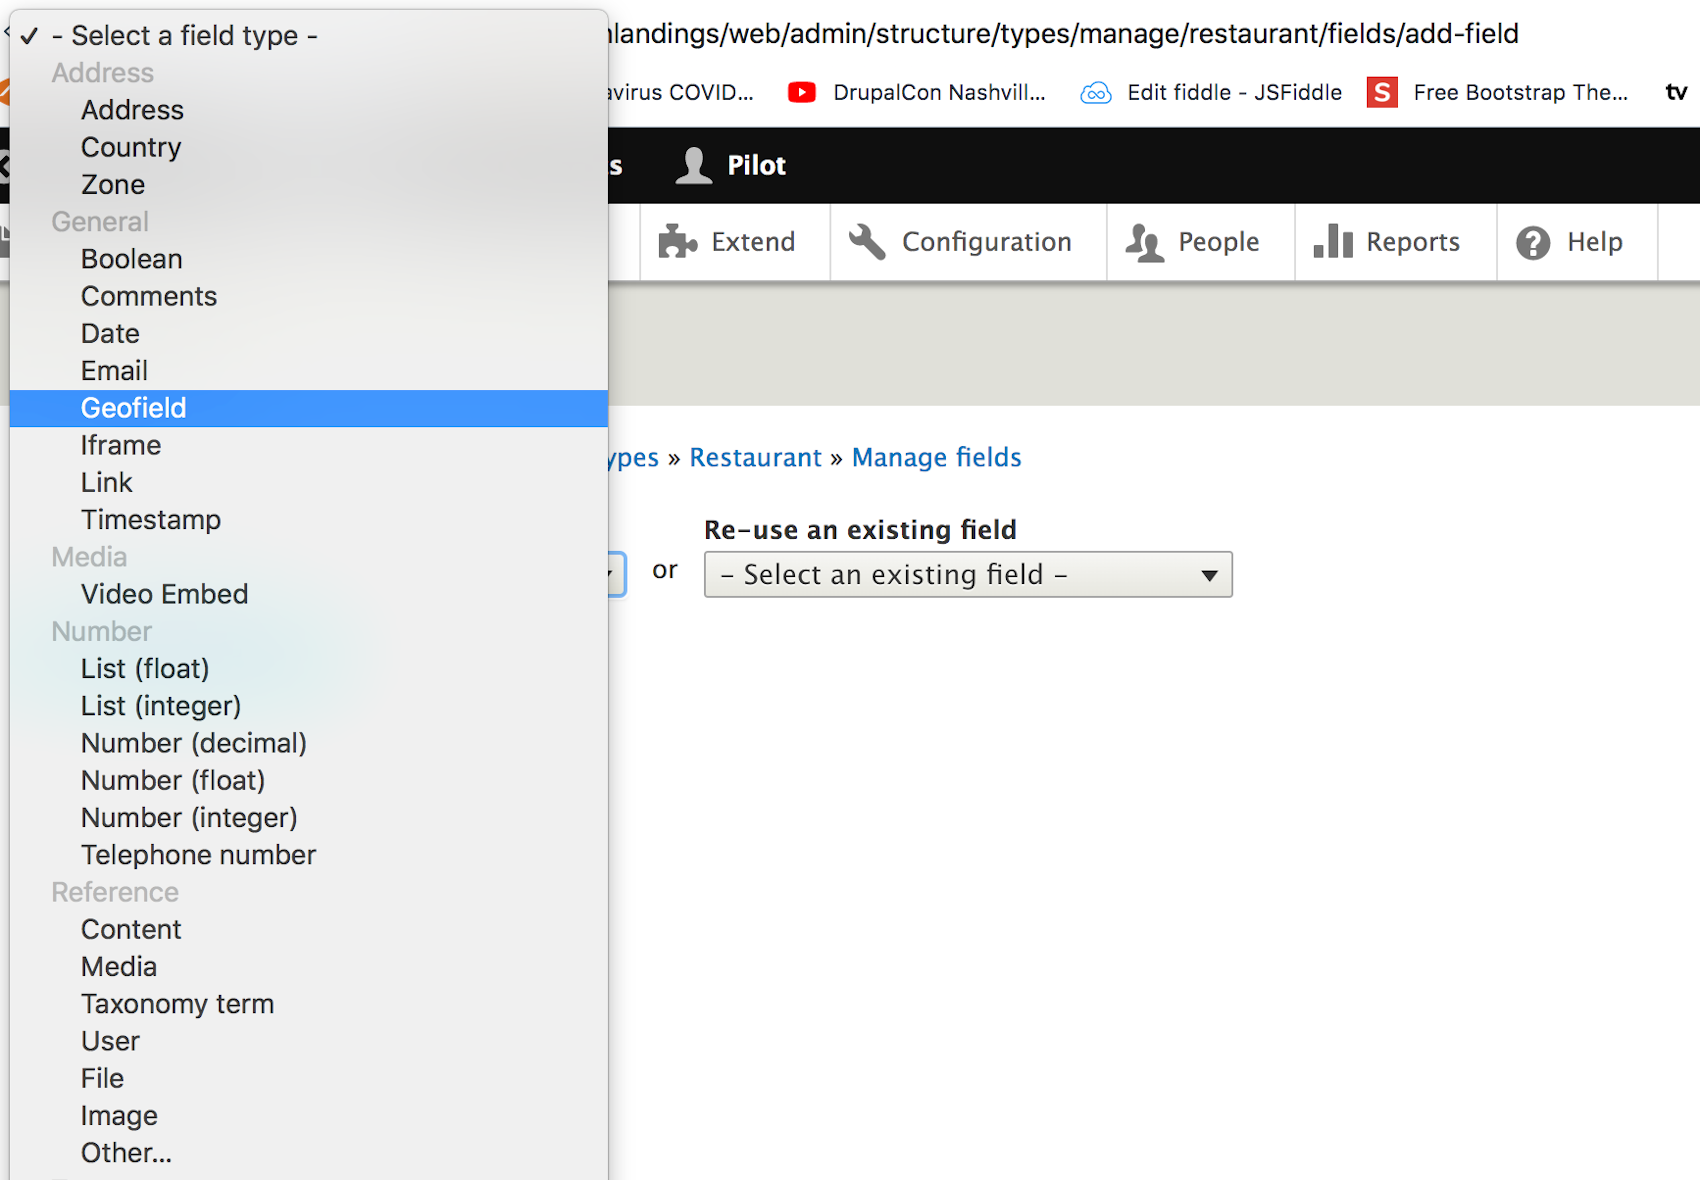
Once you click on it, you will “Save and continue” to add it to your restaurant content type -
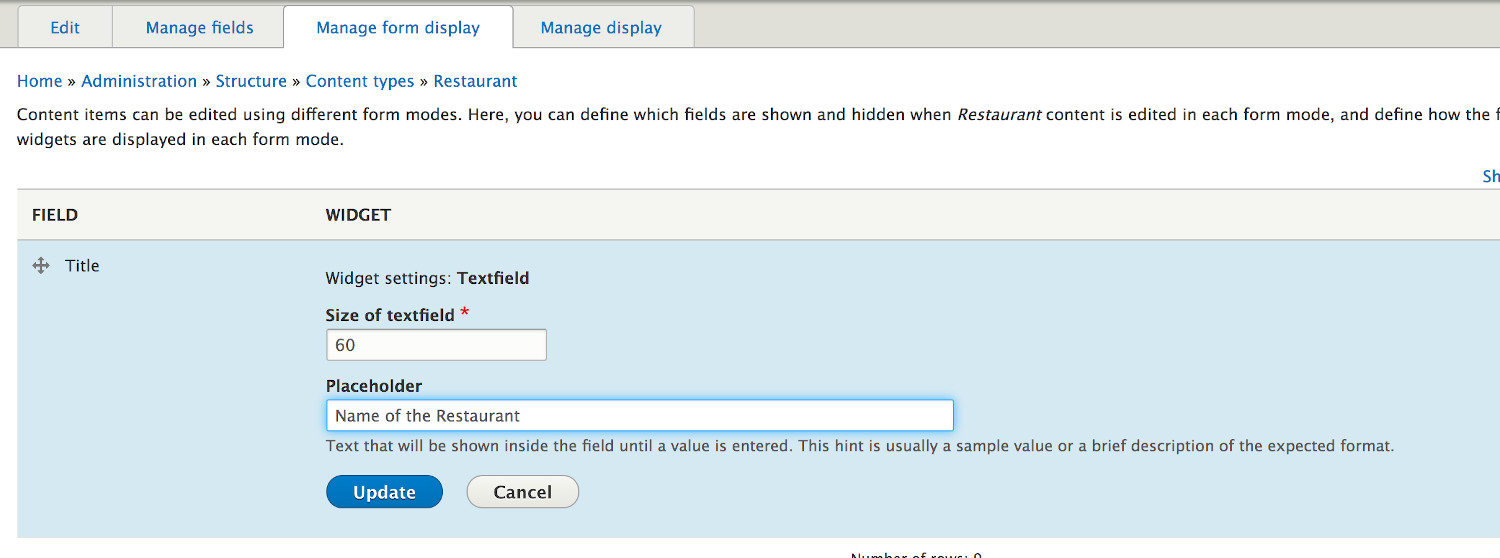
The fields in your content type have some configuration options under the “Widget” and for the Title, we will make the size 60 characters and put an instructive placeholder in it of “Name of the Restaurant” so people know what to entry in the box -
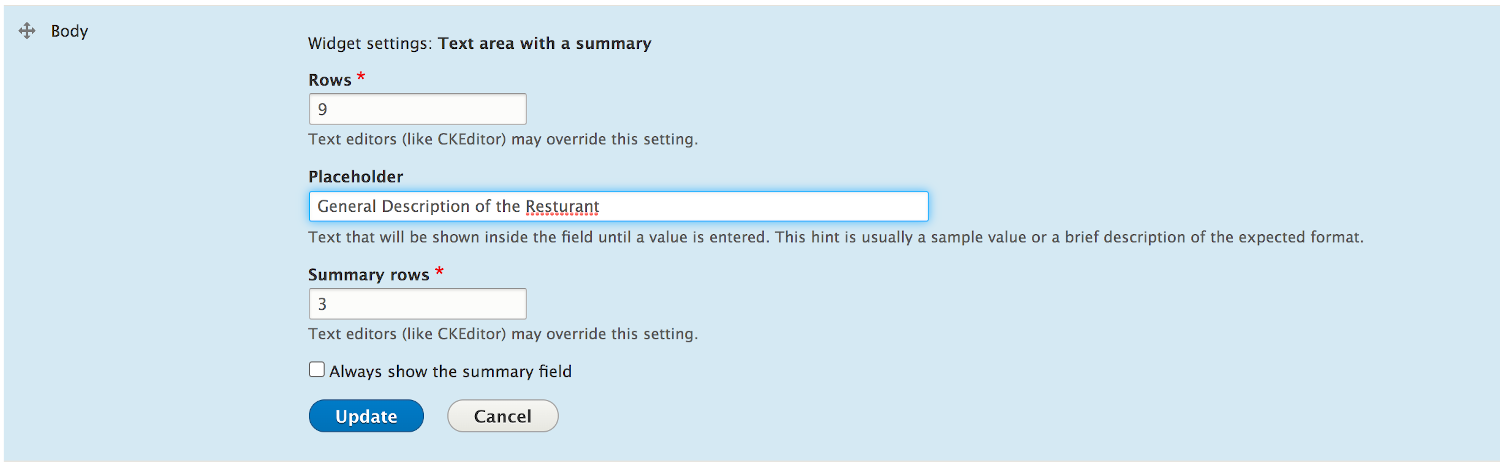
Same deal on the body field, which we will make nine rows of text and with a placeholder of “General Description of the Restaurant”. You can also set ‘Summary Rows” for say a teaser view option -
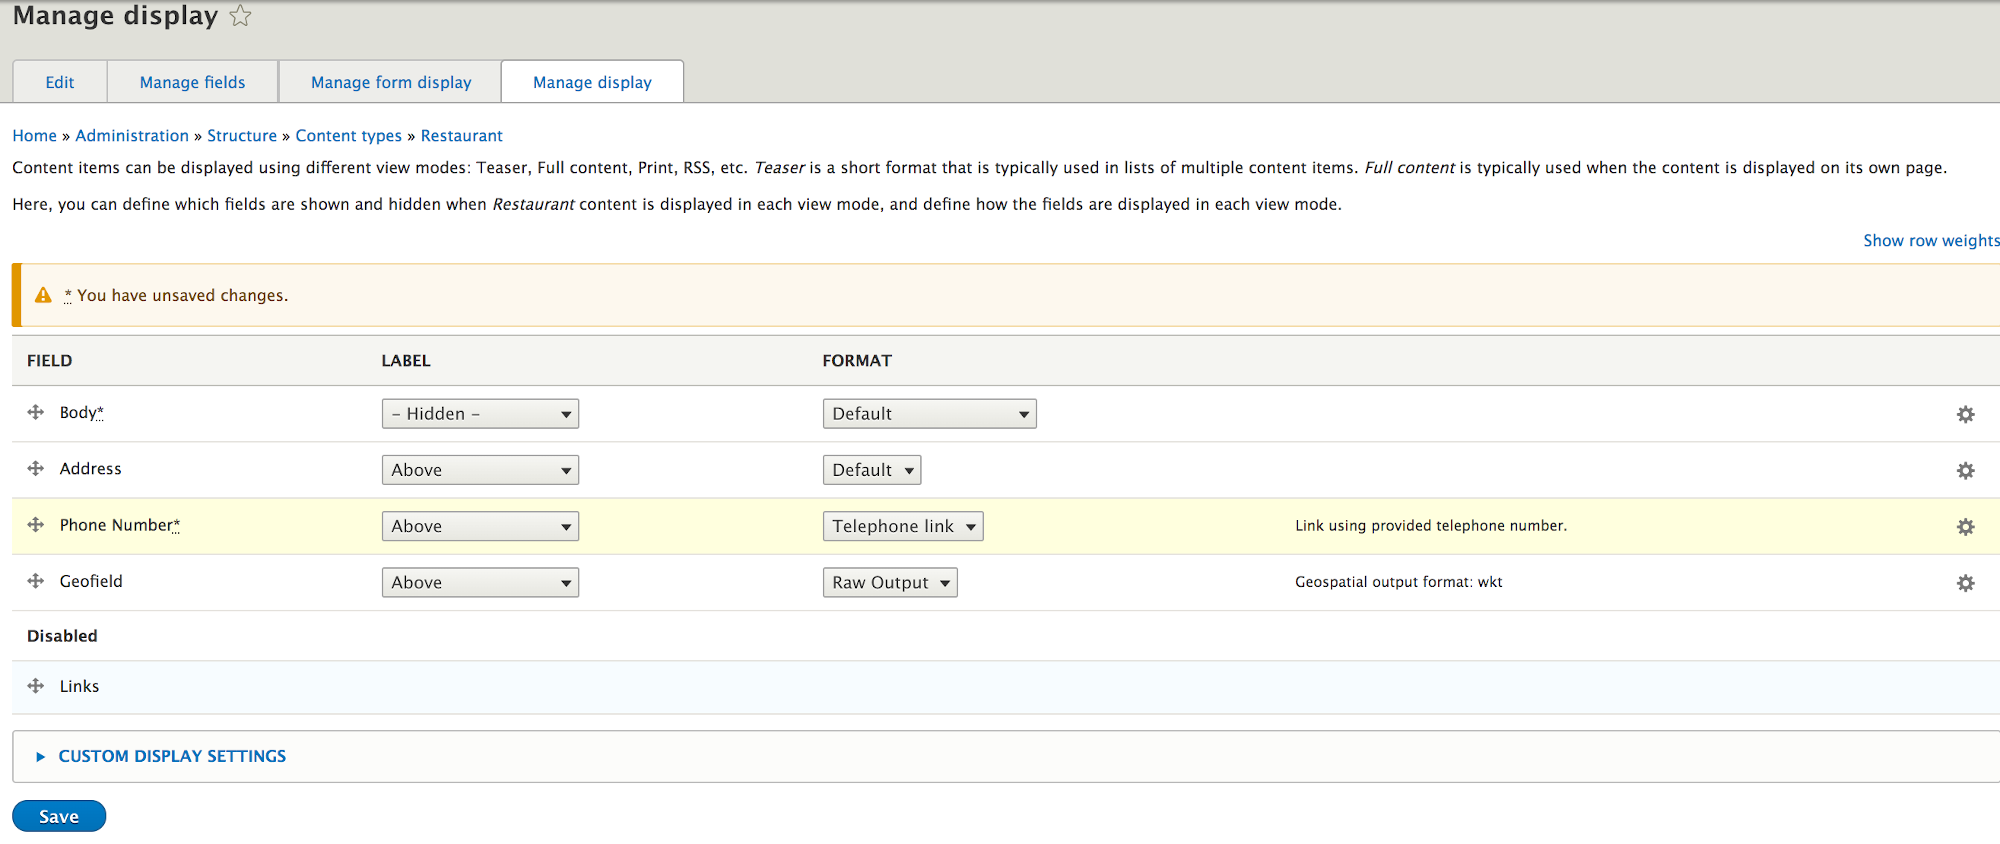
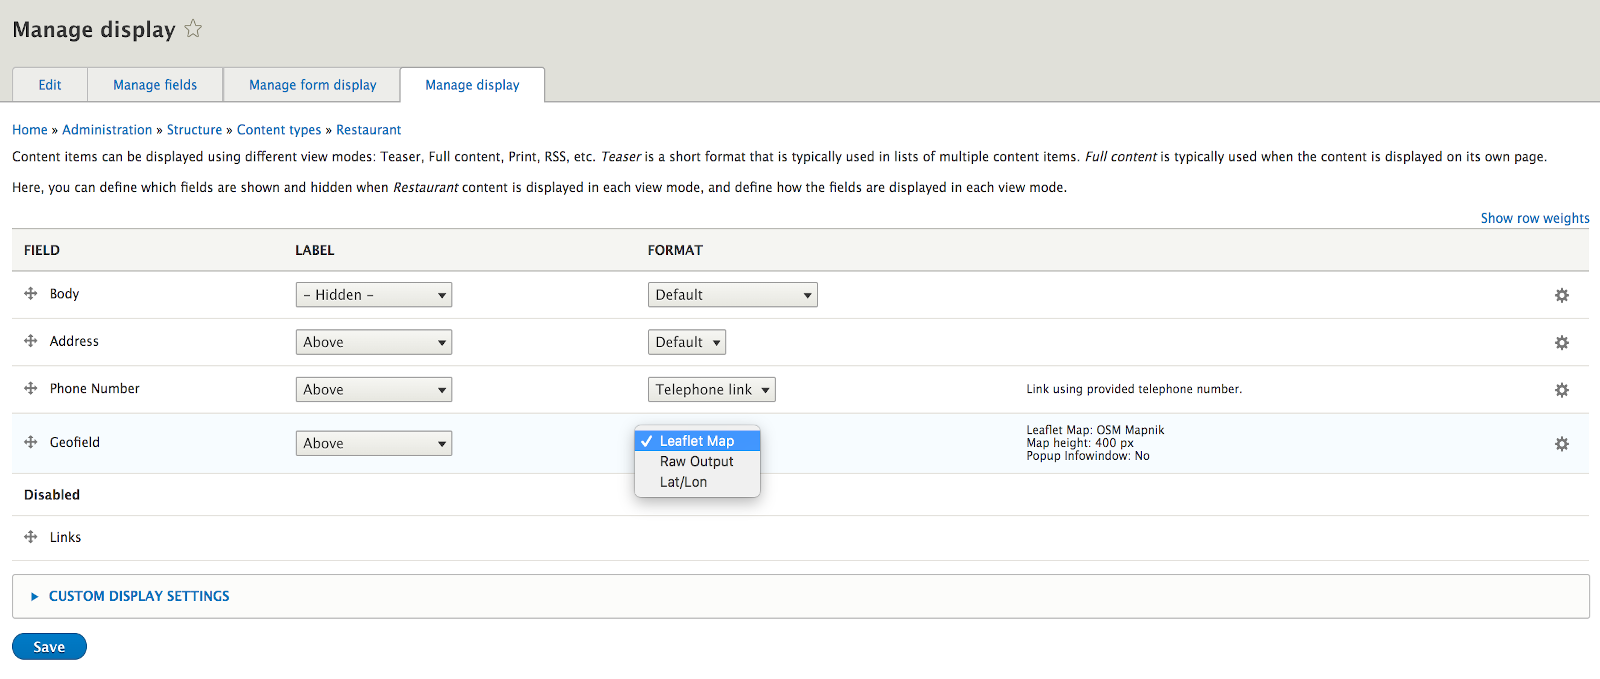
Add a “Phone Number” field from the standard field pull down list and give an initial order to your Manage Display. If you look at that with just these modules installed, the Geofield with the ‘Raw Output’ format will show a Latitude and Longitude box.
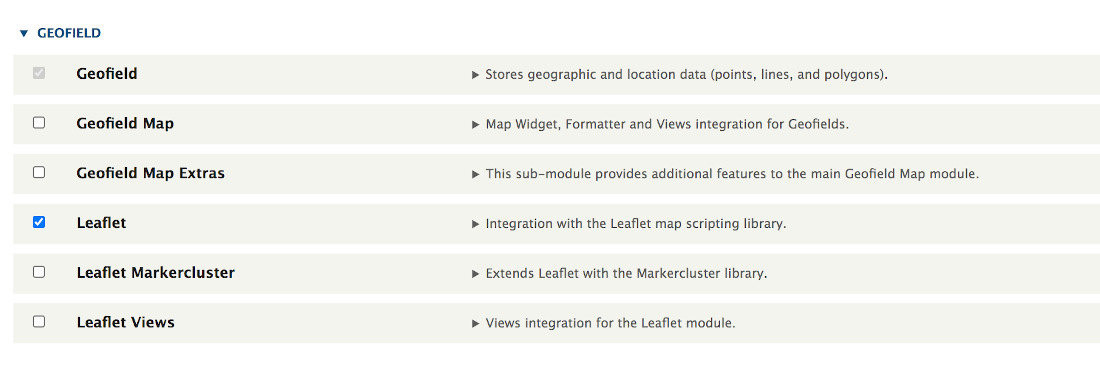
No one knows there detailed Latitude and Longitude, so leaving it there would kind of suck. Let’s install some modules so we can get that ‘Address’ field to drive the map placement. So lets install the ‘Leaflet’ module next -
And now when we go back to the “Format” options on the Manage Display tab of the Restaurant content type we have a ‘Leaflet Map’ option in addition to the Lat/Lon.
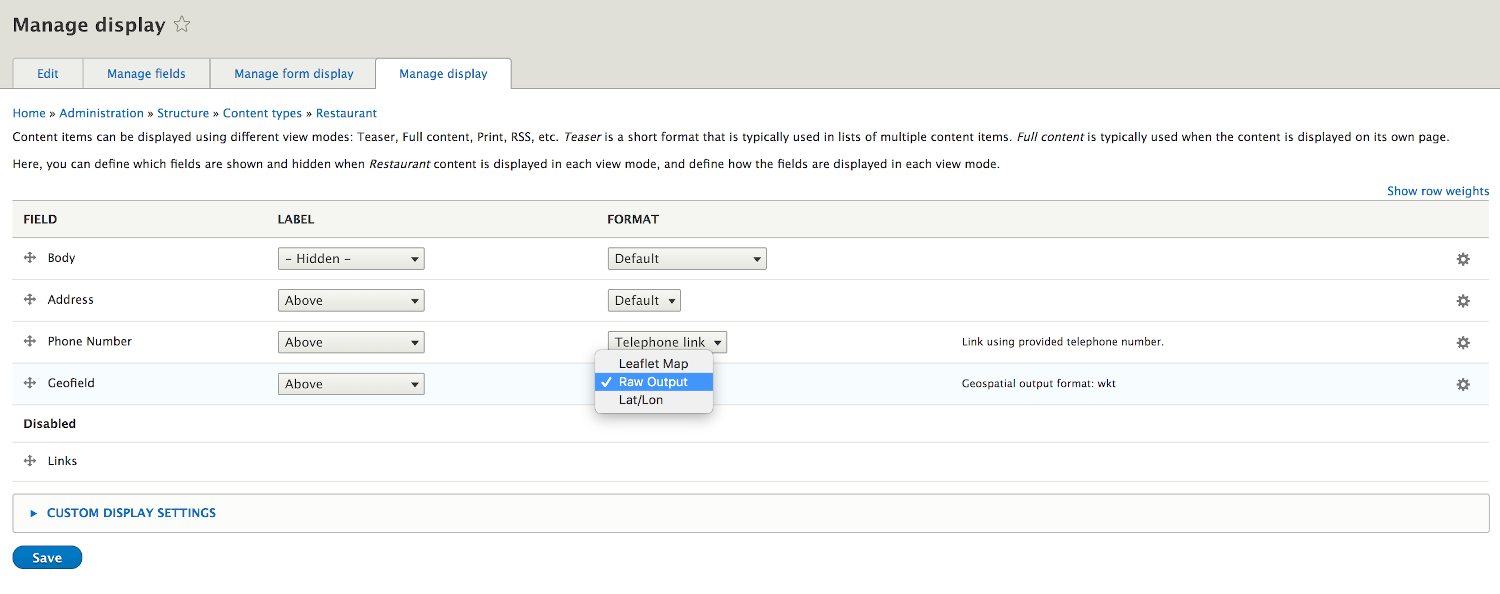
Pick the ‘Leaflet Map’ option and see a map on your output as long as you put some Latitude and Longitude on your input in the Manage form display -
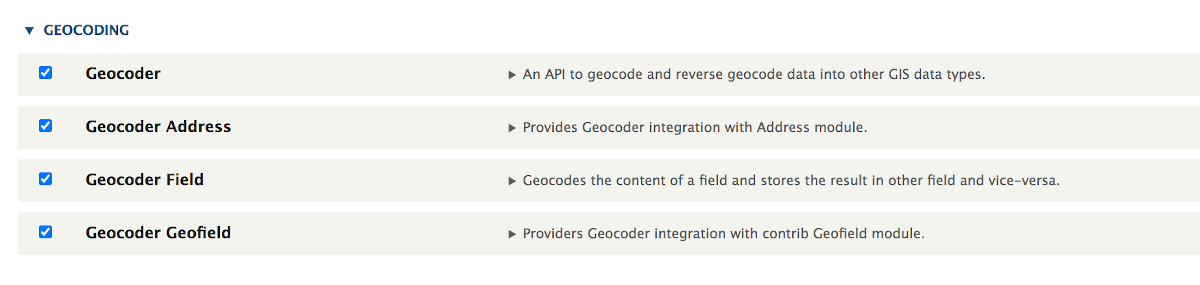
What you really want is not just to display the map from a Lat/Lon input on the Manage Form Display but to have the map driven by what a user puts in the ‘Address’ field you set up. To do that you need the ‘Geocoder’ module installed along with the Address, Field, and Geofield elements that come with it -
Now when you go in to look at the Restaurant content type you set up, you find that Geofield you installed and click ‘edit’ to see the set up of the Geofield -
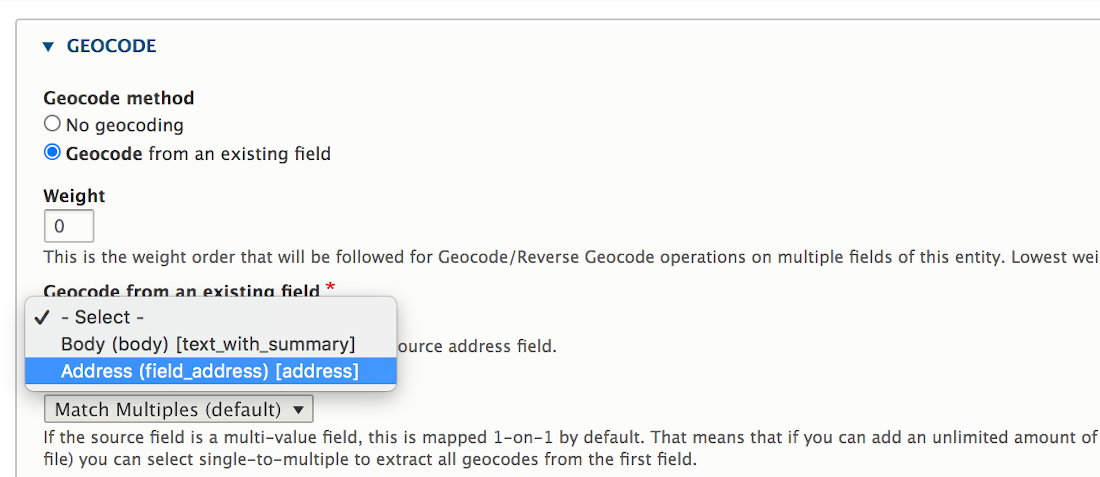
That edit opens the usual page but a little lower on it you see a box has been added for “Geocode” that you just added. In that box mark the radio button saying “Geocode from an existing field” -
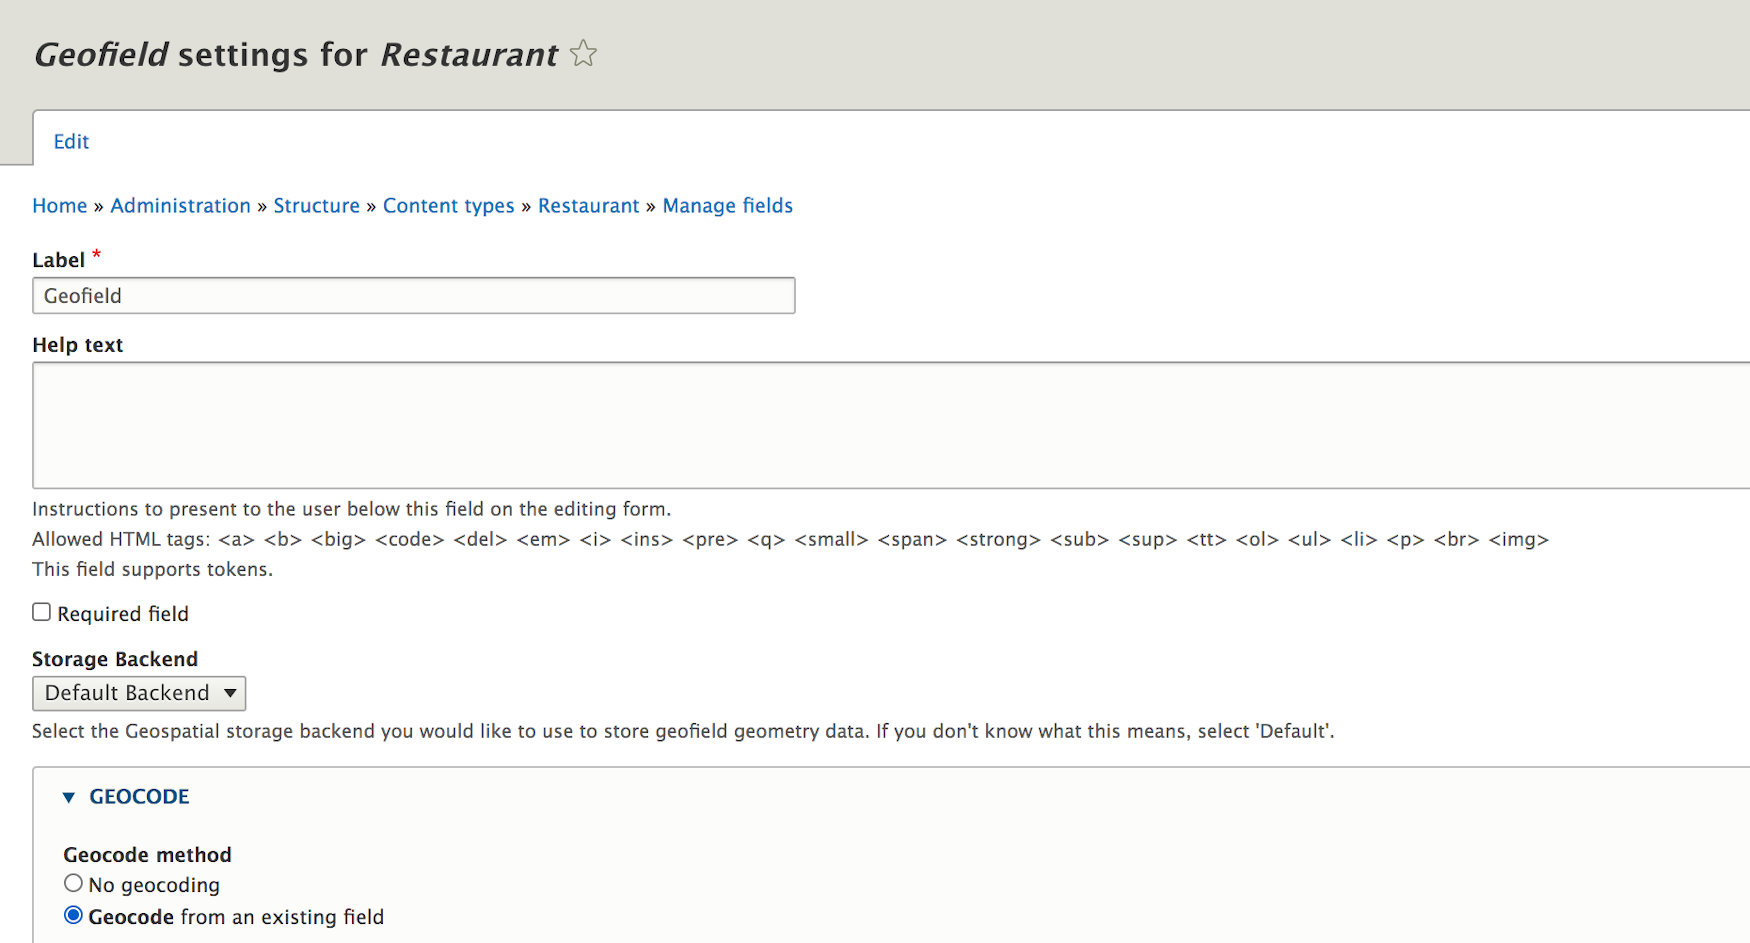
Since you already have the “Address” field in place, it will appear on the pull down list of available existing fields to ‘geocode’ from and you select it -
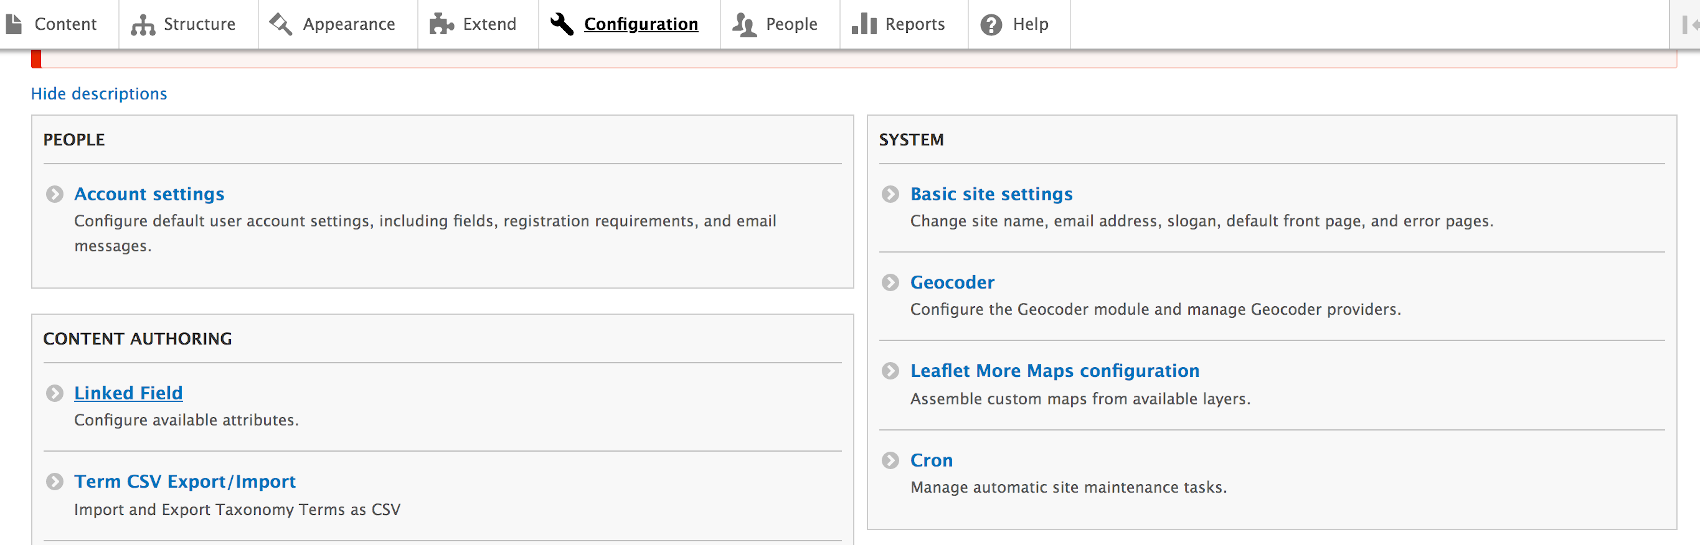
The Geocoder module needs to be configured to tell it what map “source” provider to utilize. To do that you go to Administration/Configuration and find the Geocoder now listed in the System box as one of the options. Click on that -
The Map Provider
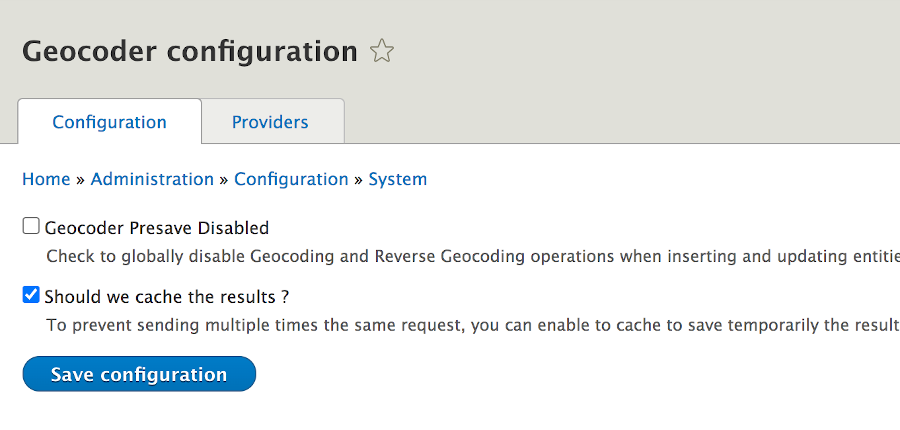
The Geocoder configuration shows two option tabs when opened -
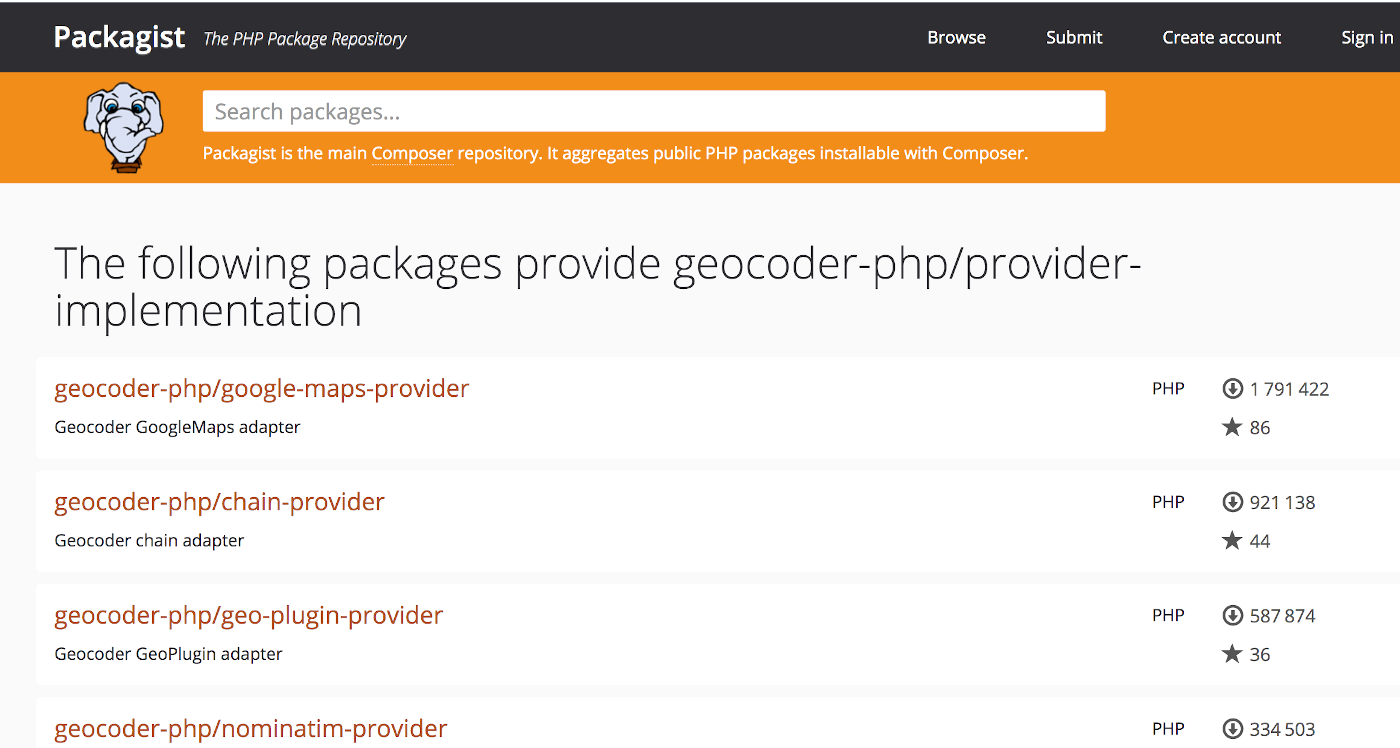
Click on the ‘Provider’ tab to open up your options for where to source maps. Then you want to use the ‘- Select –‘ box. The list of options in that box may be very few until you install some; so don’t freak out. See the note above the active provider list about using Composer to install providers and a link to a “list of all available geocoder providers”. You want to click that link to get your select box list populated. But don’t be surprised that the link takes you to “Packagist” (a PHP provider source) rather than Drupal; because other systems also use maps. Remember that Composer is a PHP tool anyway, so it is straight forward to use it to install Packagist code modules.

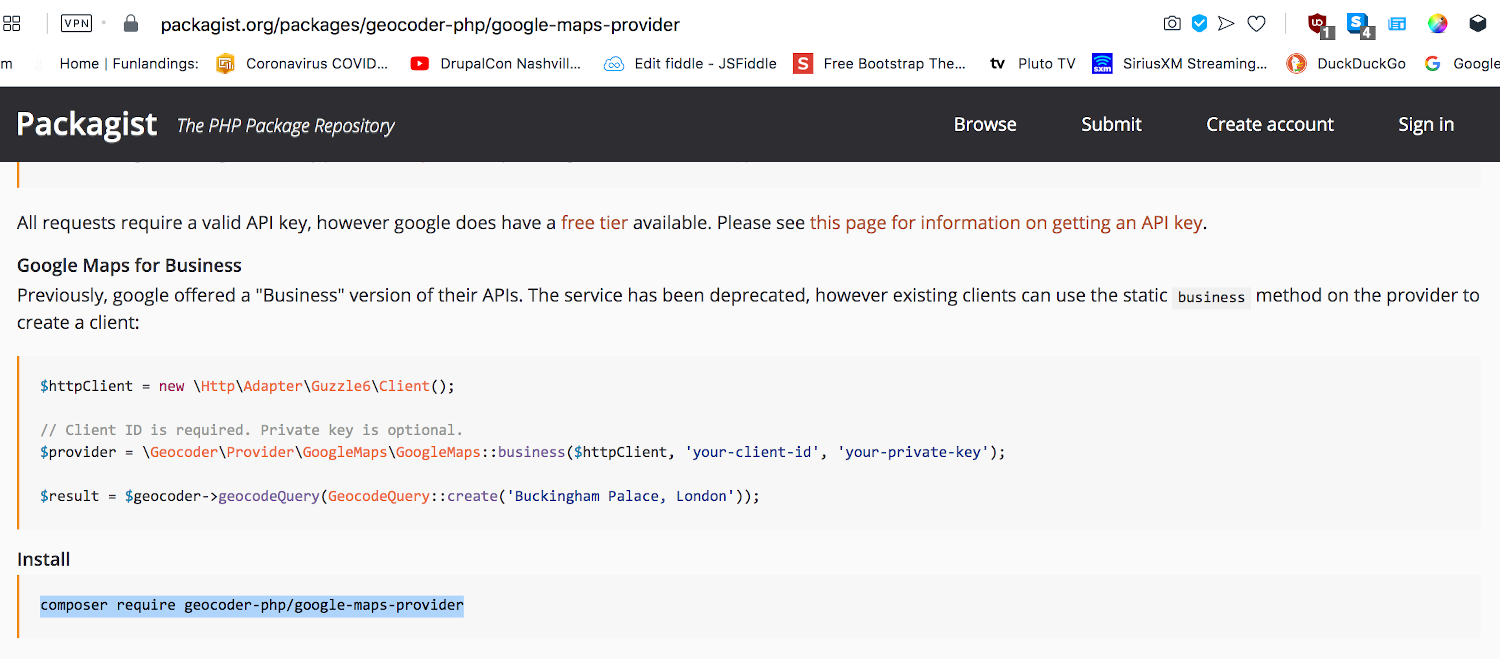
The Packagist list looks like this. And you can click on any provider to read more about their source and style. They also typically tell you if an API key is required and where to get your key. That will also lead you to know what, if any, charges might be involved.
Google Maps is pretty common, so you might look in it. You will see the typical Composer command filled out to just copy and paste so you can install that source provider -
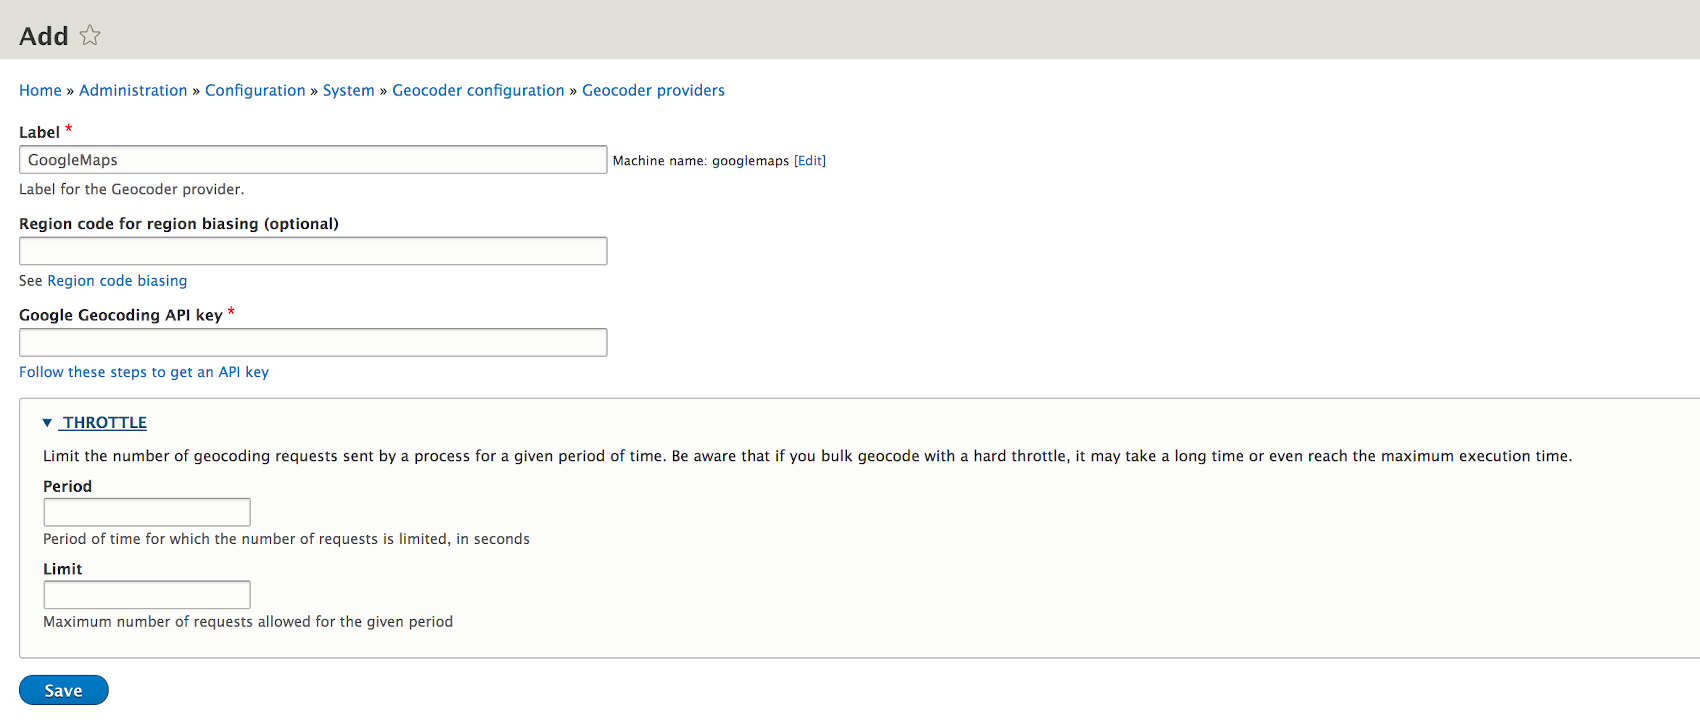
After you install a Geocoder provider like GoogleMaps, and you ‘add’ it in Geocoder, you have some basic set up options. The main thing is to put your API key in the box provided for that -
Here is Bing’s map Composer install -

Here is ArcGIS map Composer install -

Here is Mapbox Composer install -

Here is OpenCage map Composer install -

Here is Yandex map Composer install -

There are some potential accuracy differences in the sources. The video link referenced initially has some test results toward the end of the video that may be worth watching.
Once you have the map sources for ‘matching’ from the Address field installed so Geocoder has a way to pin the location, you still haven’t actually told the system what map source/style you want to “Display” on your Content type. The easiest way to get there is to install-activate the ‘Leaflet More Maps’ Module -

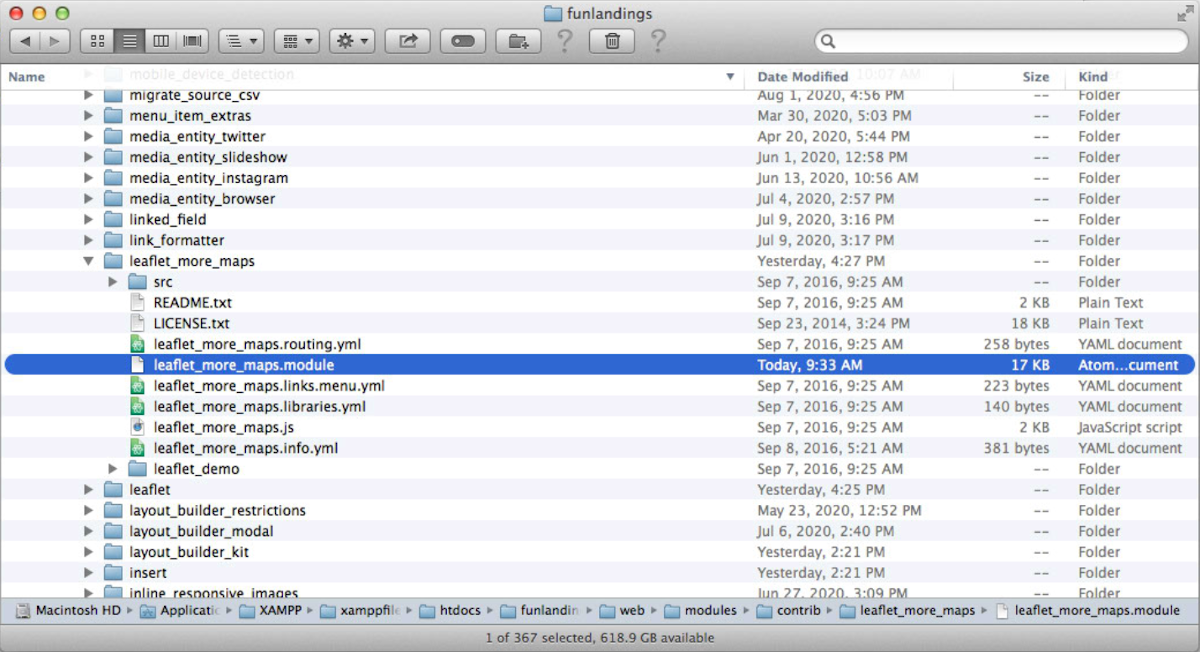
I got a message like this when I installed the module:
“Warning: Invalid argument supplied for foreach() in leaflet_more_maps_leaflet_map_info() (line 44 of modules/contrib/leaflet_more_maps/leaflet_more_maps.module).”
It had been reported by others on Drupal.org
Hope you didn’t get the warning nor had the issue since the module may have been updated since. But if needed, the patch noted as #8 worked.
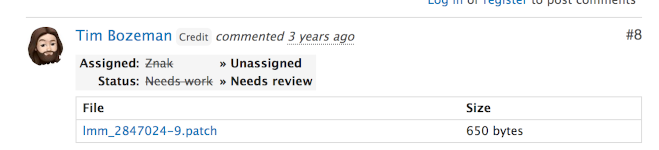
It is a simple one to change. Jist open up the patch and look at the code. Then open up the actual module and edit that line. It is around line 42.
Once the ‘Leaflet More Maps’ module is installed, go back to your Content Type Manage Display and scroll to the Geofield where the little ‘wheel’ can be clicked for your configuration options. Then you can use the pull down list to choose which map source/style you want to show.
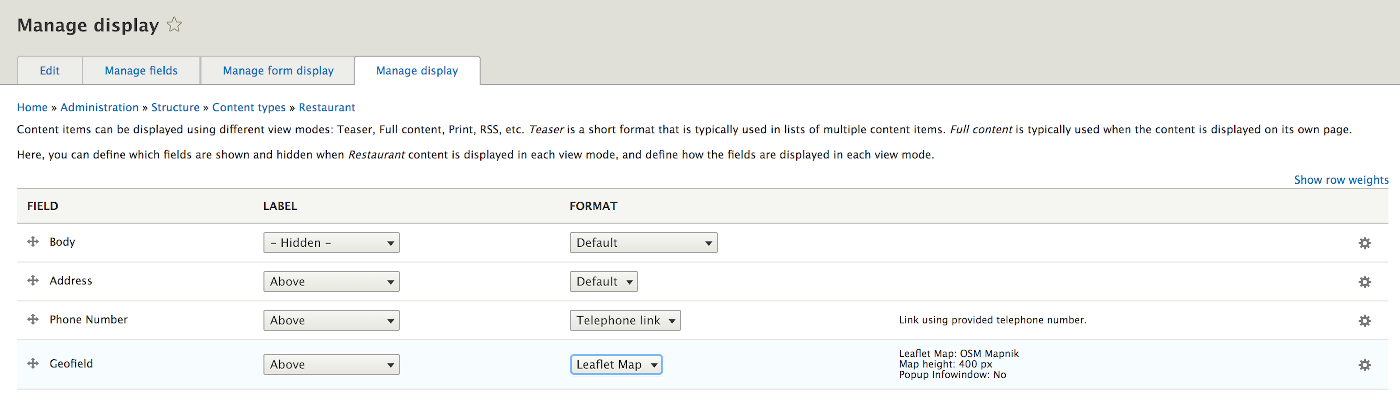

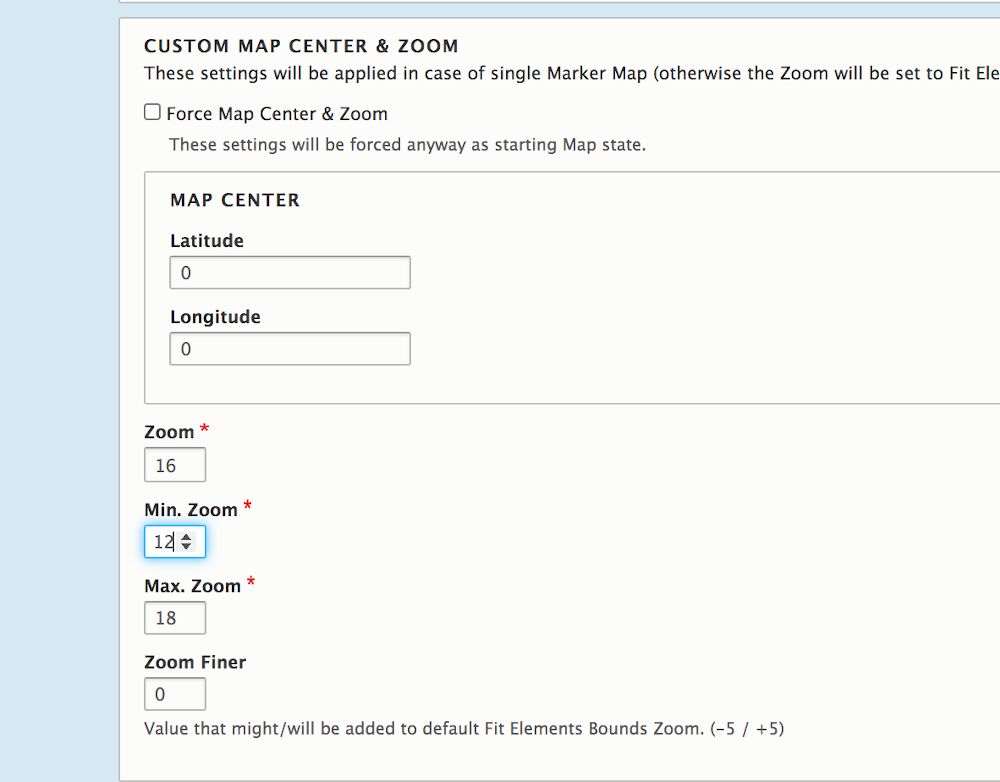
There are also other configuration options you can set in that same area. Like how big of a map you want to show, if you want to turn off the mouse wheel zooming (recommend so it doesn’t zoom as you scroll the location with your mouse).

You don’t typically want to tell the map to center on a Lat/Lon location because you are pulling the location from the address field instead. But you do want to set the initial, min, and max Zoom levels.
Resturant Taxonomy
Let’s do more with our node
Now that we can show the Address, Phone number and a location map for our Restaurant, we want to add more. Let’s put its website on the content type. We go back to ‘Add field’ -
And we choose to add a “Link” from the pull down list -
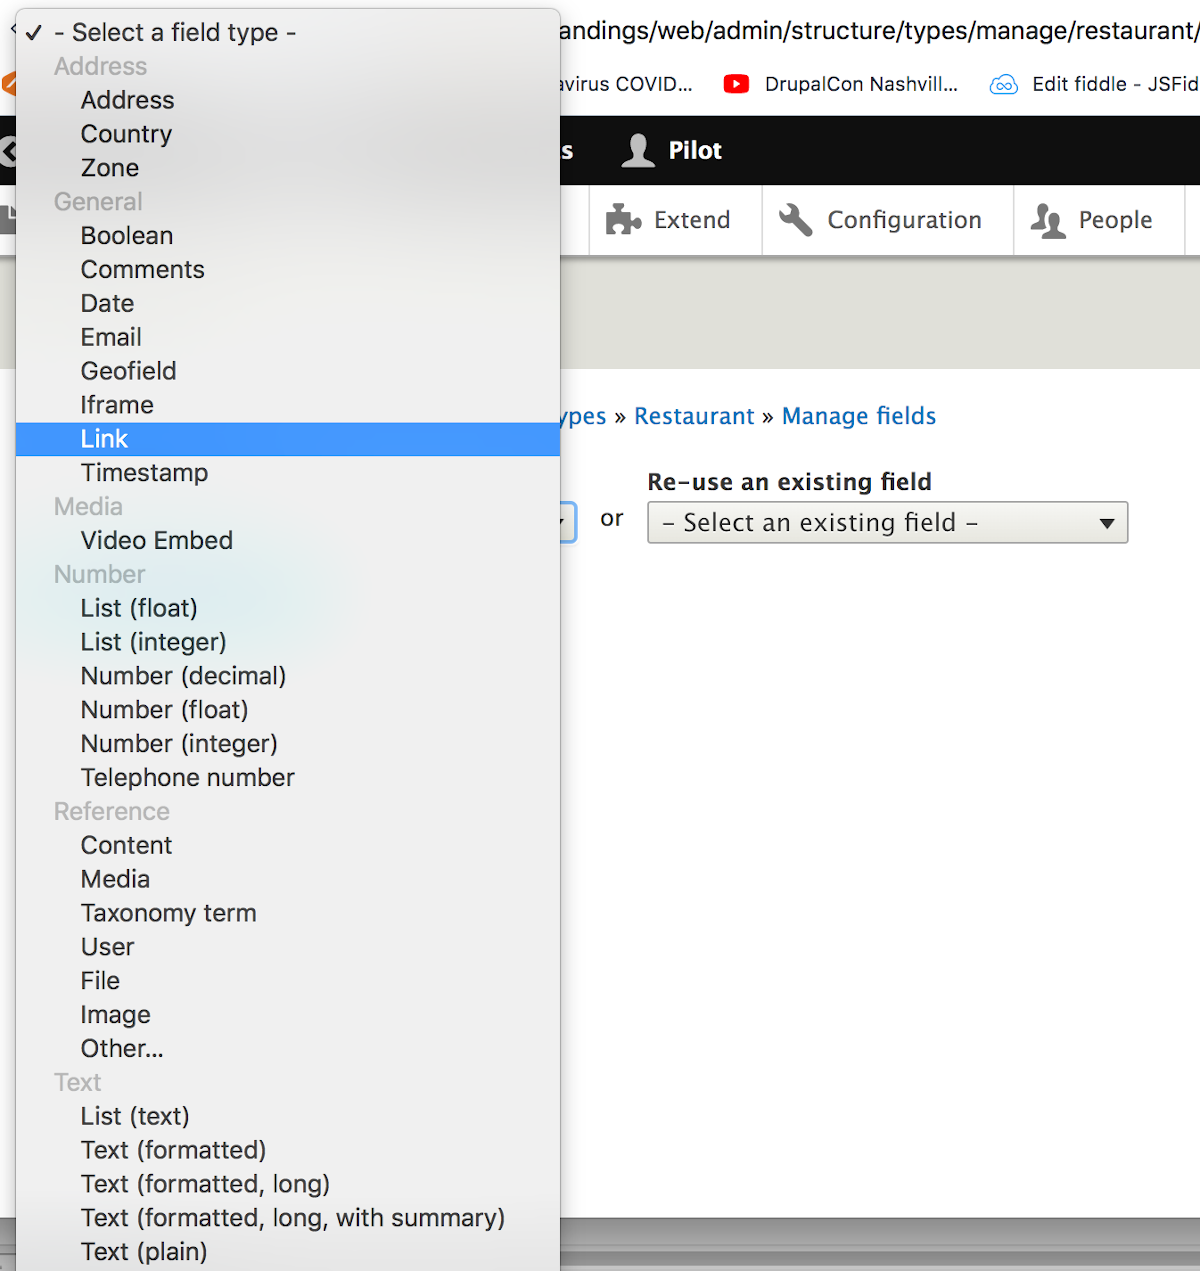
But we want to control our link to the restaurant’s website a little more than the standard Drupal 8 link provides for and we elect to install the ‘External Links’ module to provide additional control –

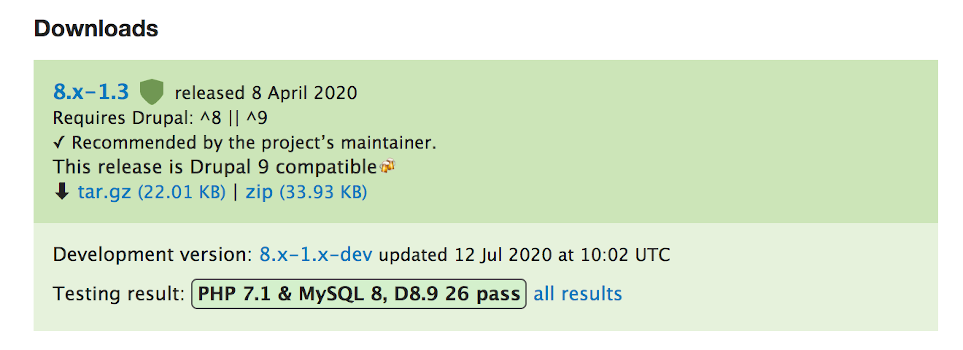
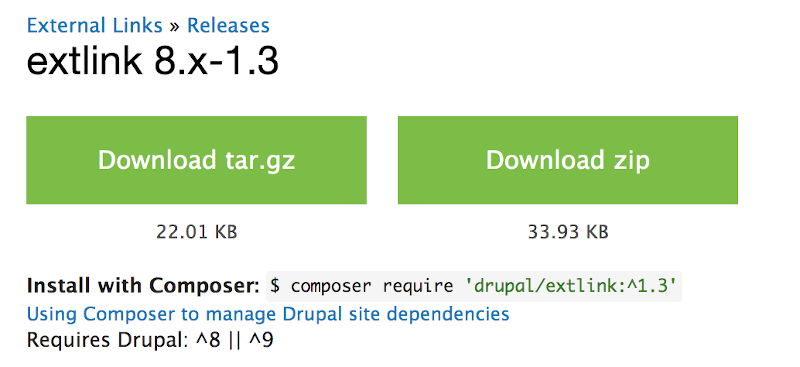
We install with the Composer approach to coordinate dependencies; or we use the GUI in ‘Administration/Extend’ and mark the checkbox to install-activate the module.

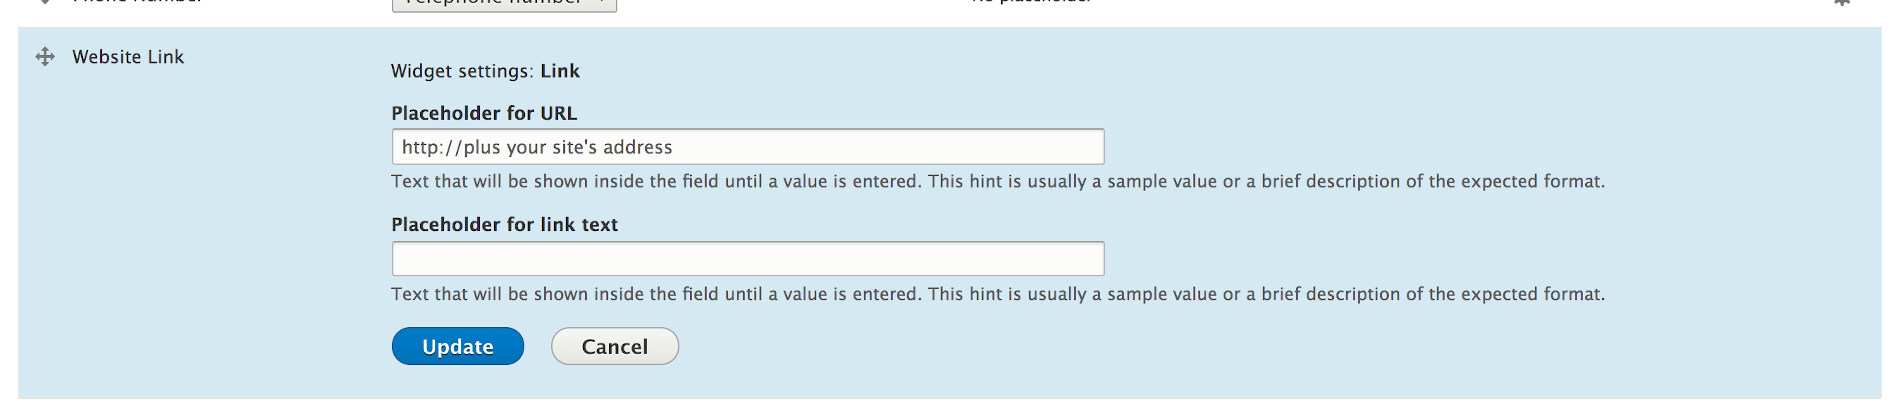
Once you install the External Links module you can go to Manage form display on the Restaurant content type and put a placeholder like http://plus your site’s address” in the box so users can know the expected format.
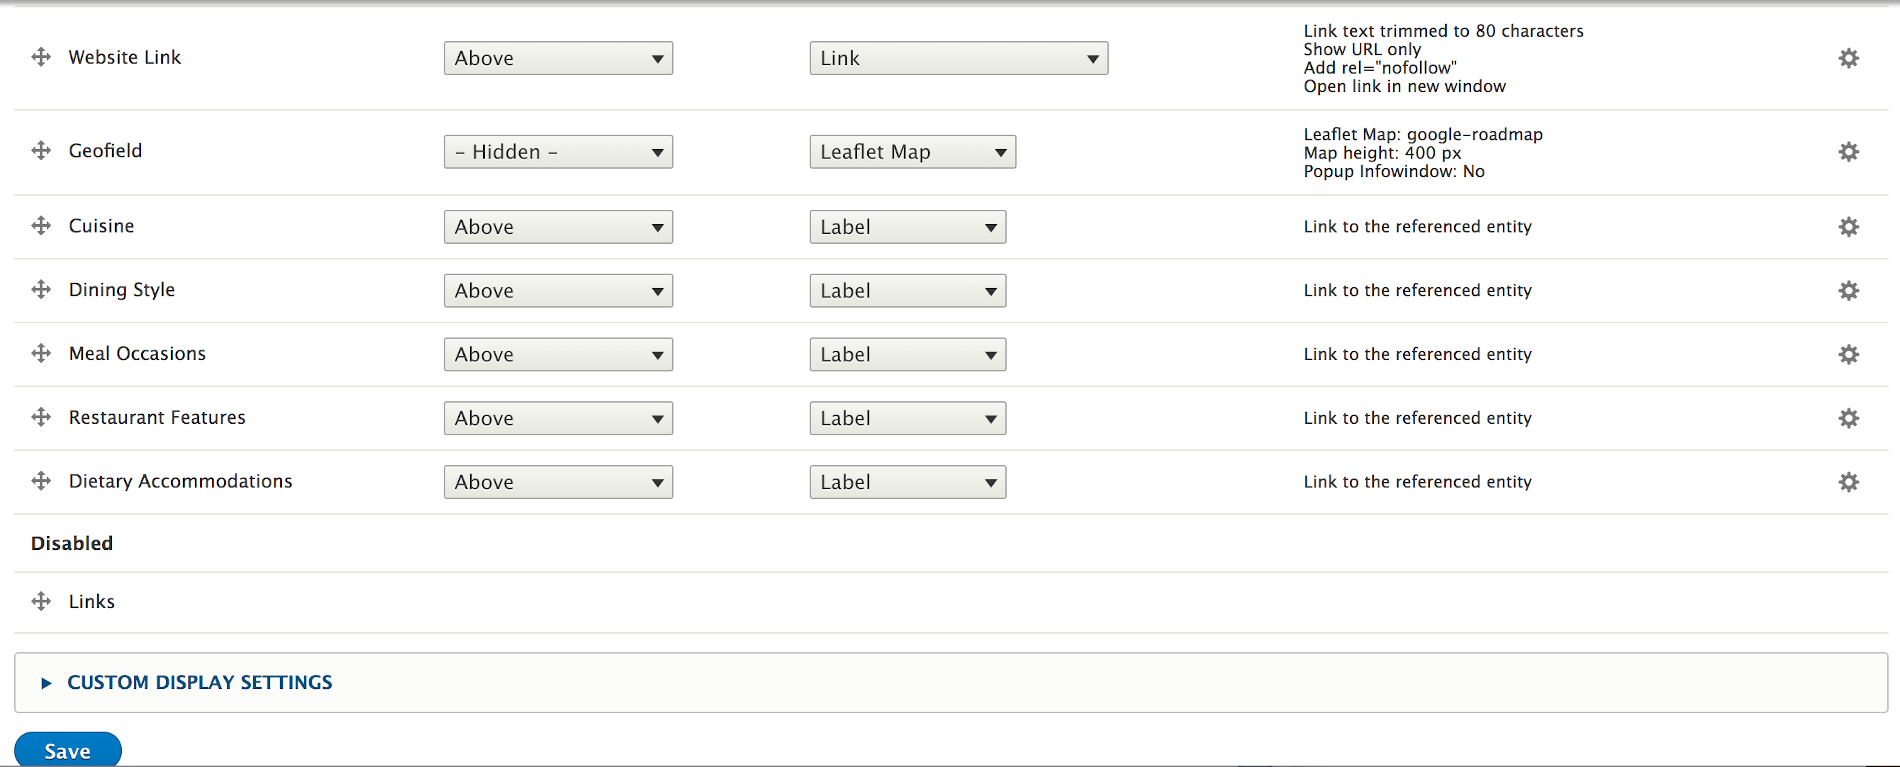
On the Manage Display tab tell it to open in a new window and ‘nofollow’ for security -

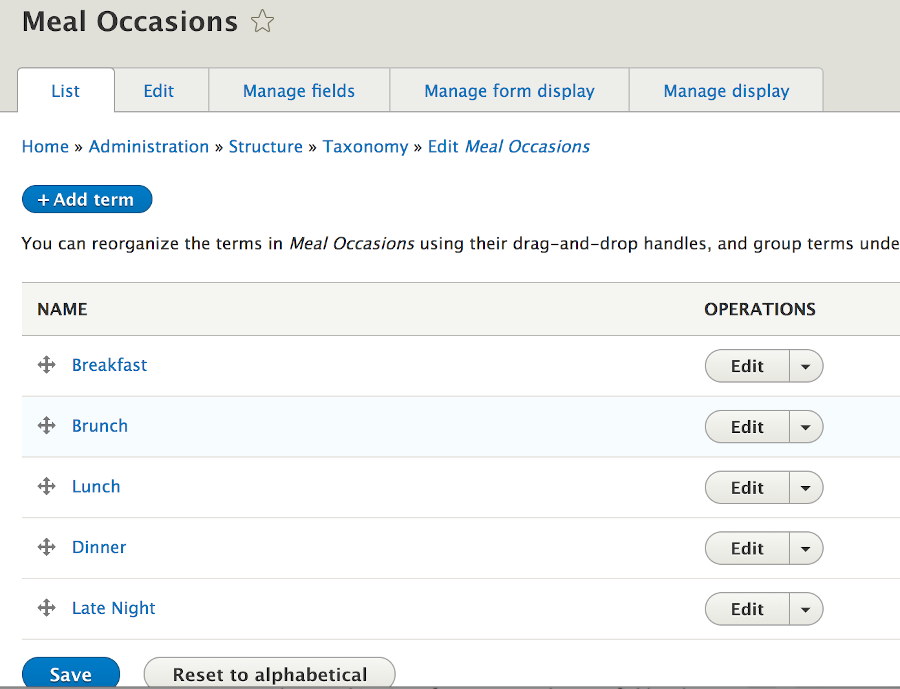
You want a way to describe your restaurants. For this we use the taxonomy functionality available in Drupal. Taxonomy allows you to create pick lists of classification terms to describe something. For example, what meal occasions is the restaurant serving; breakfast through late evening. As you set up taxonomies you are able to allow selection of only one or as many as the user wants to describe their restaurant. We allow any because restaurants commonly serve at multiple occasions.
Meal Occassions Taxonomy
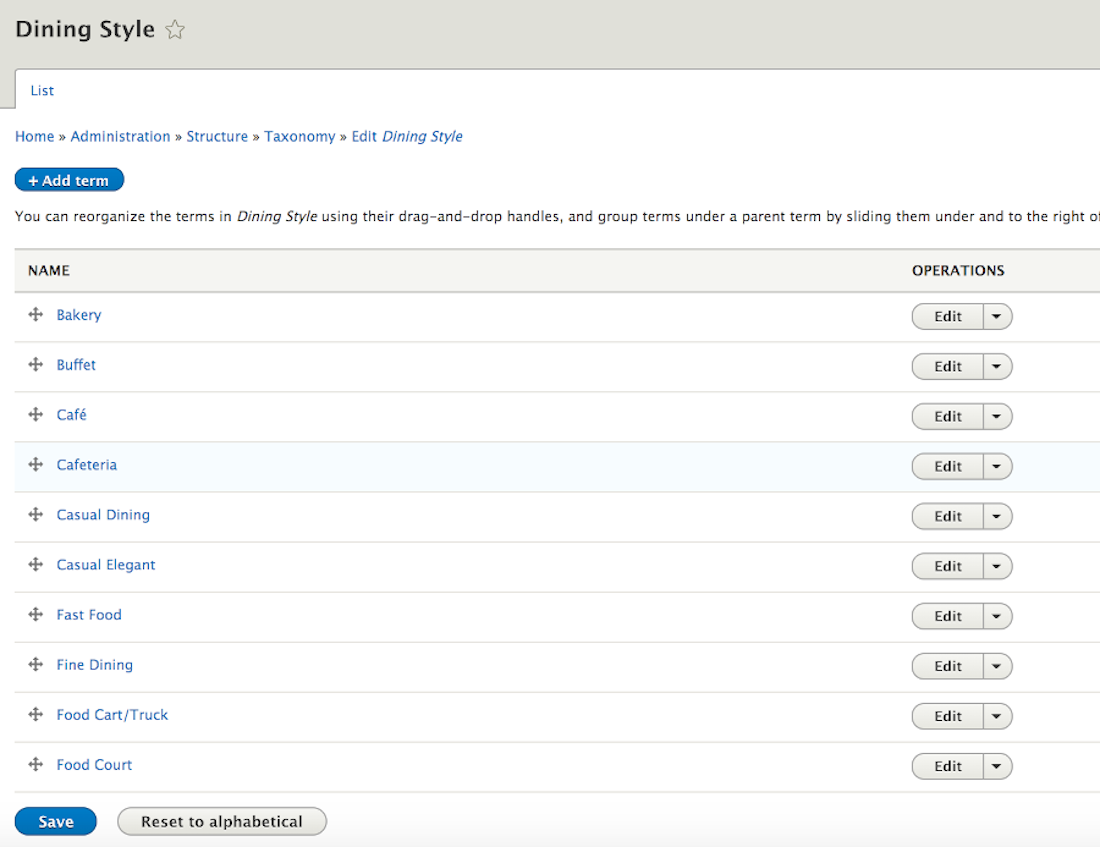
Dining Style Taxonomy
We have a Dining Style taxonomy with options from Fine dining to food trucks.
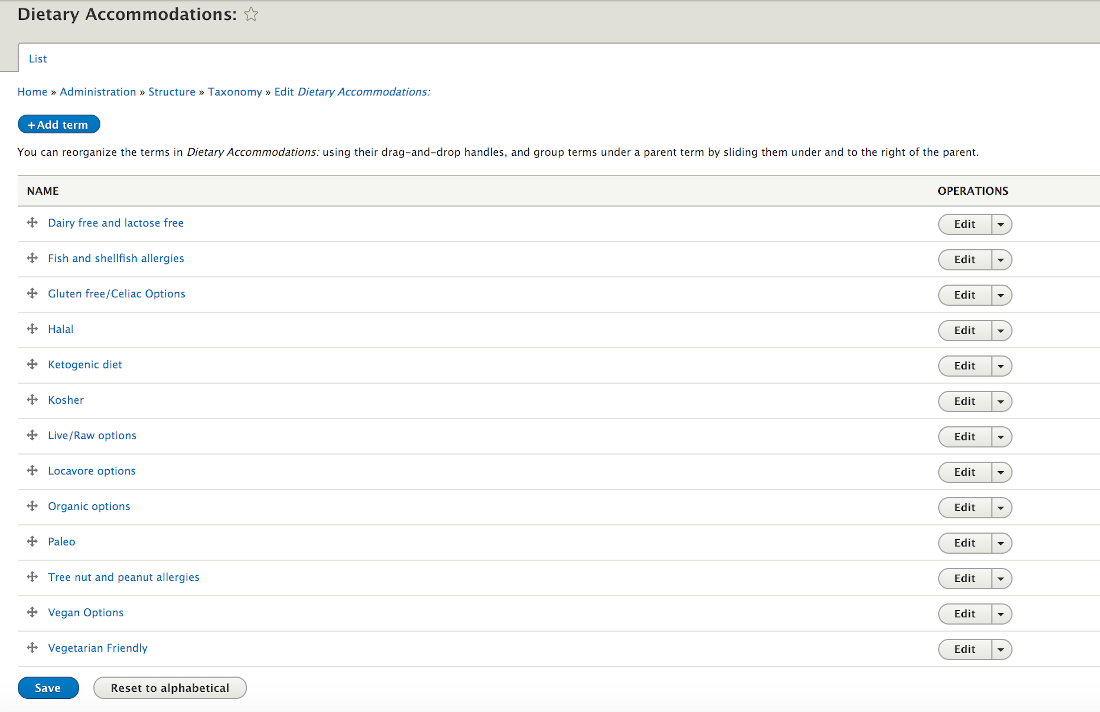
Dietary Accomodations Taxonomy
If your have medical or religious or even just food preference reasons we want to know if a restaurant allows for Dietary Accommodations.
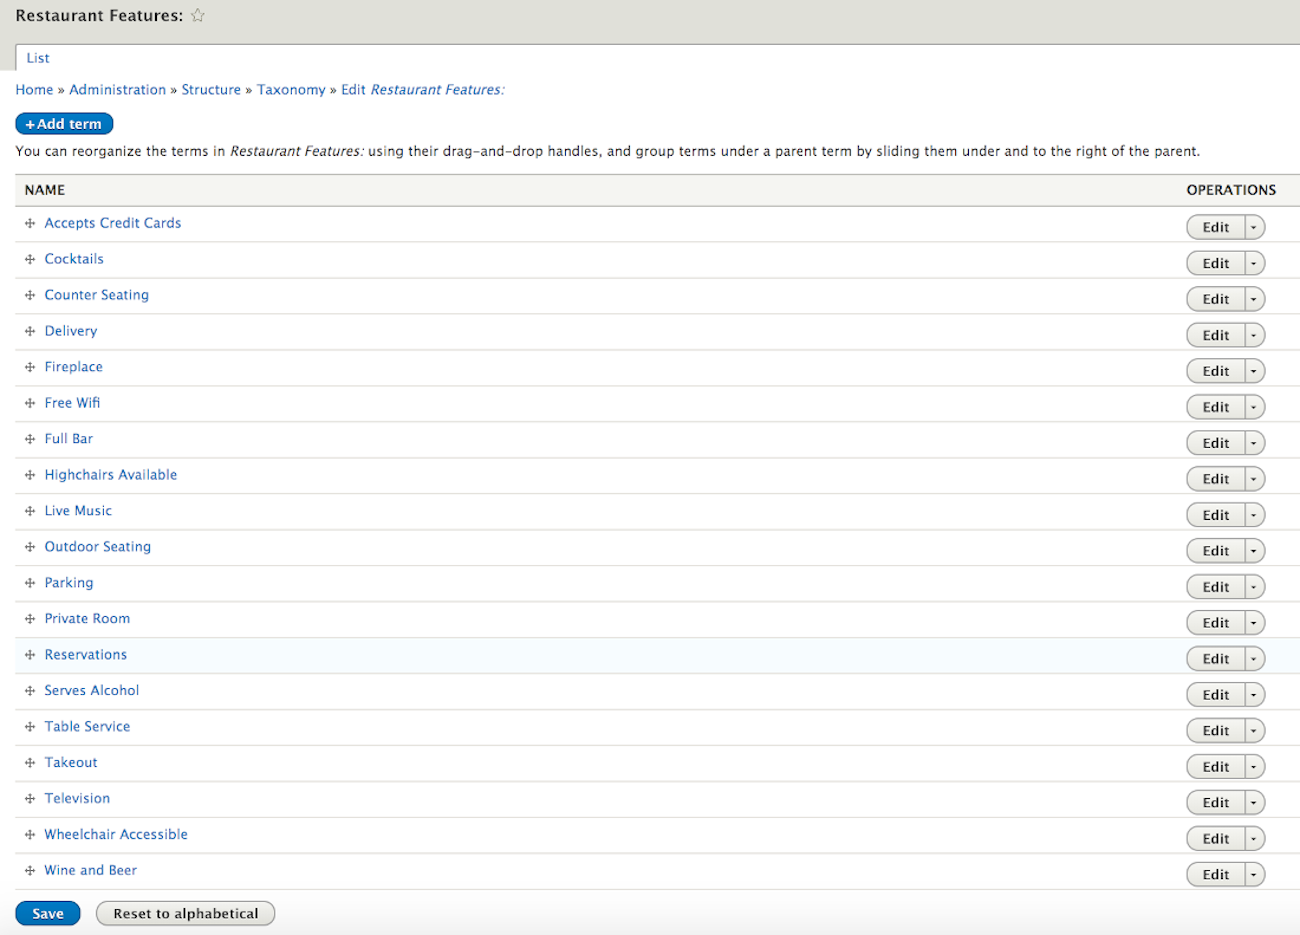
Resturant Features Taxonomy
We also have a taxonomy for features the restaurant has.
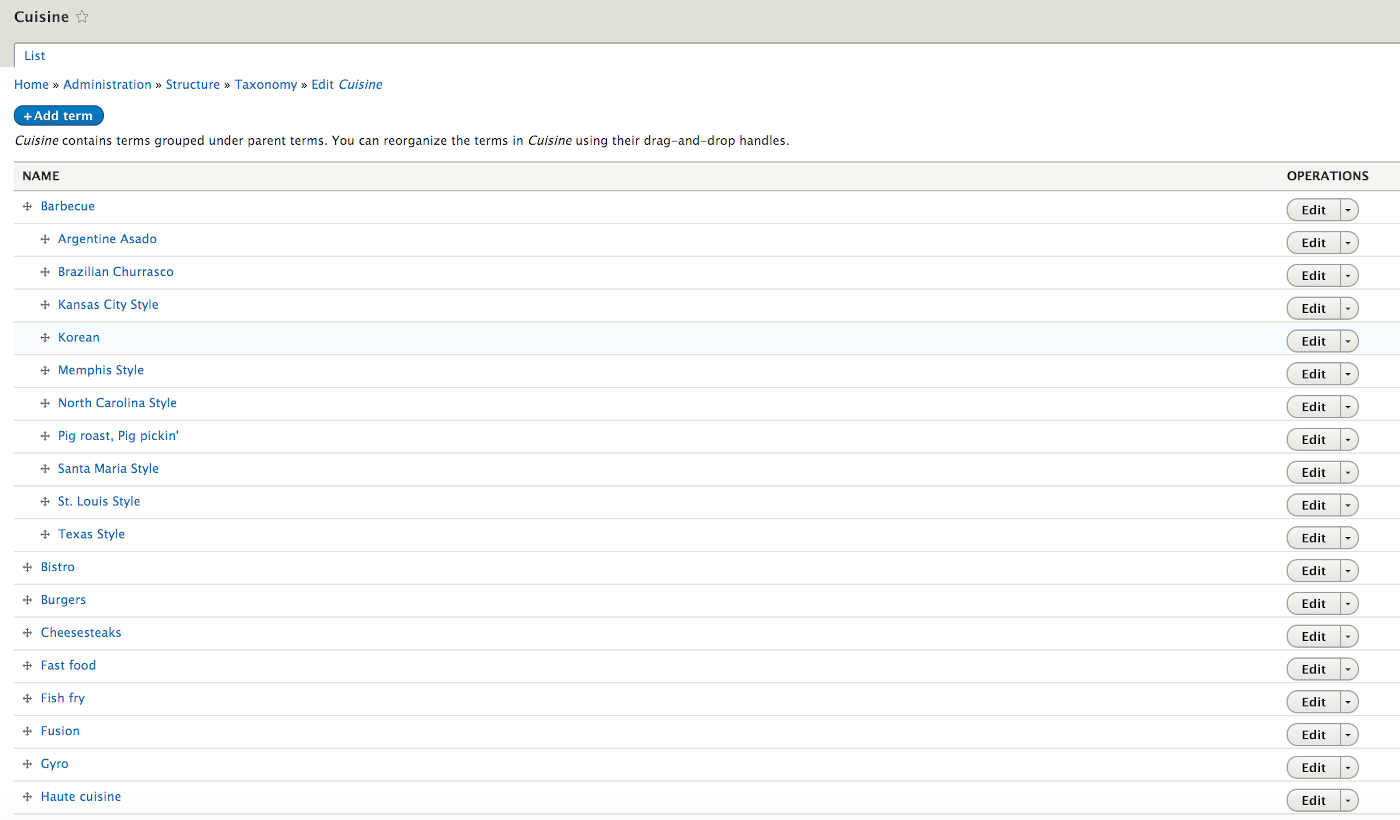
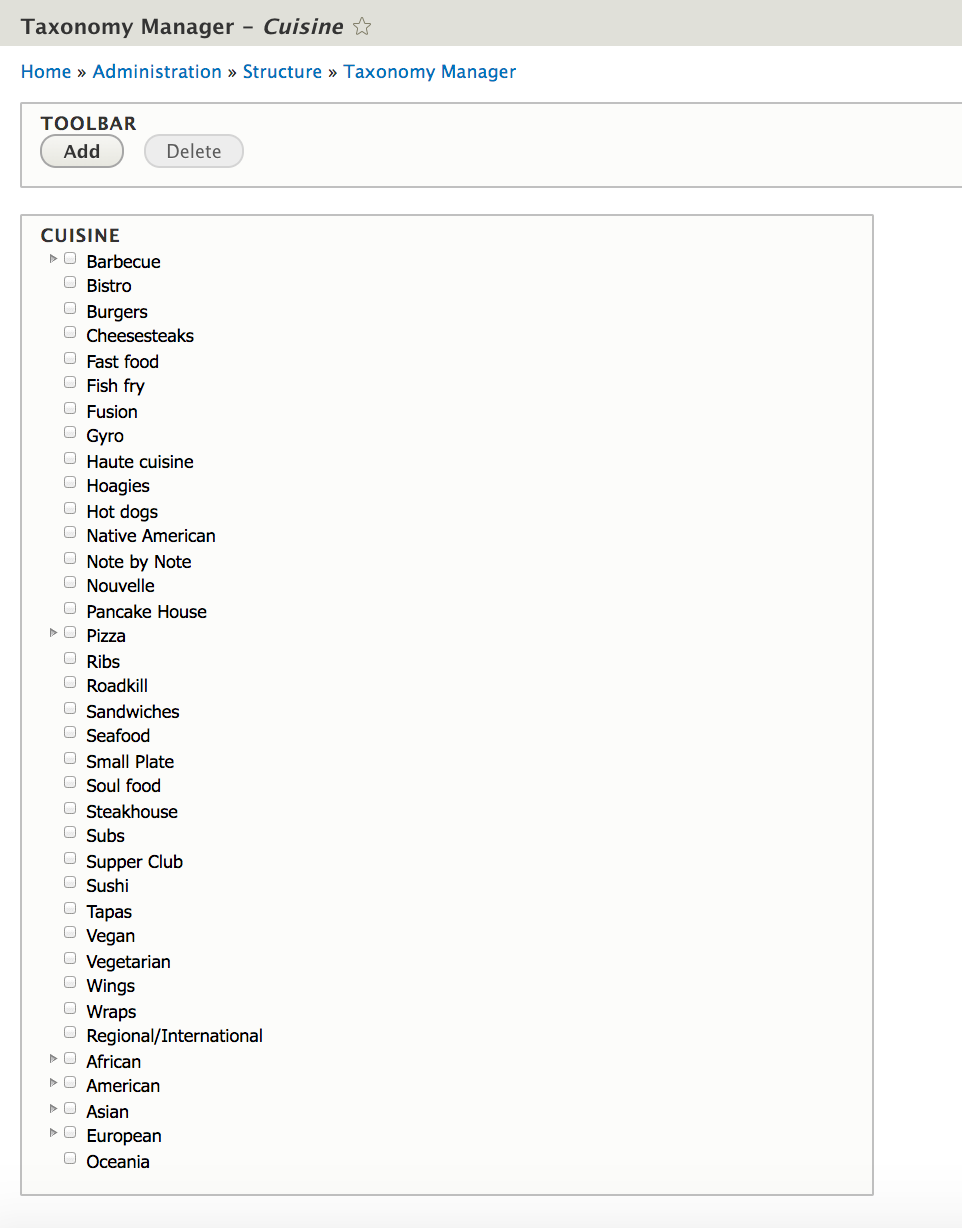
Cuisine Taxonomy
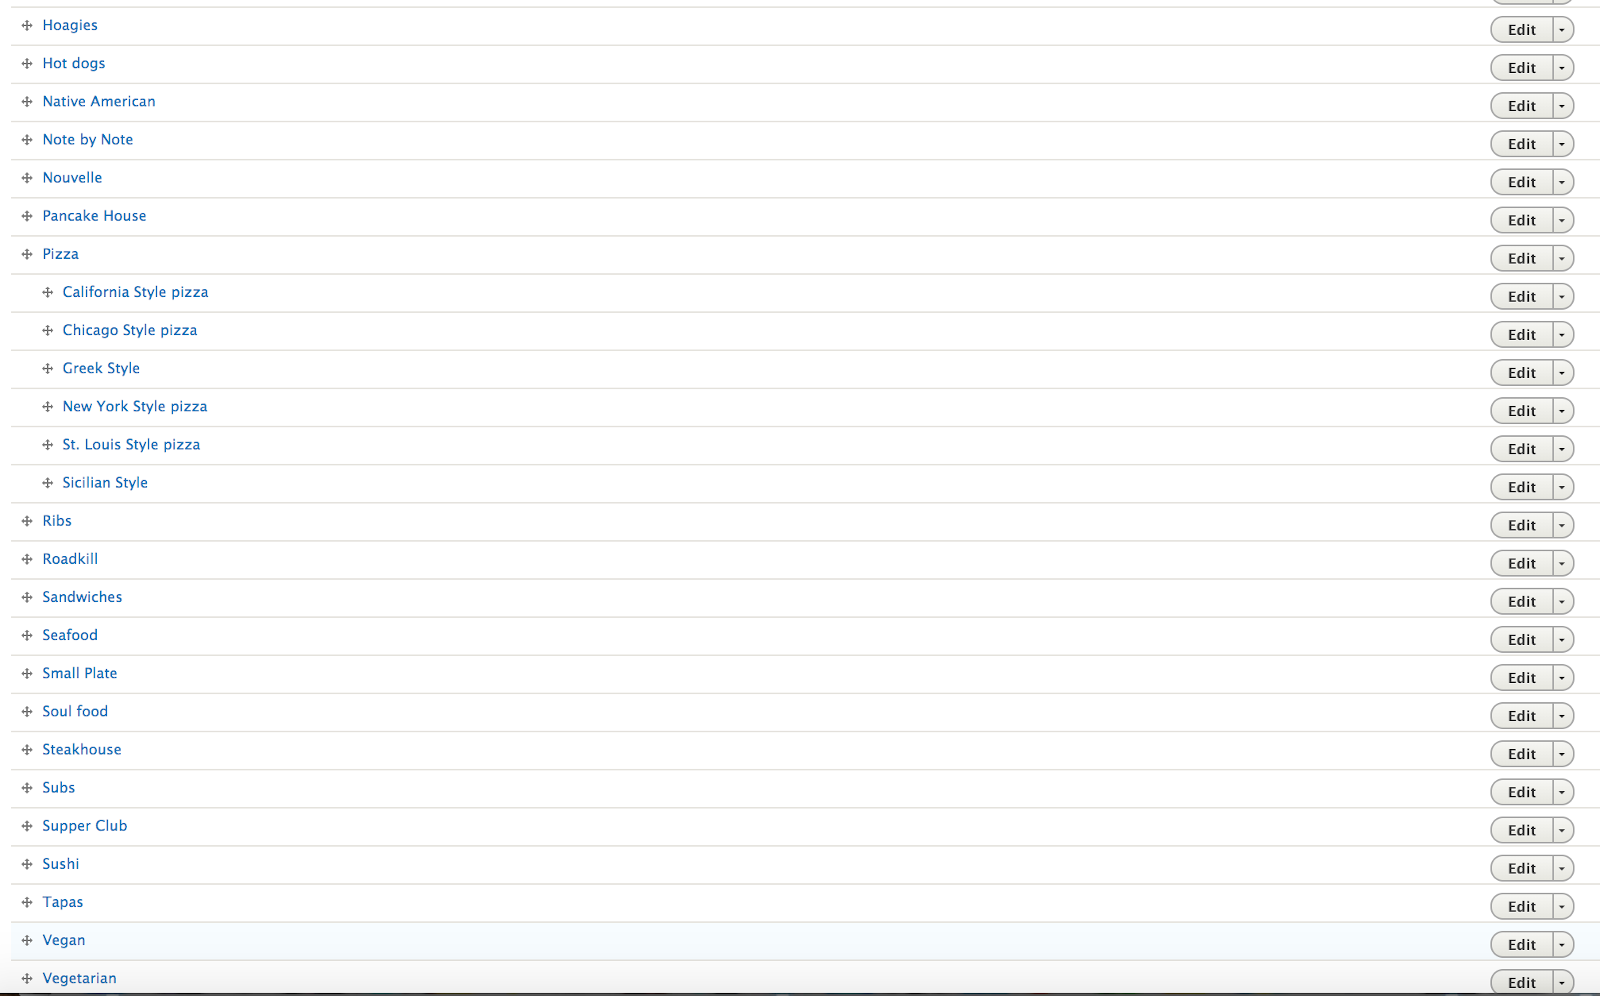
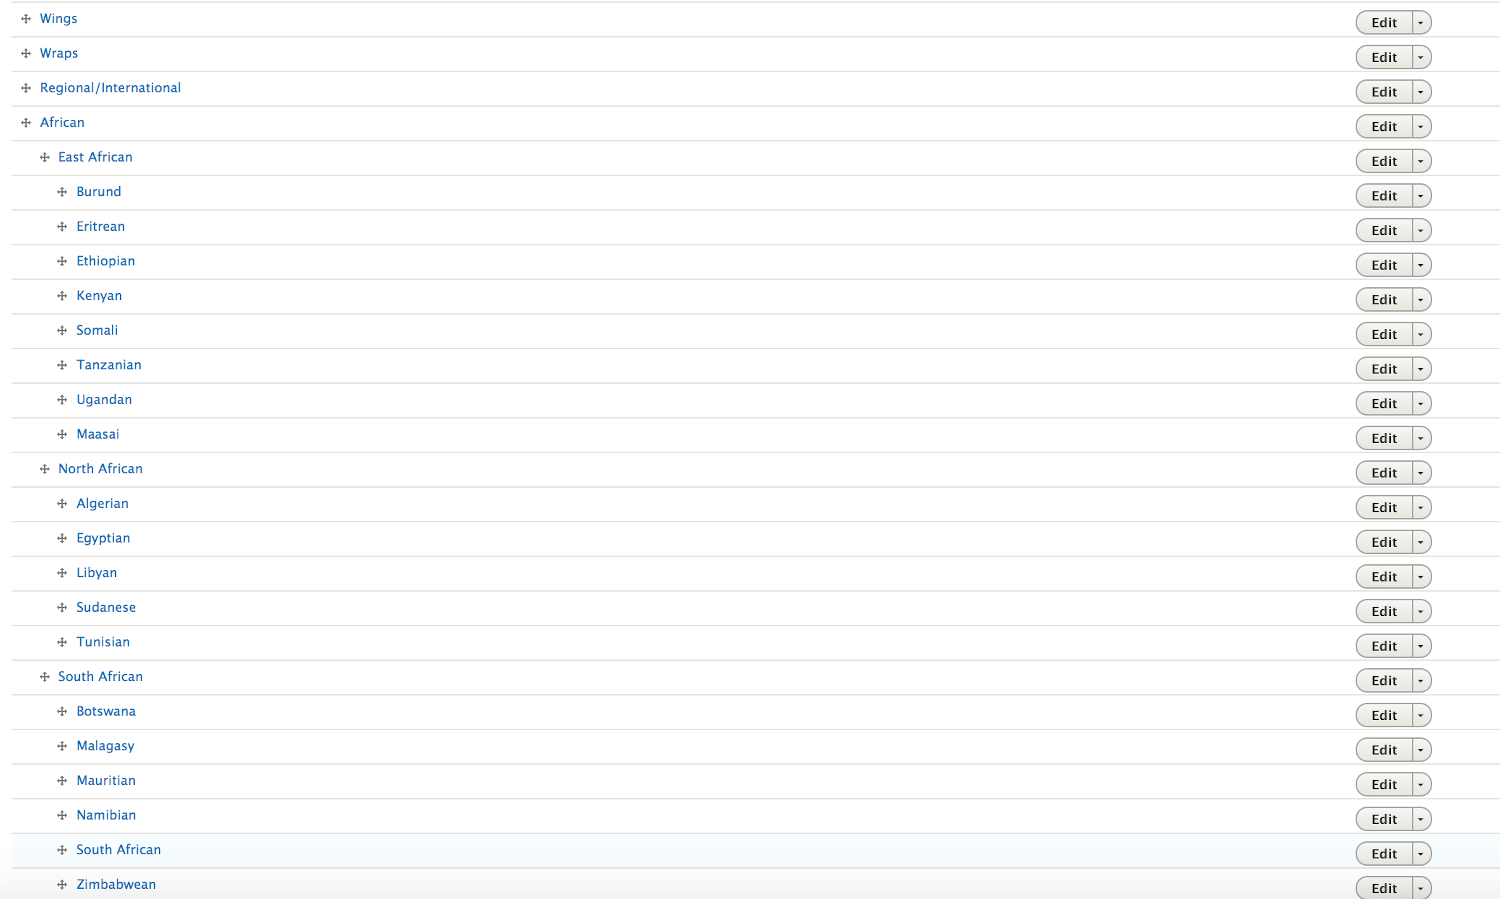
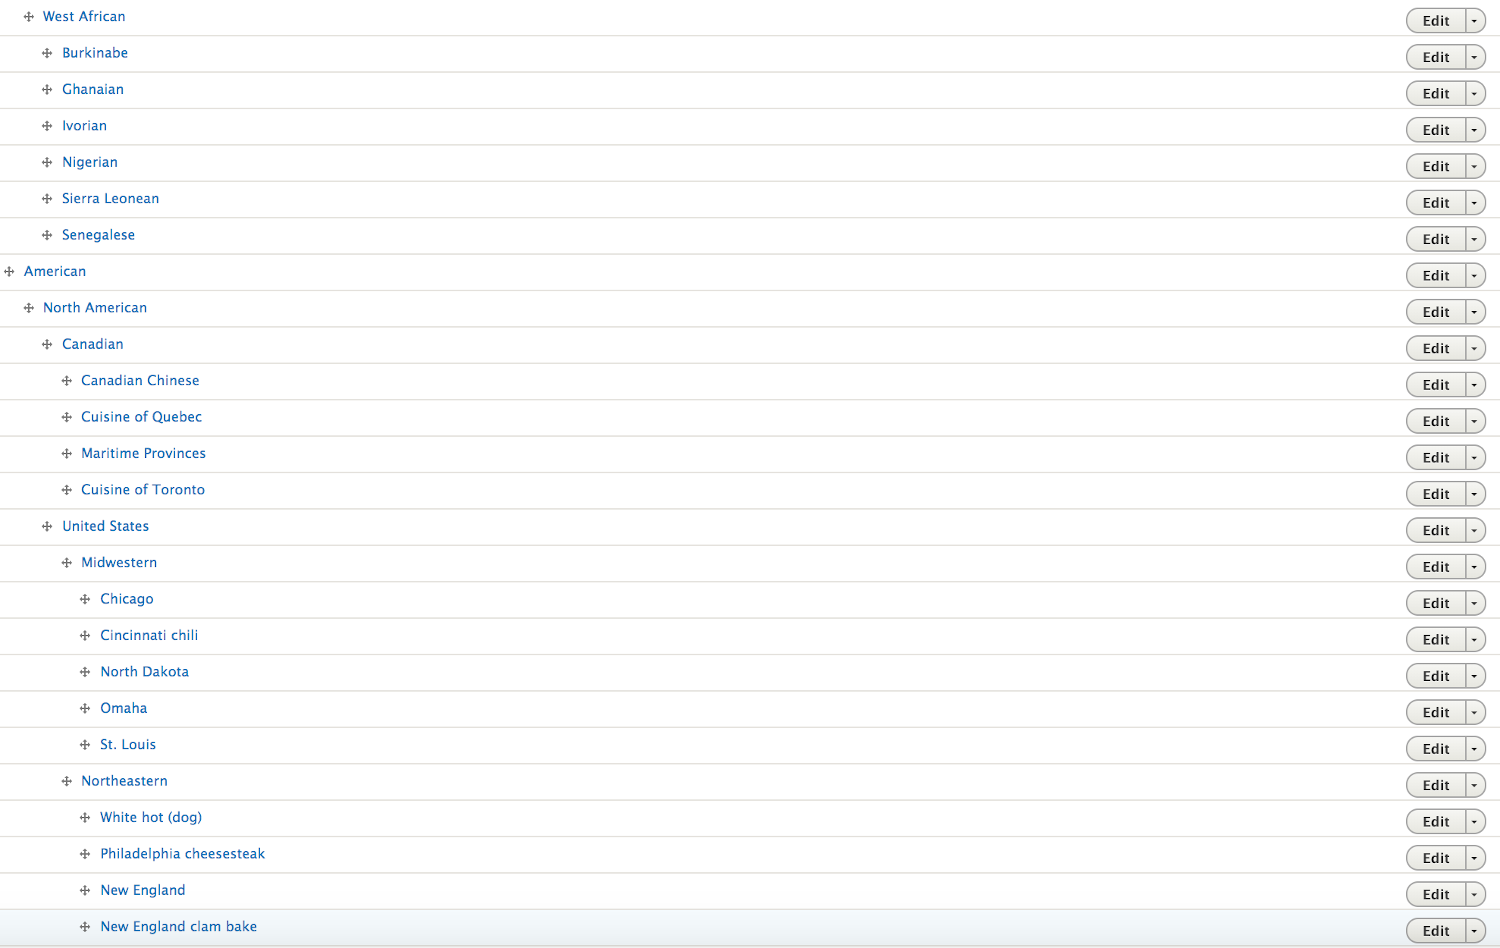
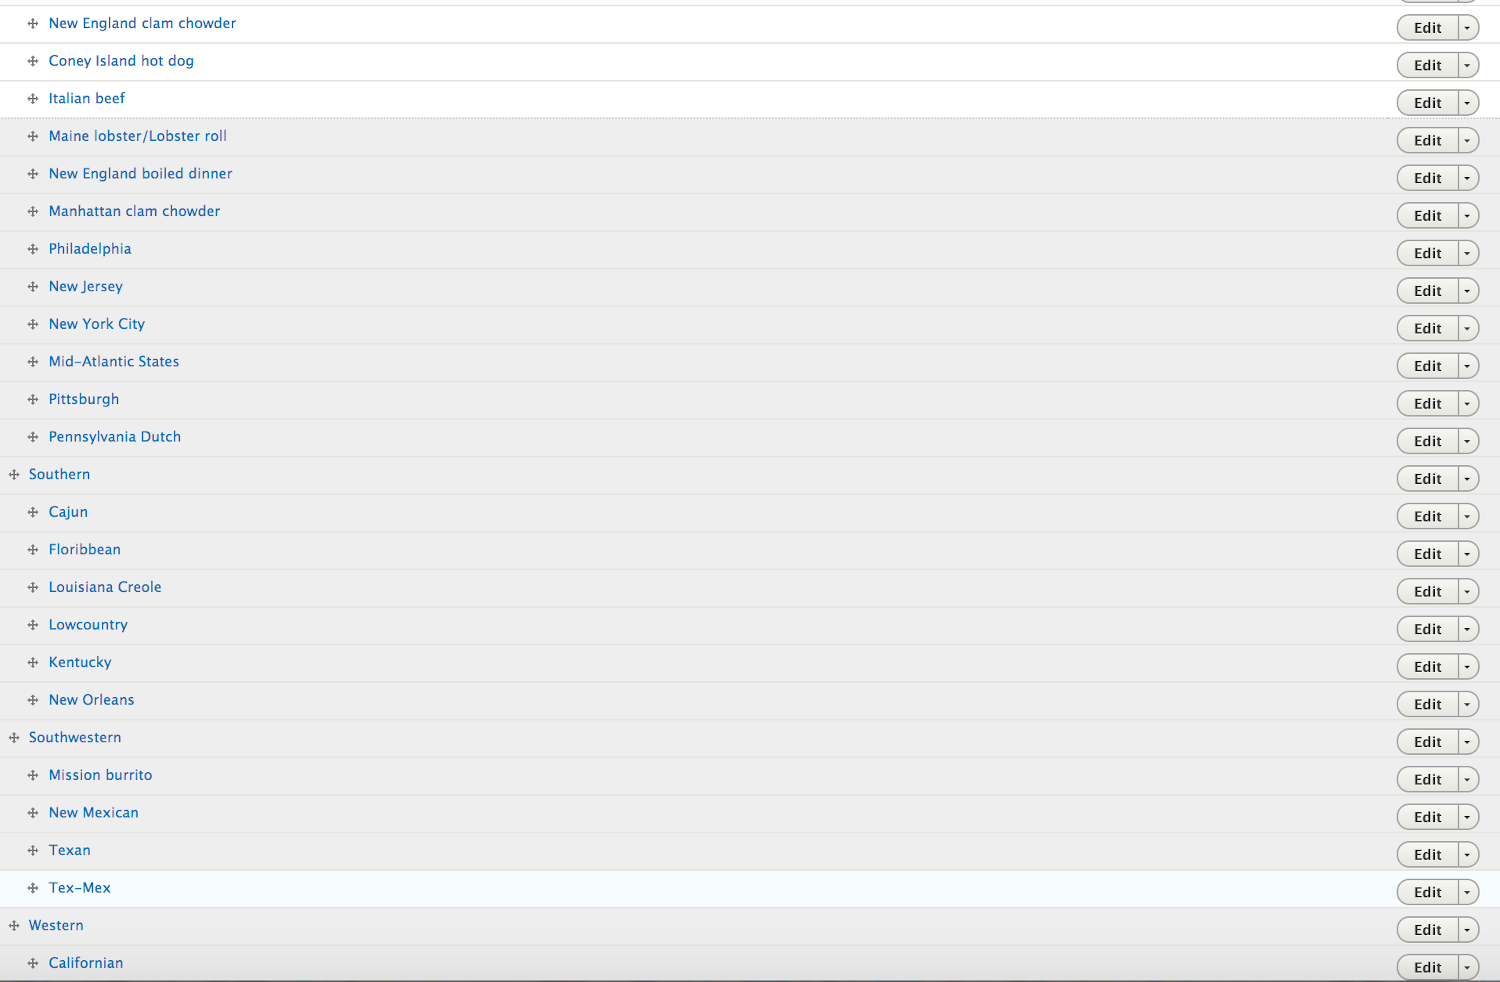
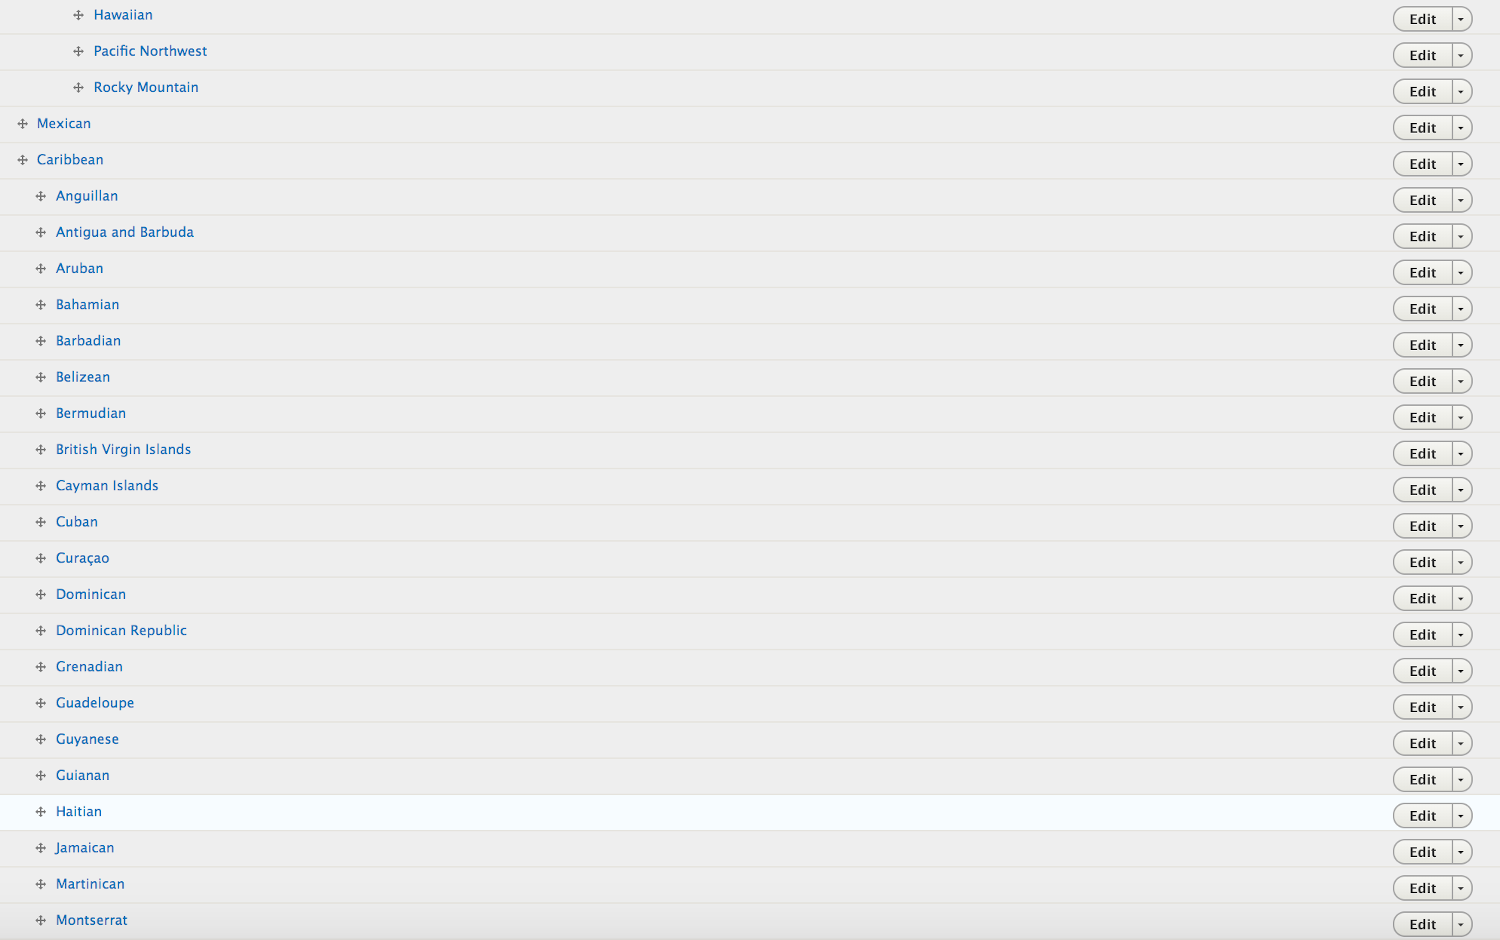
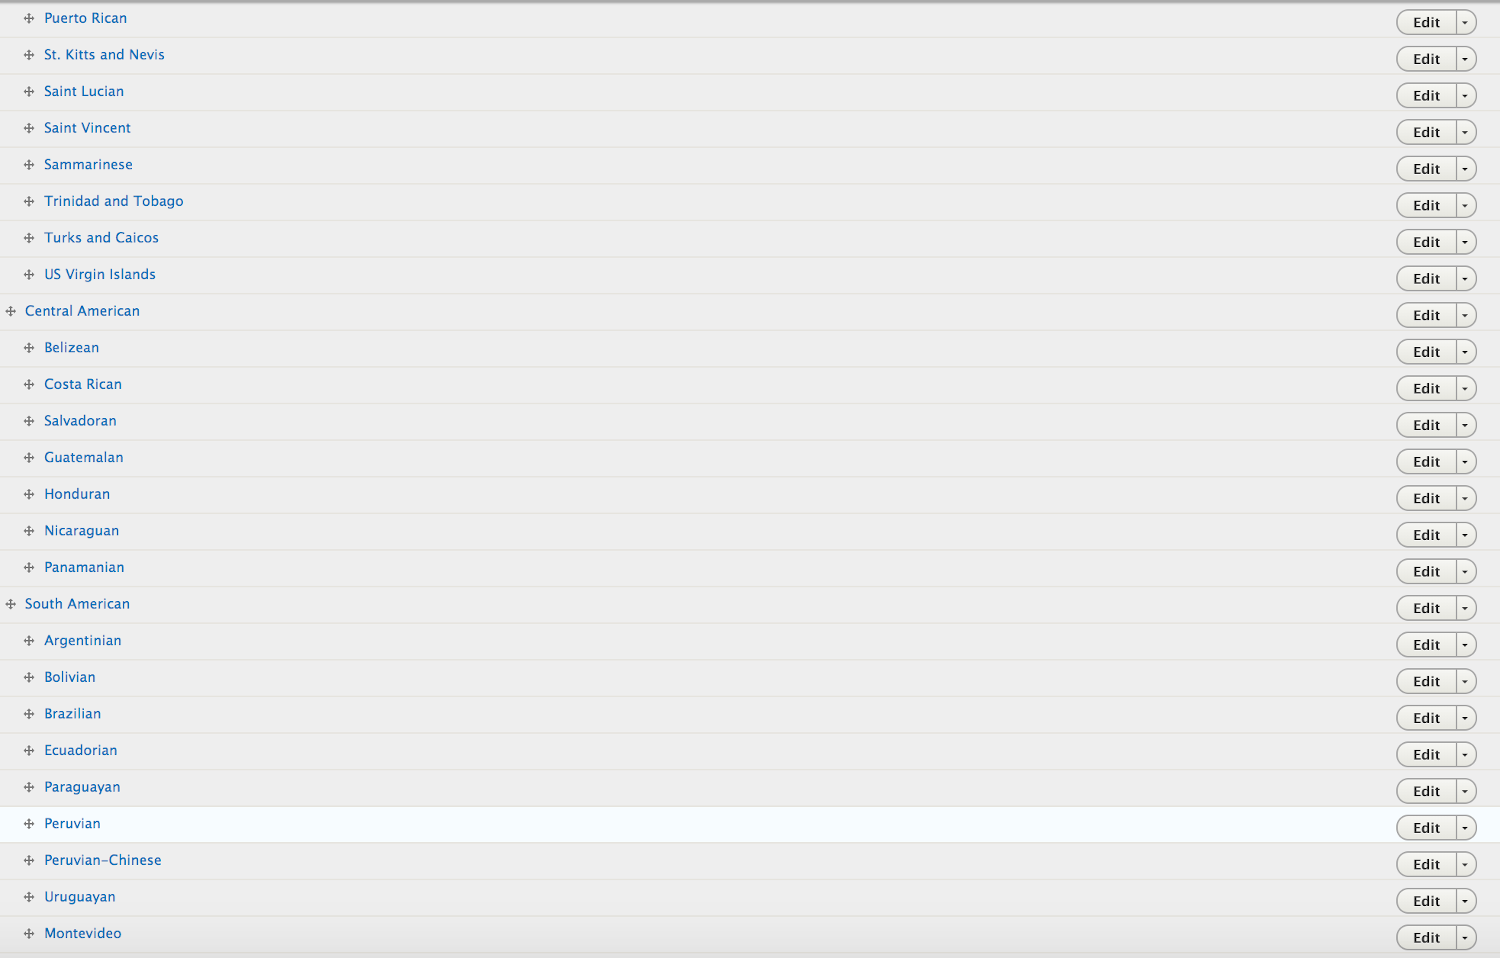
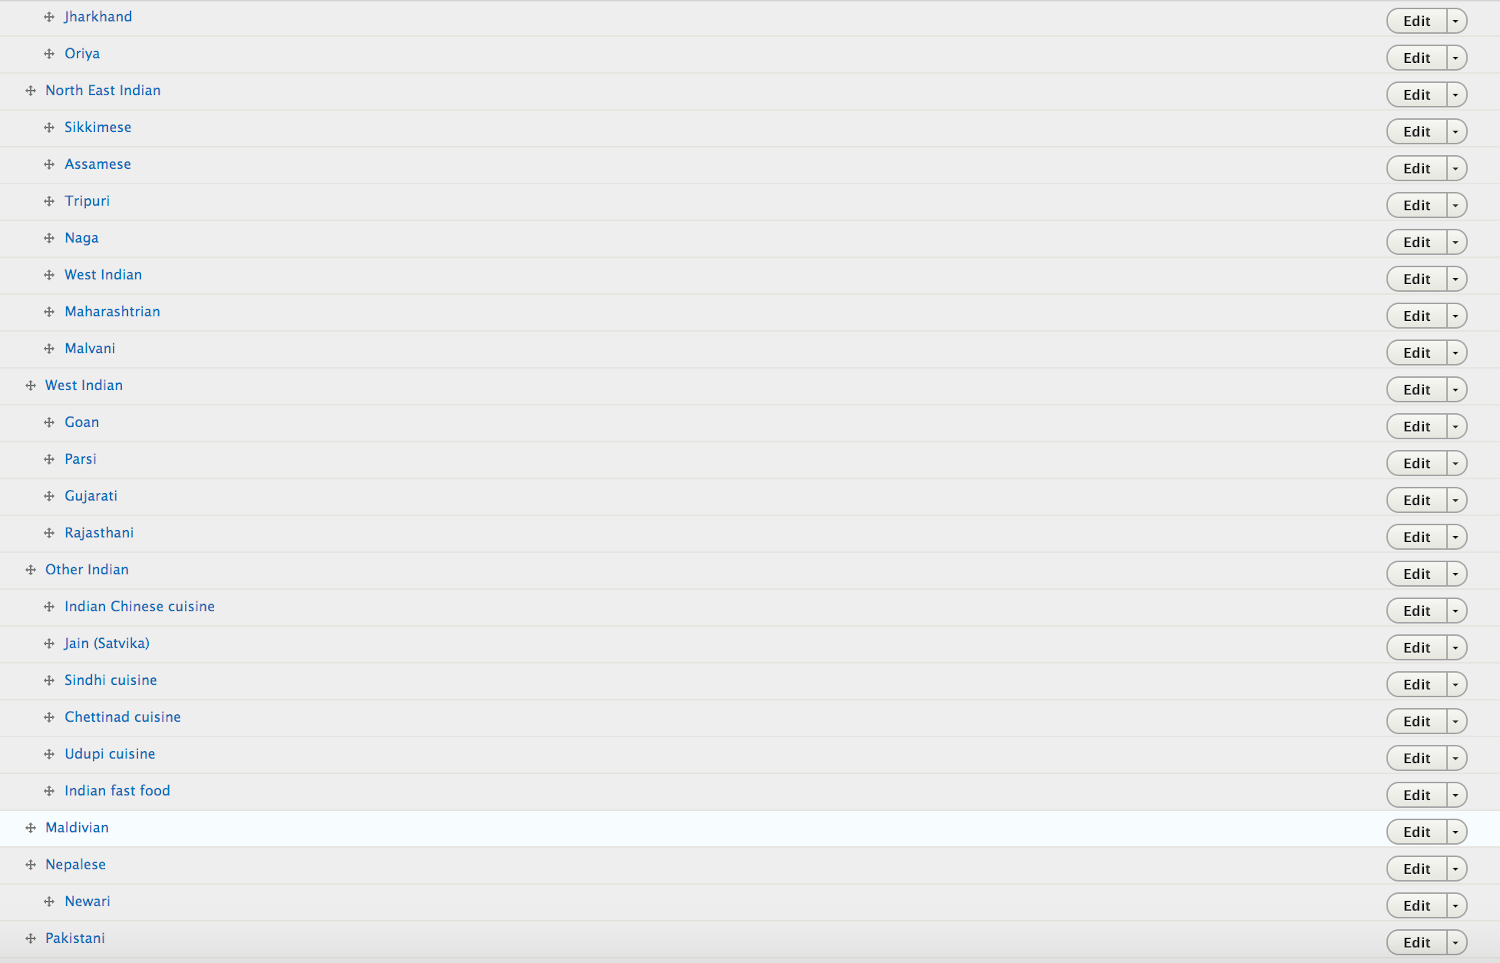
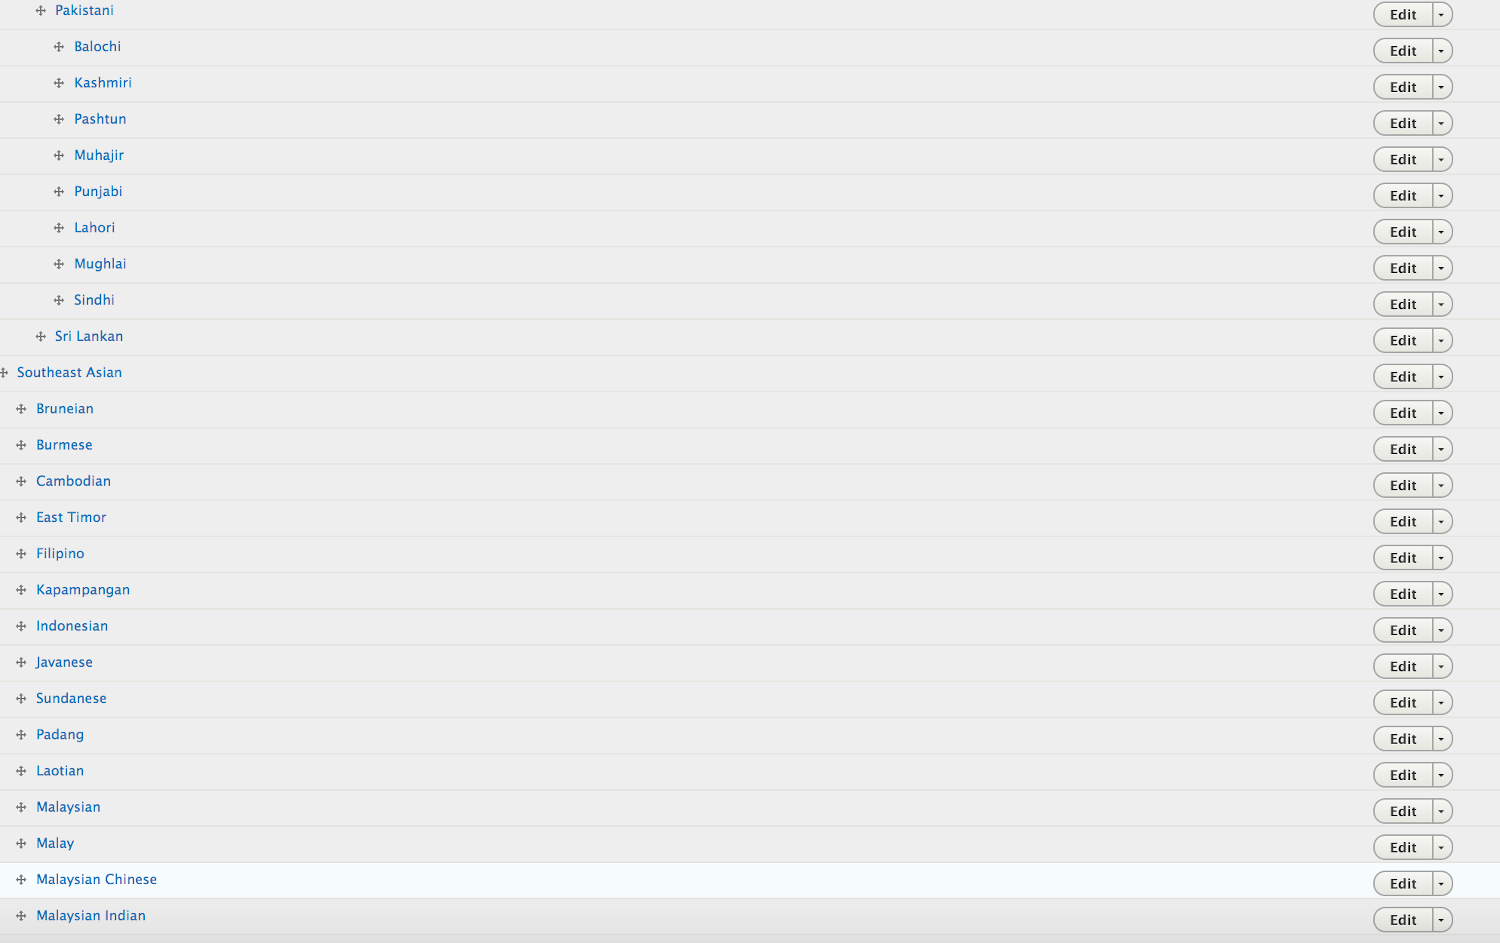
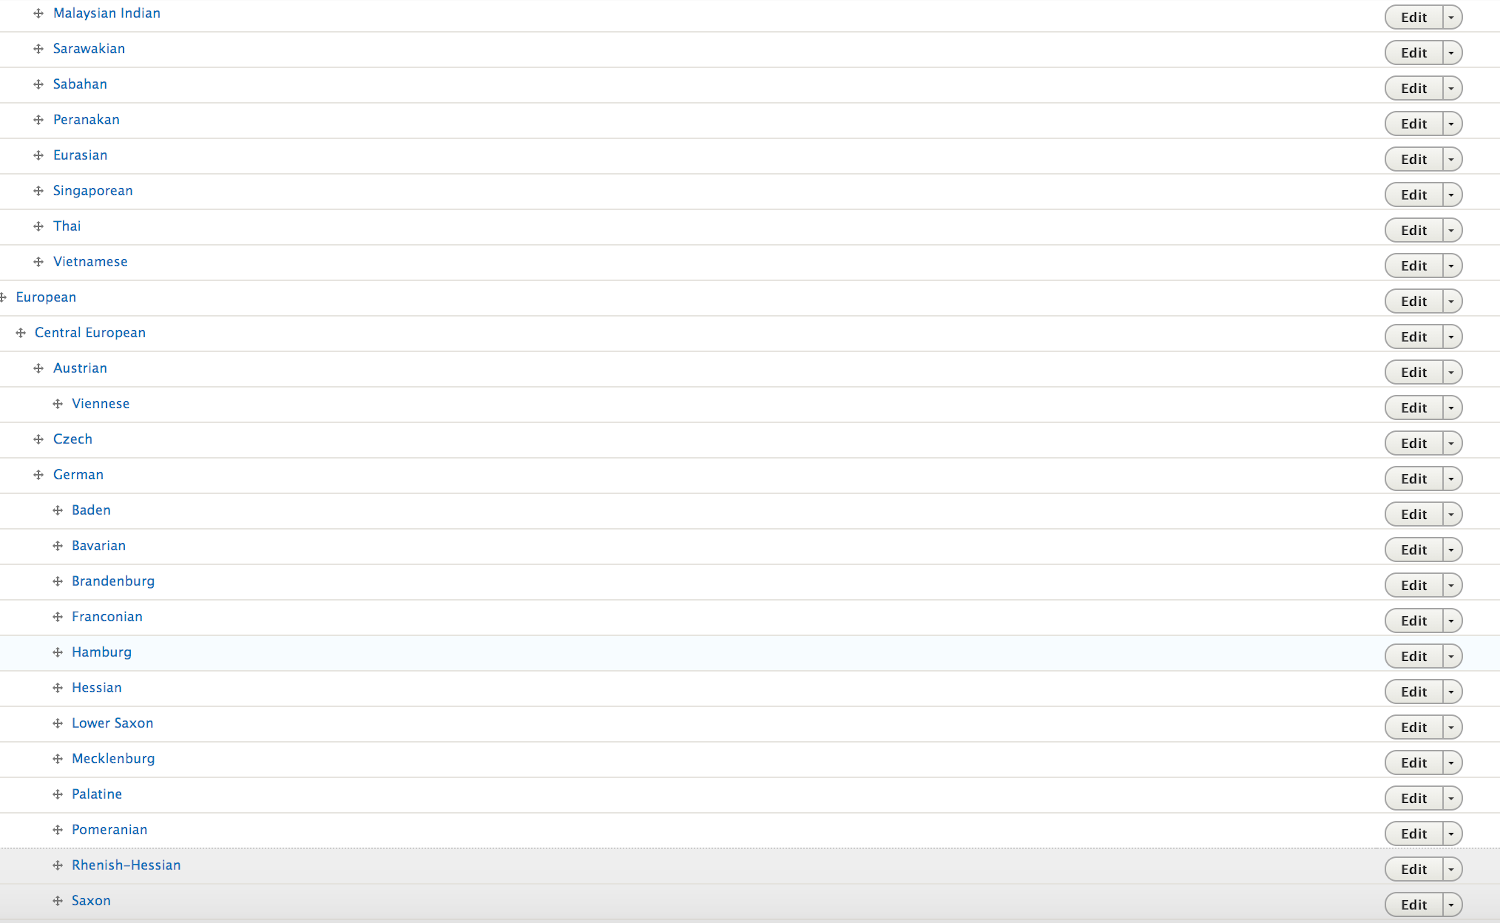
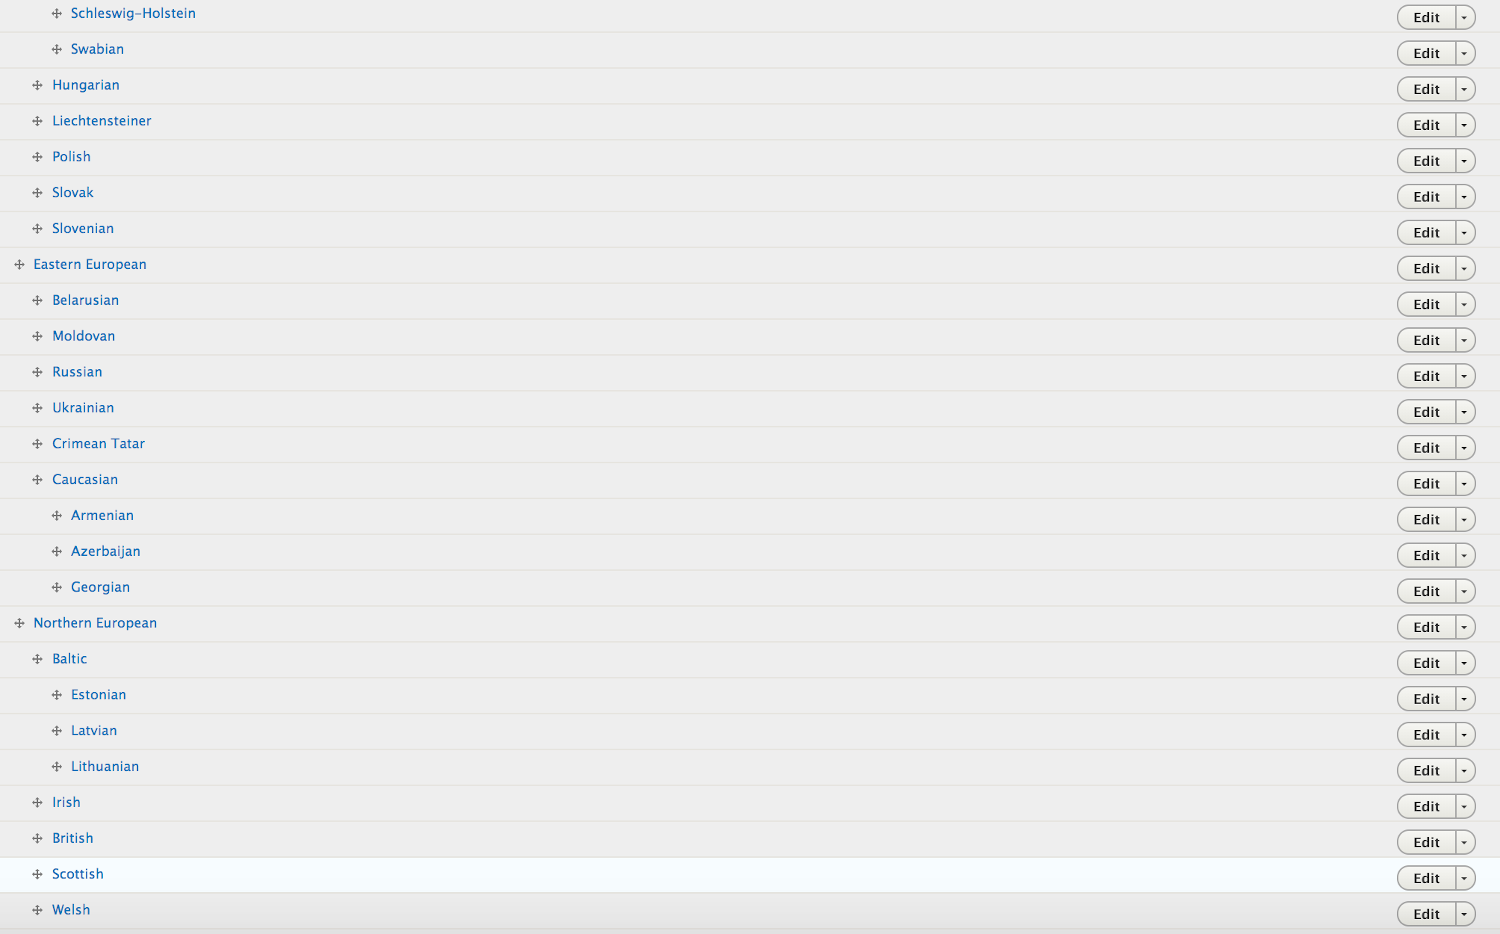
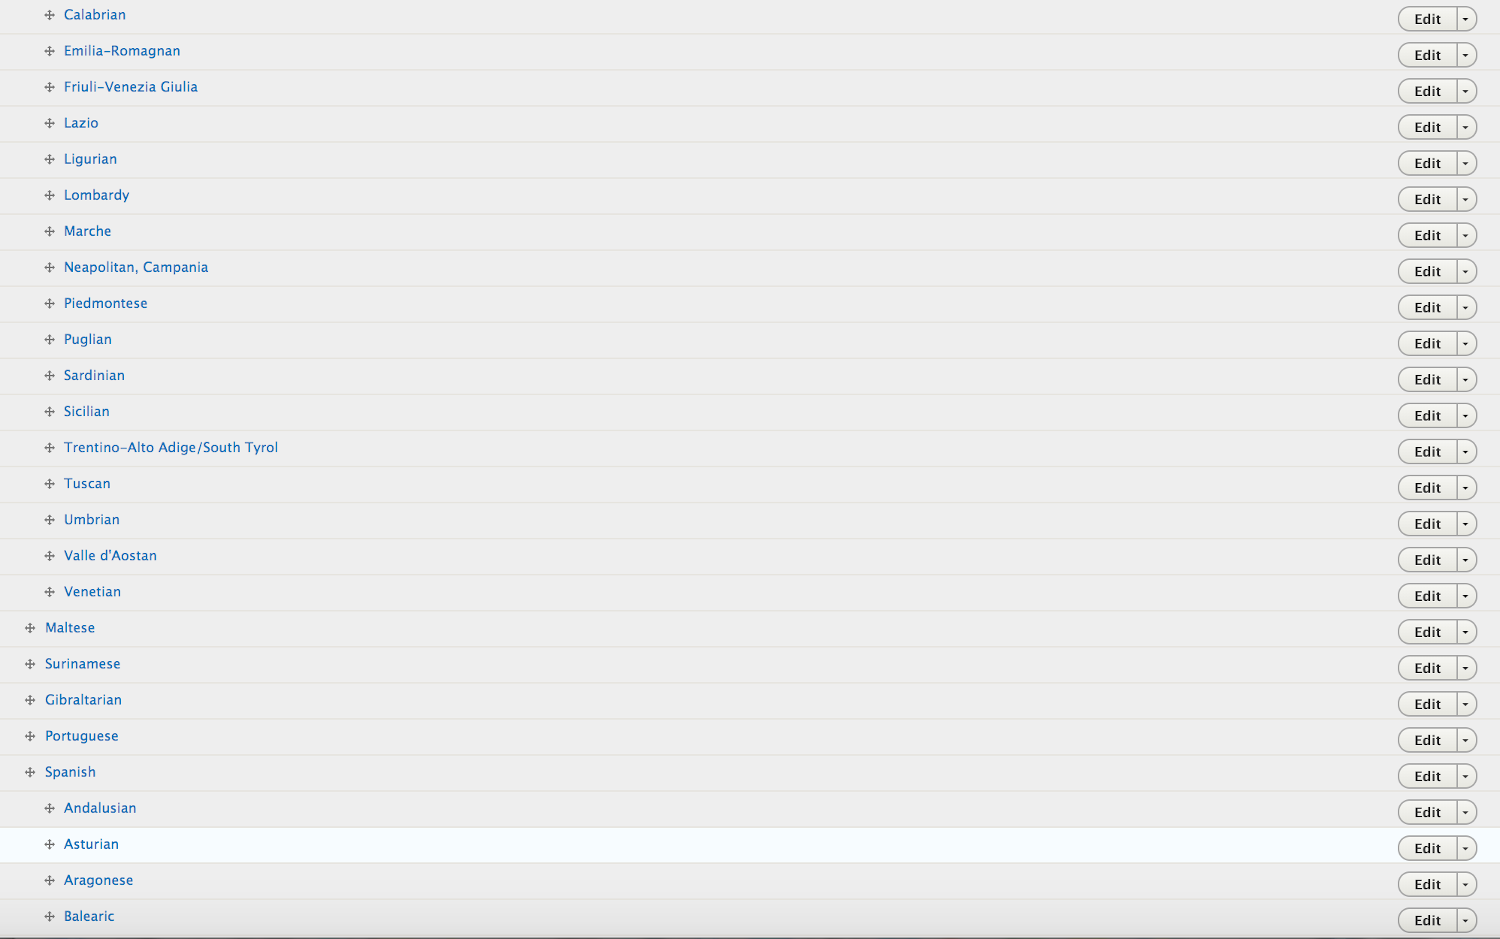
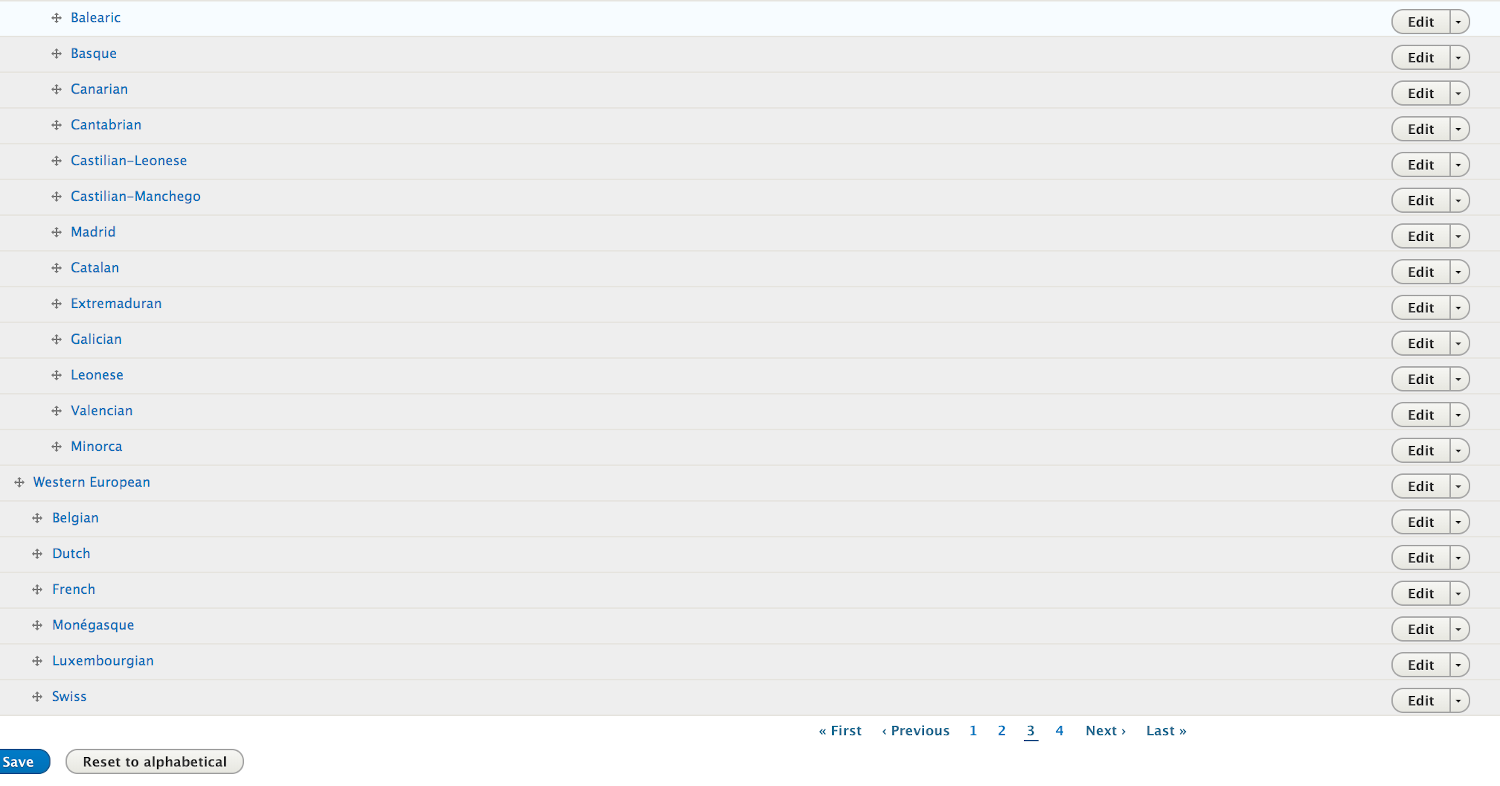
The type of food a restaurant serves is called a Cuisine. Since our restaurant content type is going to be used within an aviation site and people fly all over the world, we want it to accommodate local through detailed internationally unique food preferences. There are 400+ Cuisines. Too many to present as a long list to a users, so they are organized in a hierarchy.
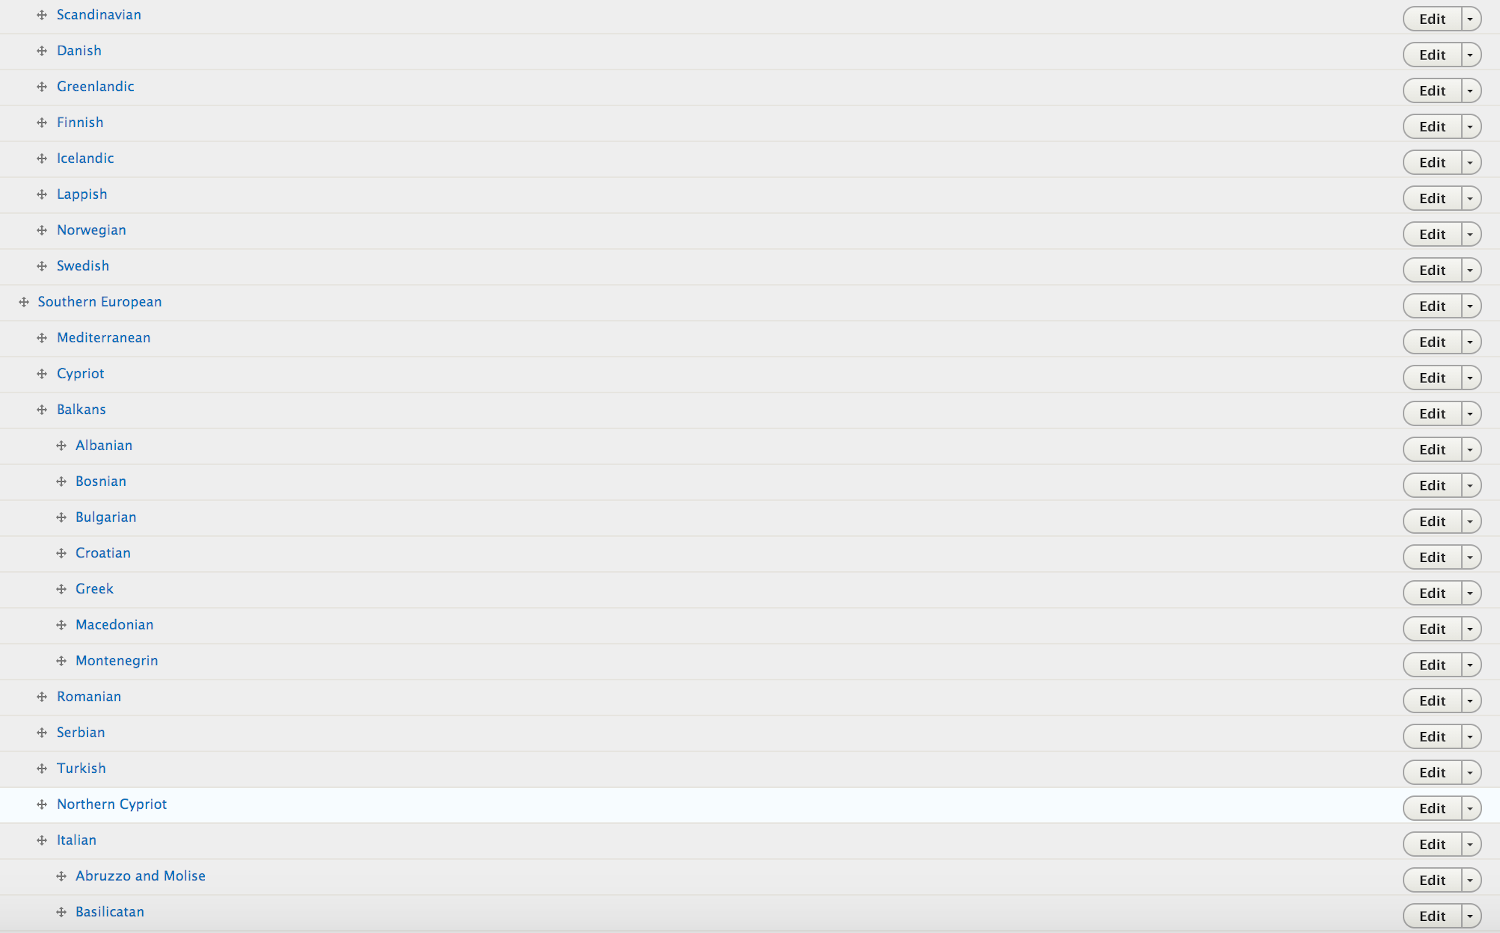

Taxonomy Manager module
If you have a painfully large taxonomy like the Cuisine listing, even the hierarchical organization isn’t easy. So there is a module called ‘Taxonomy Manager’ that you can install to work with -
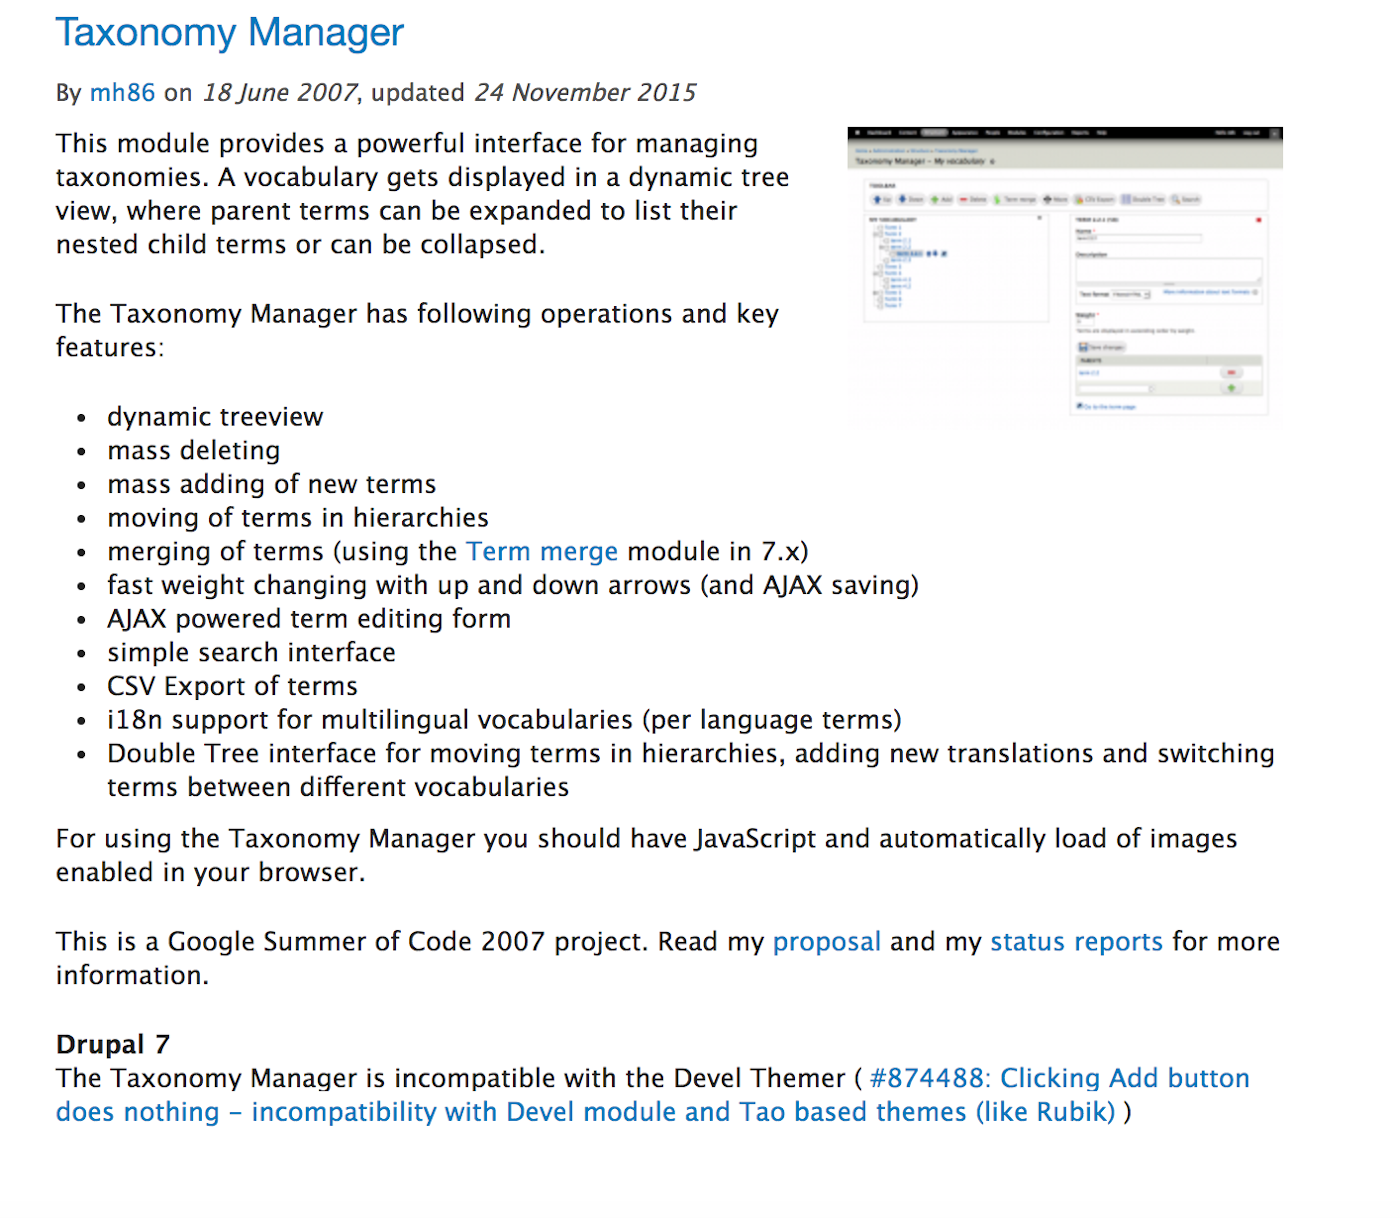

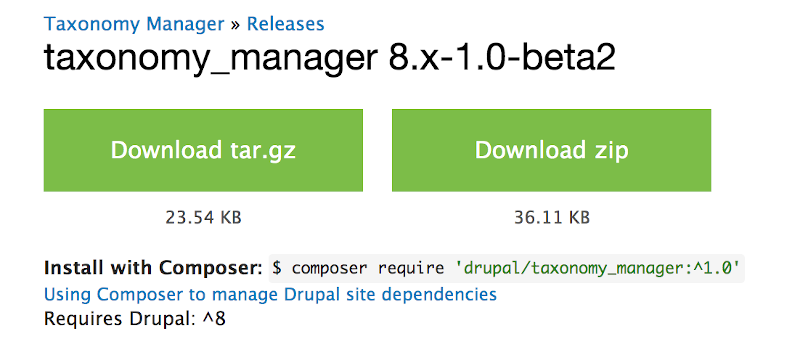
Again, we use Composer to install Taxonomy Manager so its dependencies are coordinated. Once installed, Taxonomy Manager is found under your Administration Menu, Structure tab, toward the bottom of the list alphabetically.
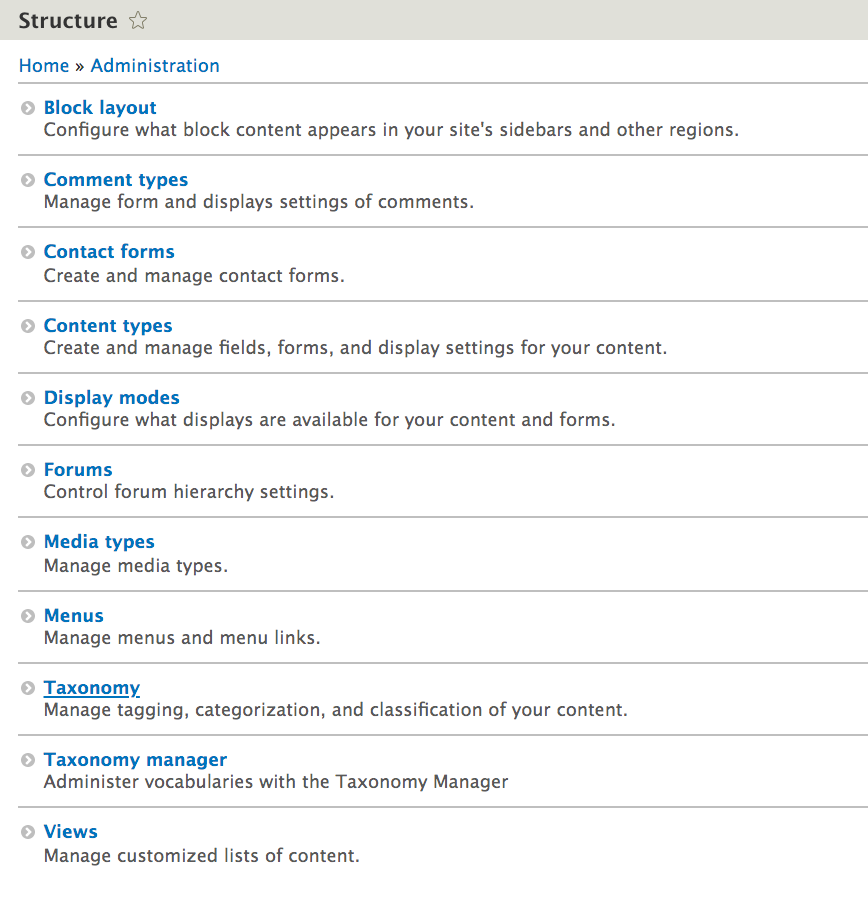
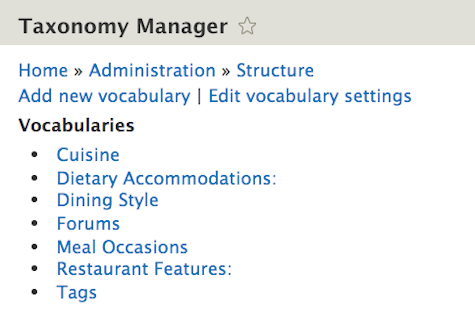
Clicking on that structure option you will see a list of the Taxonomy vocabularies that you have created. Or you can add new ones here as well.
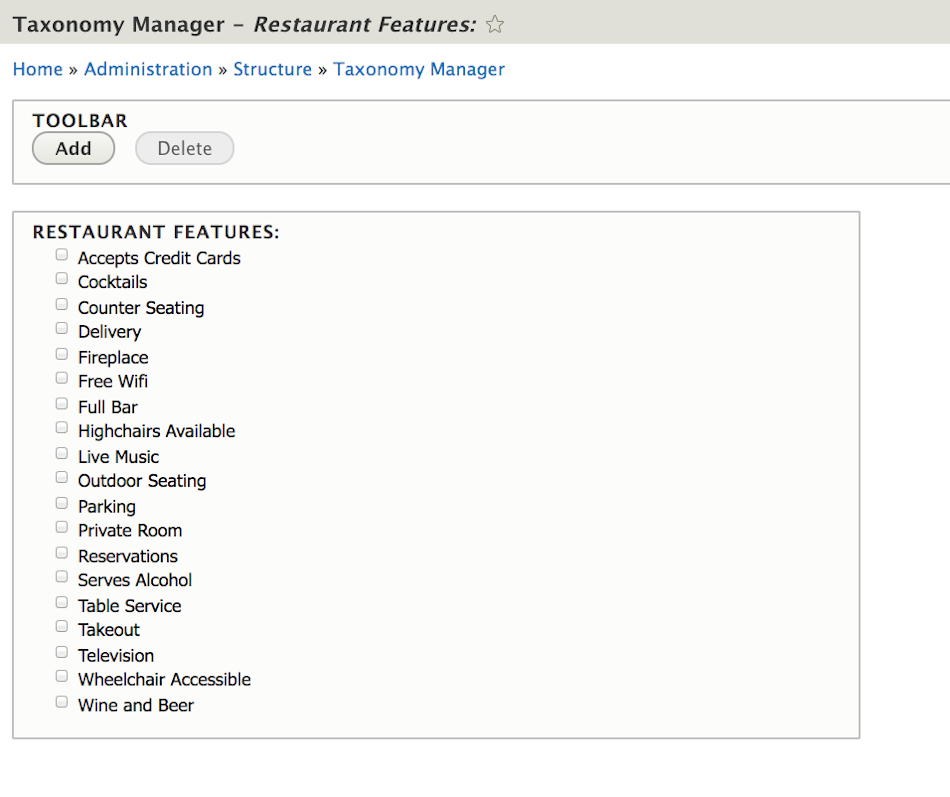
A relatively simple taxonomy like our “Restaurant Features” list, shows a nice list of checkboxes all at the same level. You could make levels within it by something like having Parking at the top level and then subgroups like free, valet, remote underneath.
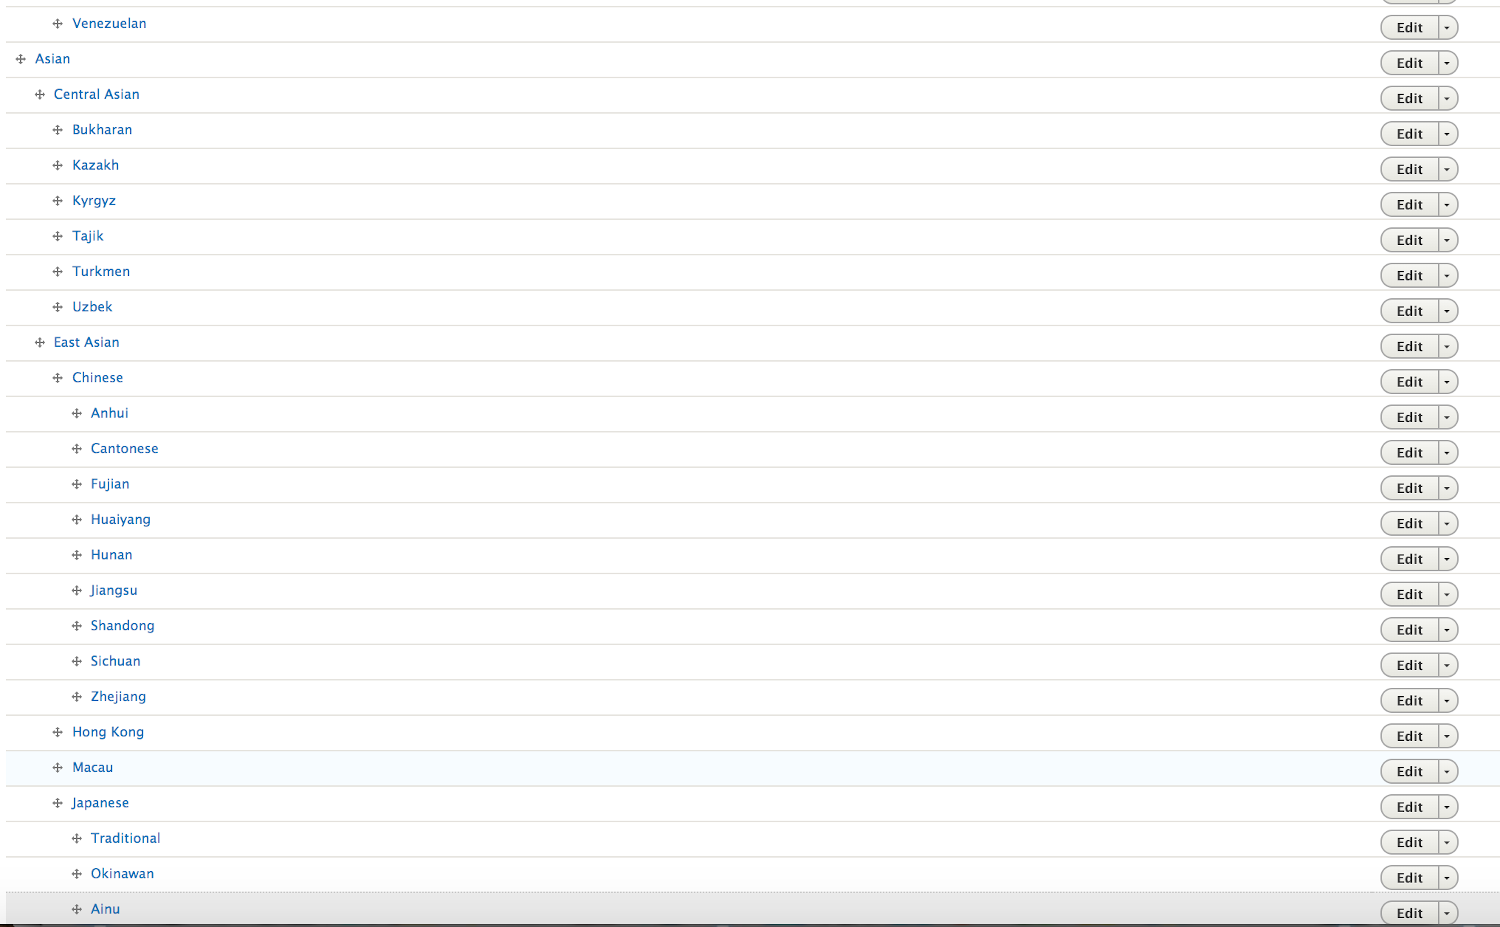
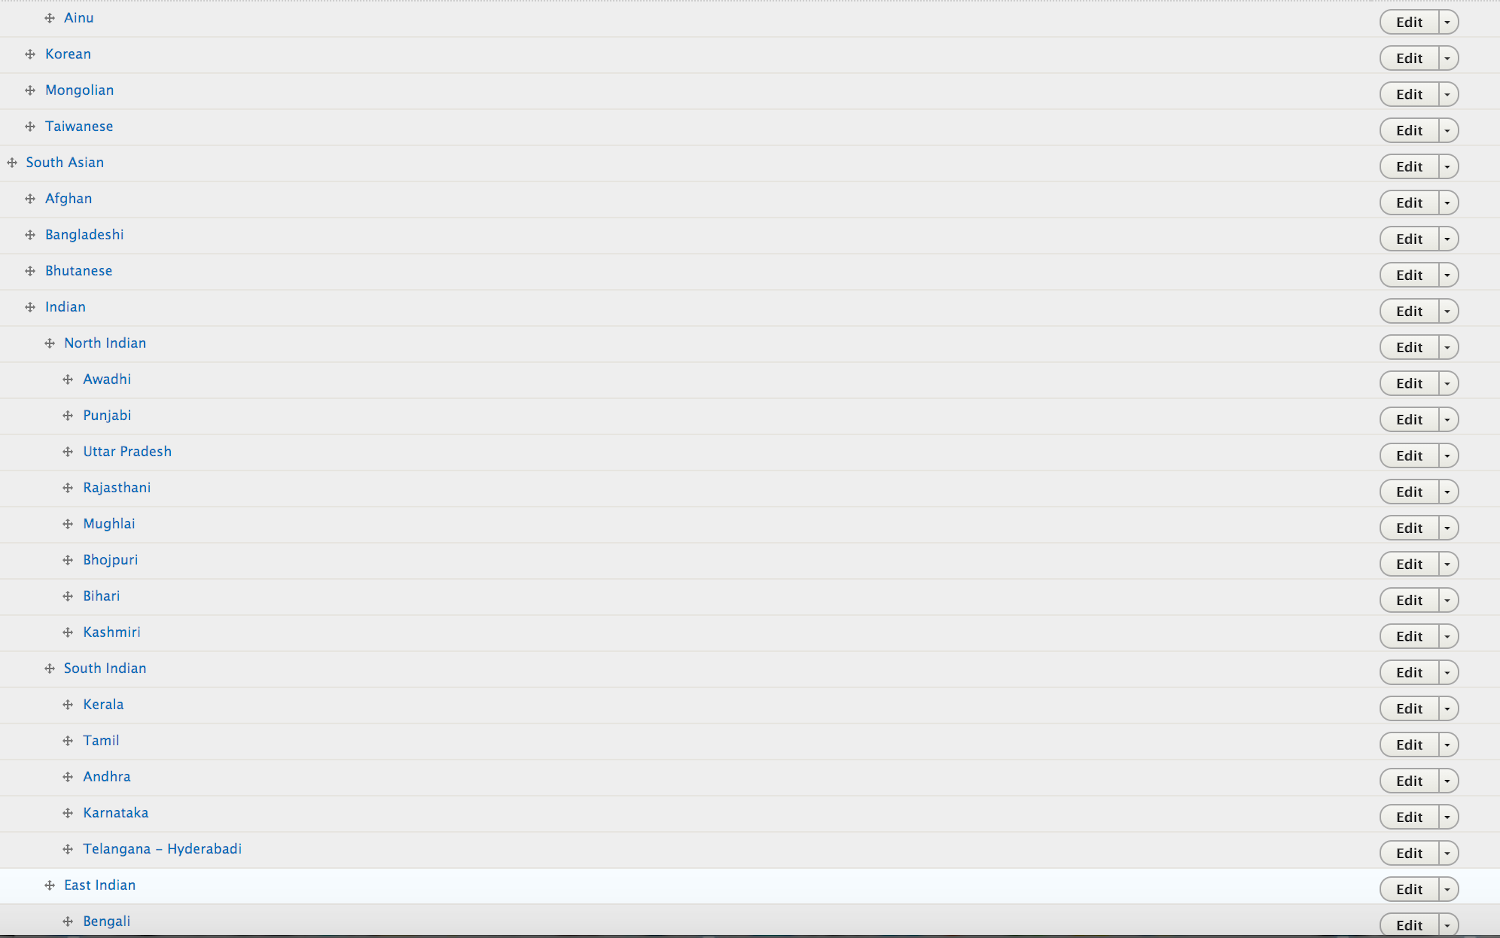
Our Cuisine taxonomy does have a hierarchy. We have different styles of Barbecue that we want subgroups for. Same for Pizza styles. But mostly, we need subgroups for various international or regional cuisines. Asian is a good example. Asia has Chinese, Japanese, Korean, Indian, Pakistani, Southeast Asian, and more. There are all sorts of different Chinese and Indian regional cuisines. And Southeast Asian has Thai, Vietnamese, Cambodian, and more. So where there are subgroups, Taxonomy Manager shows an arrow you can click on to open up the subgroups.
Investing in developing, entering, and organizing a complex hierarchical taxonomy like Cuisines makes you want to protect it or make it available to other uses. So you might want to leverage the ‘Term CSV Export Import’ module to pull the taxonomy up and down from a CSV backup file you perhaps work with Excel and a Text Editor.
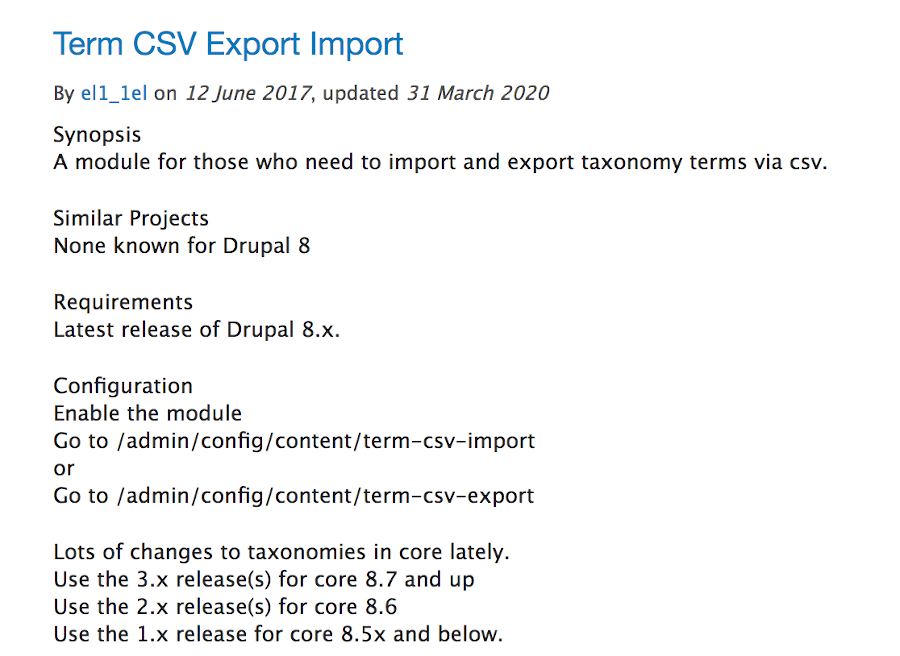
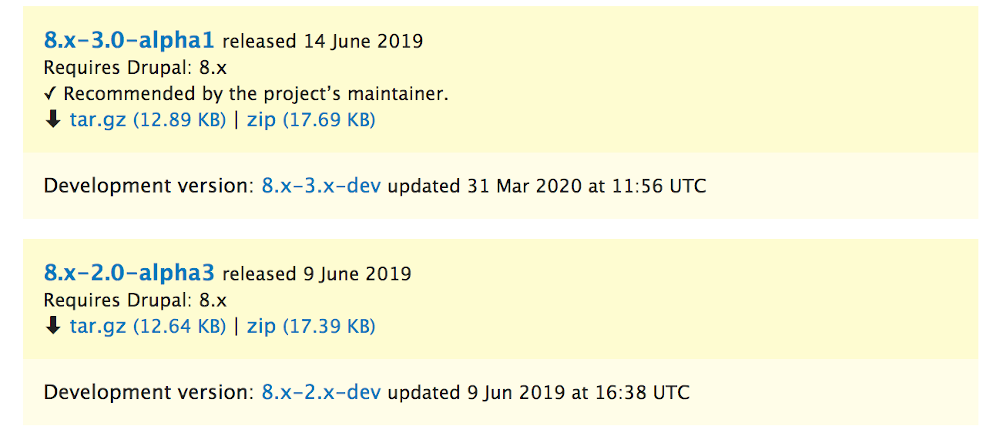

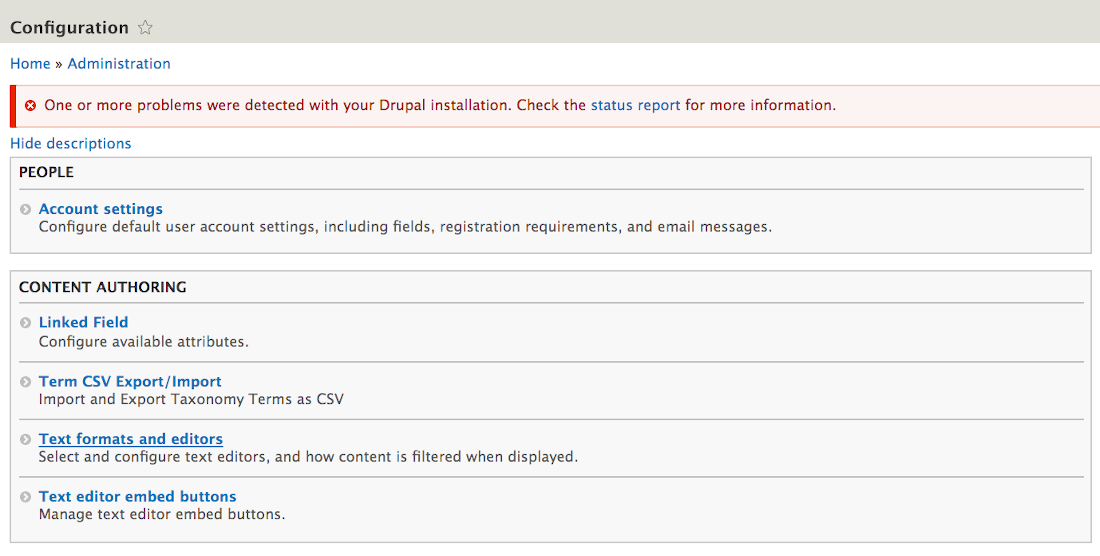
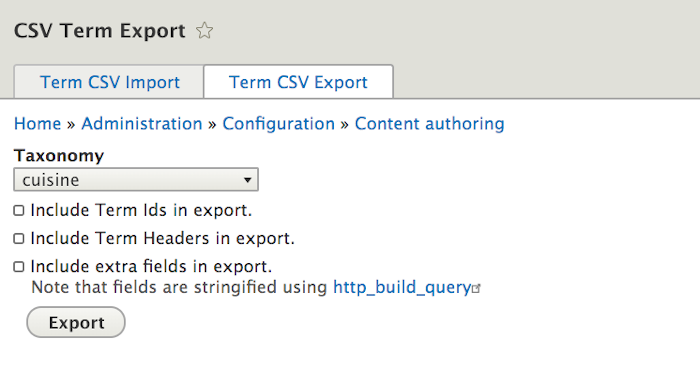
You install it with the Composer approach for dependency management. Once installed and enabled the module can be found in the Administration menu, Configuration tab in the ‘content authoring’ section.
When you click on it and go to the export tab you see options for the Ids, Header, and extra field; or to just output the straight CSV file.
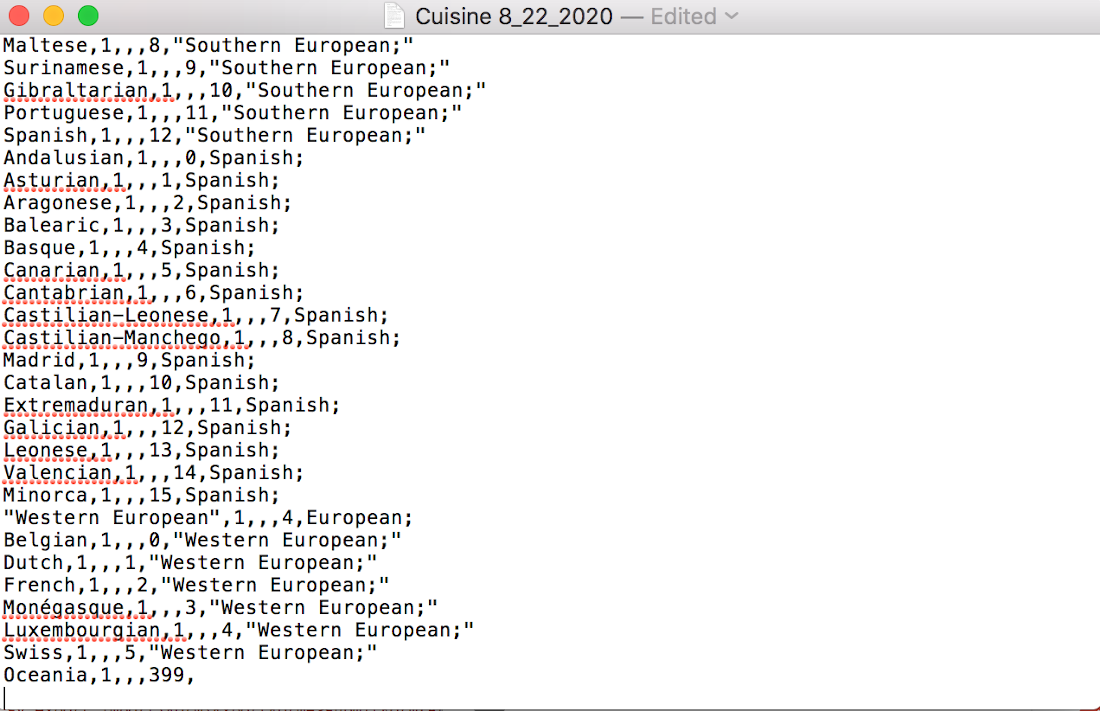
Scroll to the bottom of where it exported (past any warning in pink/red if generated), and a box appears with the export. Highlight it while scrolling through the full list and hit copy. Then open your TextEditor where you will paste the output.
The saved file will look something like this -
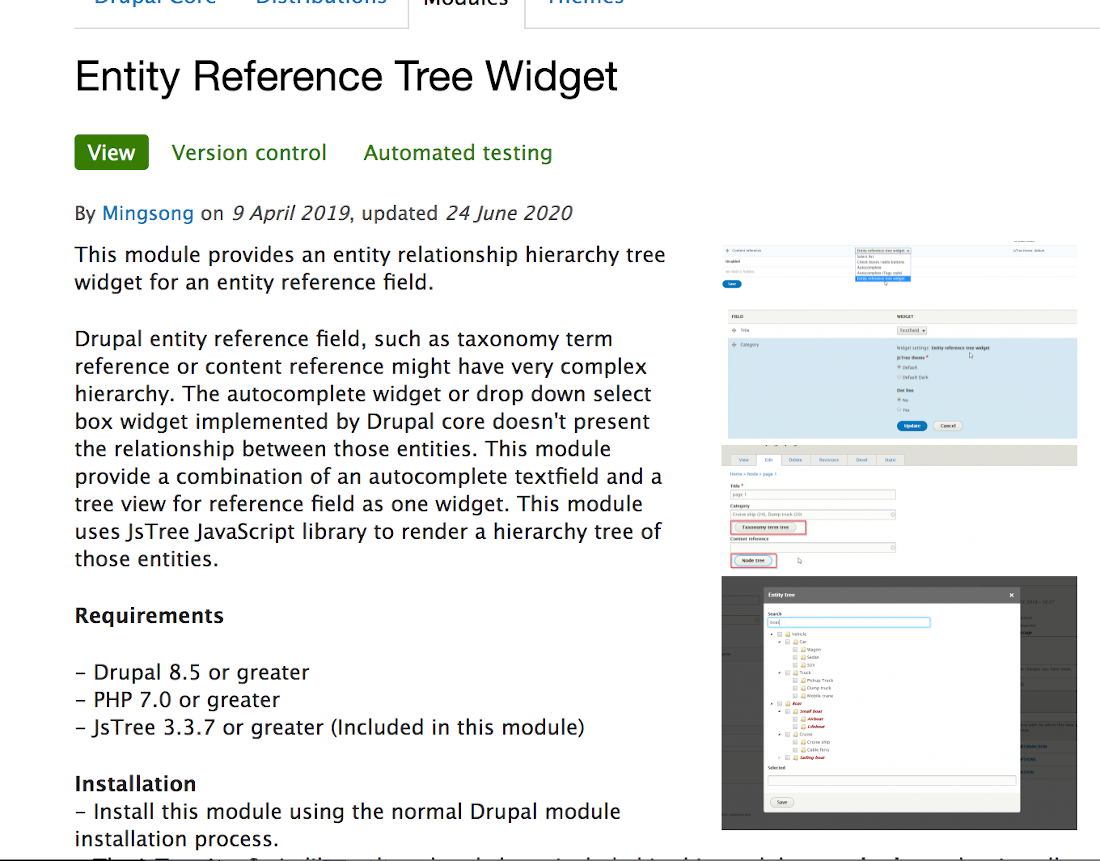
Entity Reference Tree Widget
Developing, organizing, and backing up a complex taxonomy still doesn’t get you to the point of working with it in the Manage Form Display of the content type you will use it in. So installing the ‘Entity Reference Tree Widget’ may be your answer -

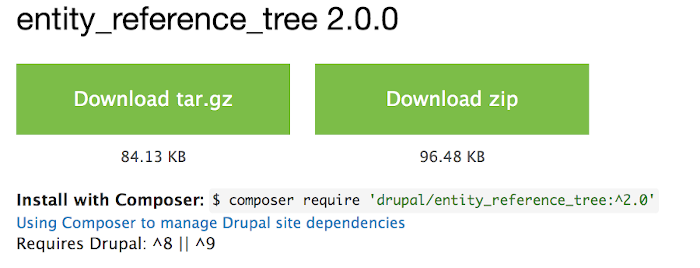
The Composer install method again coordinates dependencies. Then remember to activate the install in the Administration Extend tab.

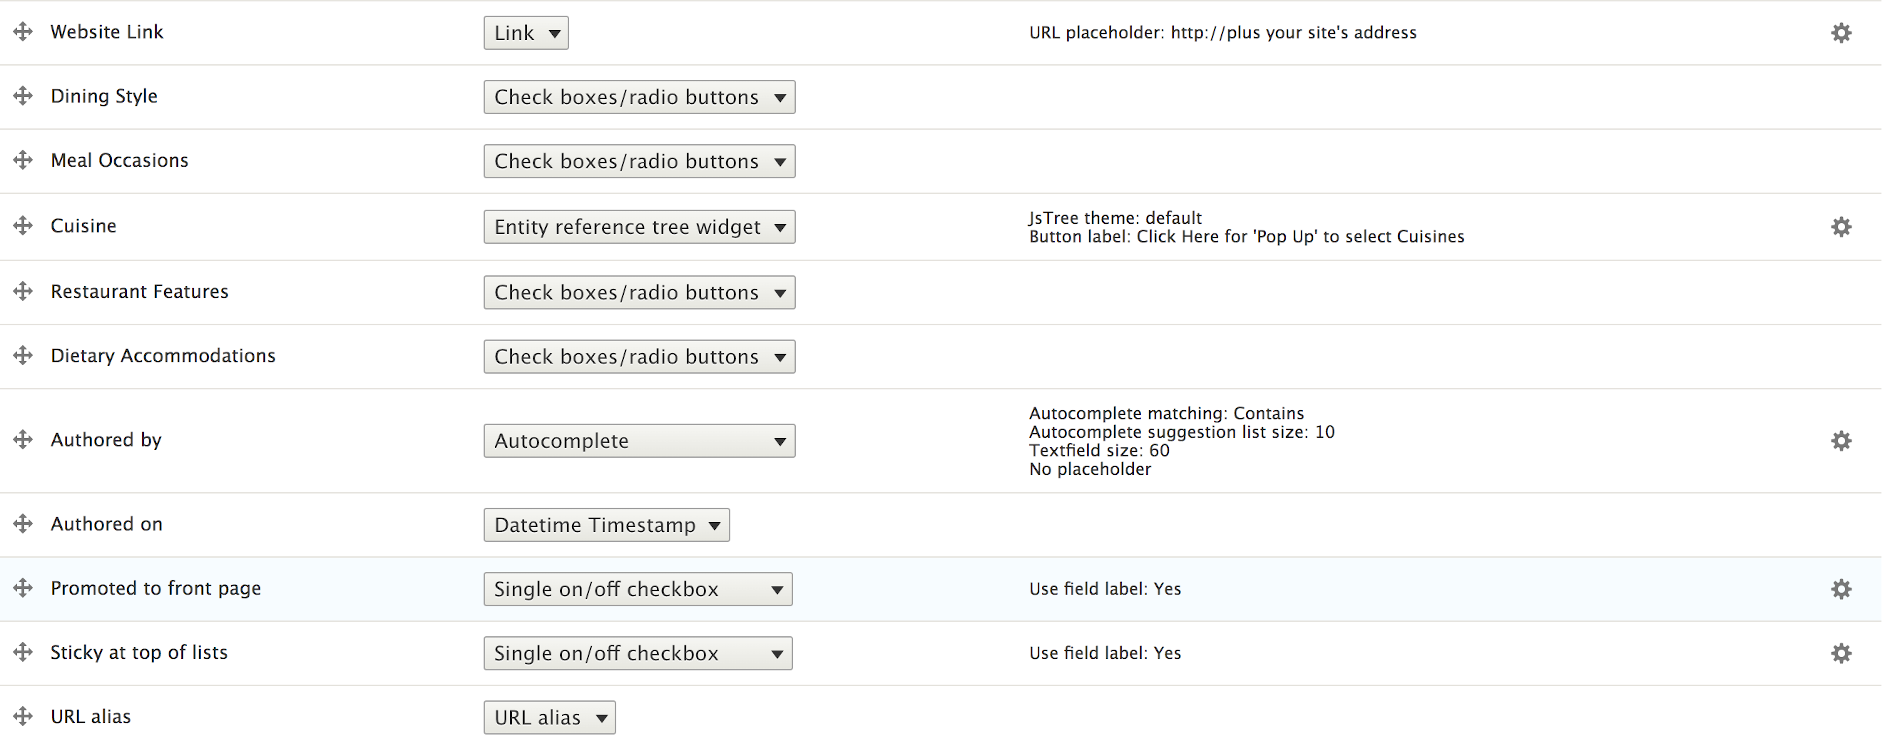
Once the module is in place you will have a new Widget option for taxonomies you have in the Manage form display of the content type; select it -

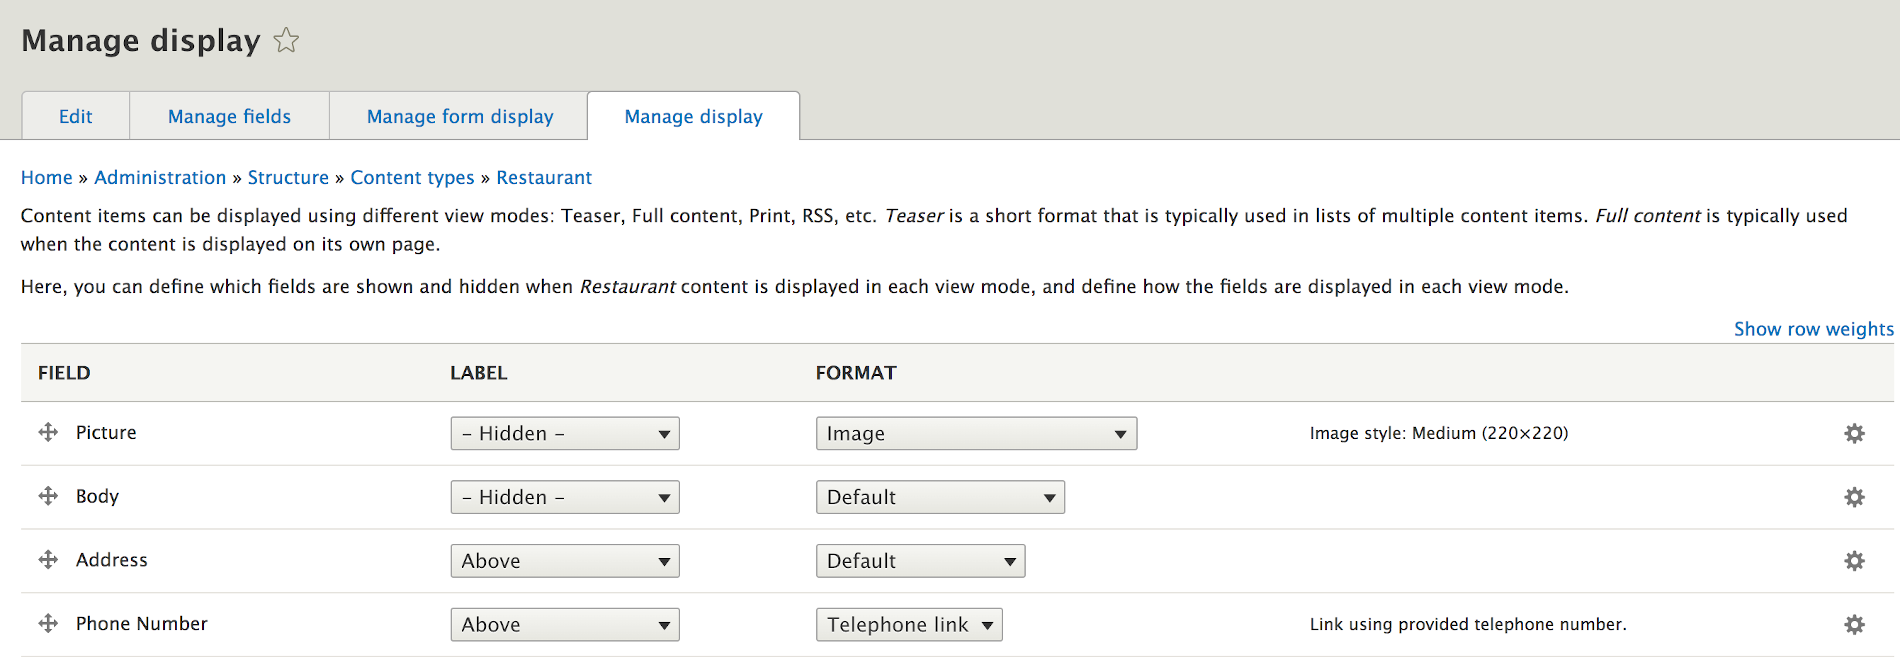
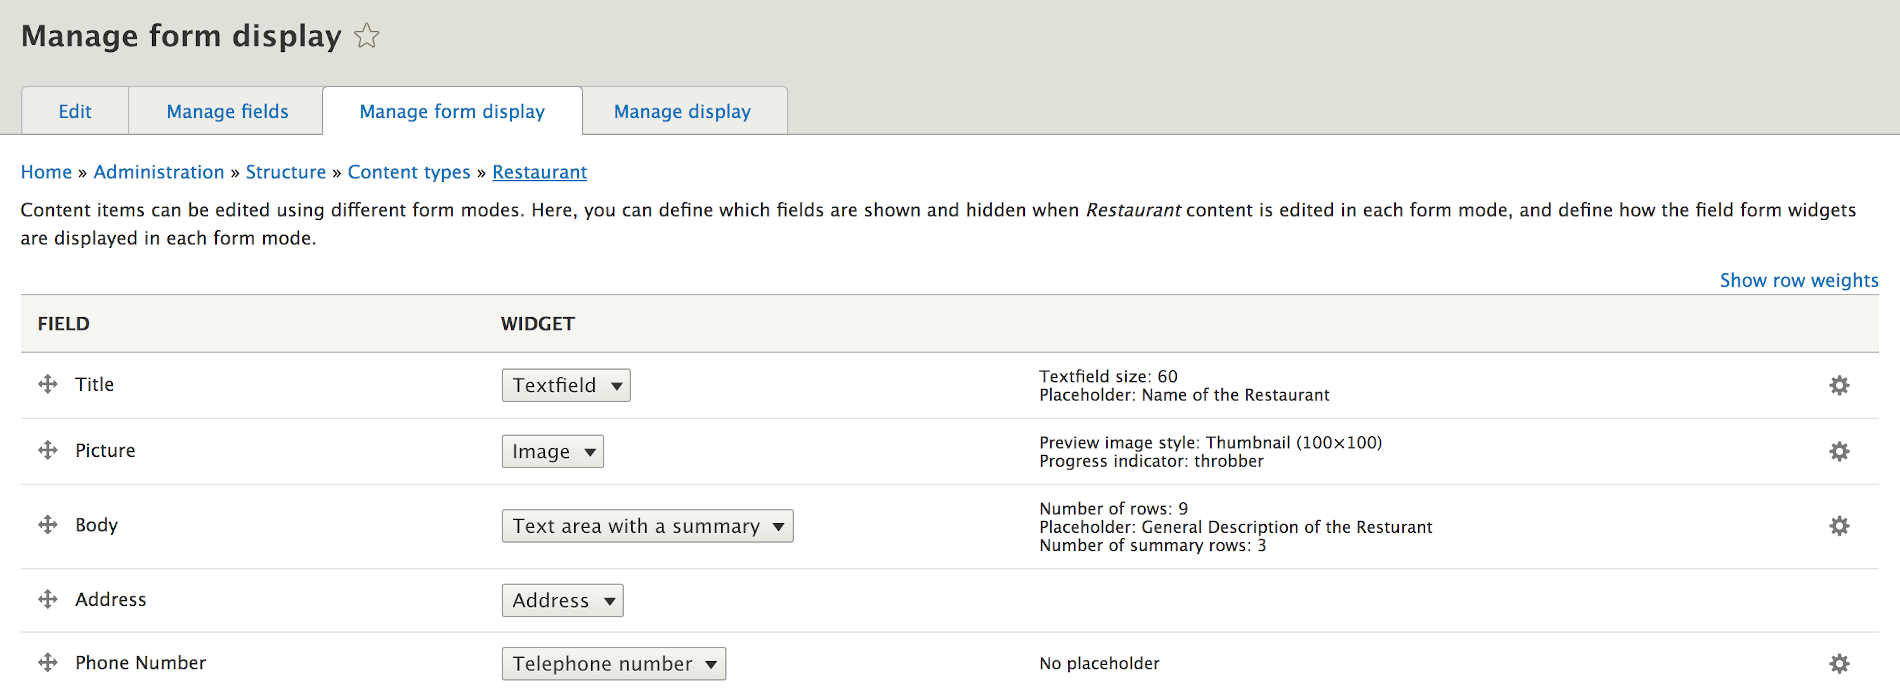
A summary of what your ‘Manage form’ display list option settings should look like after you have all this set up.

An example of what your ‘Manage display’ configuration options set up should look like after you are done doing all this -